Config View
In the Config View various settings affecting the project can be configured.
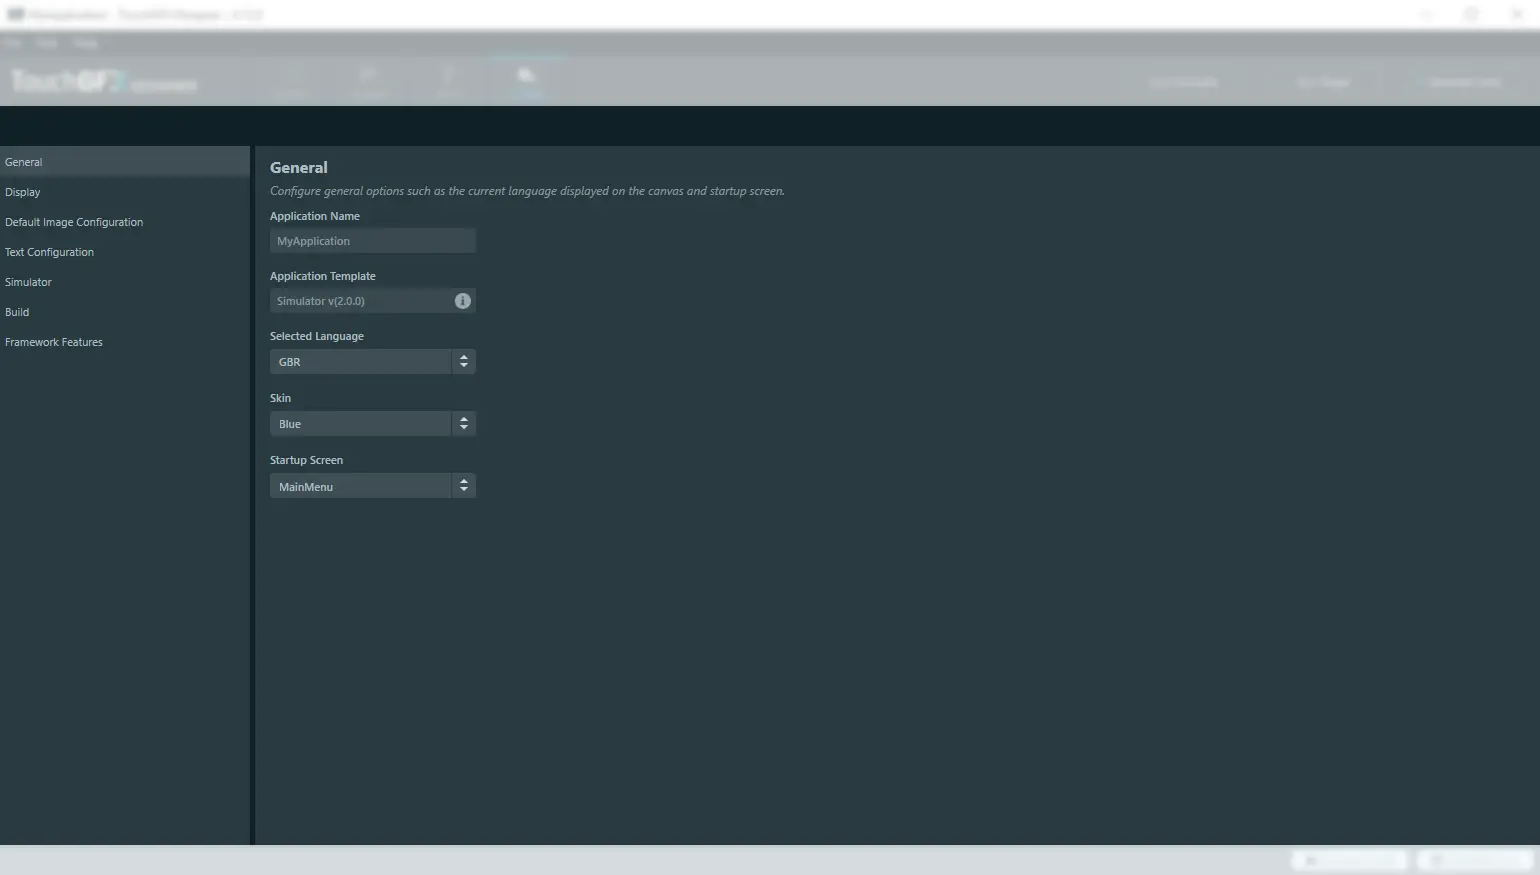
General settings in Config View
General
General settings in Config View
Application Name
Application name is a readonly field, displaying the name that was chosen for the application when it was created.
Application Template
This field shows the application template the application was created with, if this information is not available 'N/A' will be displayed.
If this information is available, the name of the application template will be displayed along with the version. There will also be an icon with an 'i' (see image above), clicking this will display more information about the Application Template.
Selected Language
This dropdown contains the languages configured in the Texts view, and selects which language should be displayed at startup of the project.
Skin
This dropdown sets which of the two built-in styles to use for widgets that support setting a style, options are 'Blue' or 'Dark'. If a widget has been configured with a style from the 'Blue' skin, and the skin is changed to 'Dark', the widget will automatically switch to a corresponding style in the 'Dark' skin.
Startup Screen This dropdown contains all the screens that have been added to the project, and selects which screen to display at startup of the project.
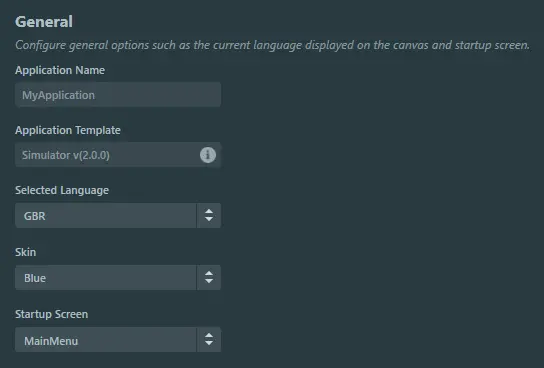
Display
In this section the settings for the Display can be configured.
Display settings in Config View
Dimensions
The size of the display can be set through the W(width) and H(height) properties, however if the size has been configured by the Application Template, configuration of the size will be disabled.
Display Orientation
The orientation of the display can toggled between landscape and portrait, this will also affect how images used in a project are converted to cpp files.
Color Depth
This dropdown contains the color depths that are available to a project. These are determined by the Application Template used to create a project.
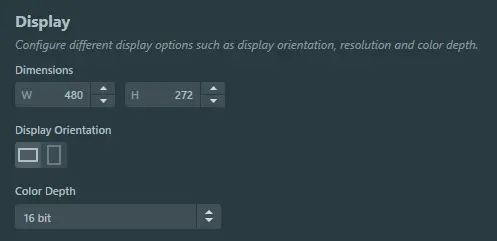
Default Image Configuration
In this section the default configuration used for images in a project can be set. These settings will affect all images in the project, unless they are overwrite in the Images view
Default Image Configuration settings in Config View
Opaque Image Format
This dropdown sets which format images that have only opaque pixel data should be generated with. The available image formats in this dropdown, depends on the selected color depth of the project.
Non Opaque Image Format
This dropdown sets which format images that have non-opaque pixel data should be generated with. The available image formats in this dropdown, depends on the selected color depth of the project.
Section
This dropdown sets the location where image data should be stored on the target hardware. The available sections in this dropdown, depends on the Application Template that the project was created with.
Extra Section
When using L8 image formats you can choose to store the color table in a different section using this dropdown. The available sections in this dropdown, depends on the Application Template that the project was created with.
Dither Algorithm
This dropdown sets the which dithering algorithm used for images.
- No dither: no dithering is applied to the image. This is the setting with the highest performance since no alteration is made. However, depending on the image, the quality of the photo may also degrade visually at lower color depths.
- Floyd-Steinberg: diffuses the error to neighboring pixels, resulting in fine-grained dithering but sacrificing sharpness.
- Jarvis, Judice and Ninke: diffuses the error to pixels one step further away compared to Floyd-Steinberg, resulting in coarser dithering but a sharper image. The slowest of the 3 error-diffusion dithering algorithms.
- Stucki: based on minimized average error dithering but faster and cleaner.
Alpha Dither
This dropdown sets whether or not to use the dither algorithm through the alpha channel.
Layout Rotaion
This dropdown specifies the rotation of the image data when generated. If the screen orientation is changed, use this to correctly render images in the new orientation.
Text Configuration
In this section options for text rendering and storage can be configured by checking off the boxes that fit your projects needs.
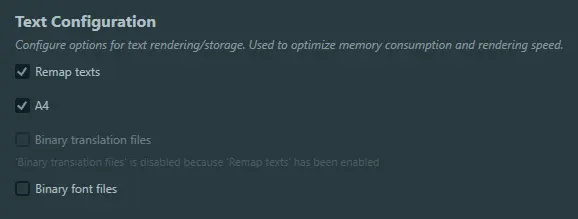
Text Configuration settings in Config View
Remap texts
This option defines whether or not translations thats are identical should be remapped.
Remapping texts will combine identical translations and suffixes across all languages, typographies and alignments, resulting in a reduced footprint.
This option is mutually exclusive with the option 'Binary translation files'
A4
This option defines whether or not the horizontal pixel data of glyphs byte aligned into an A4 format.
This only affects typographies that are configured as 4bpp
Binary translation files
This option defines whether or not the translations in a project, should be moved into binary files that can be loaded at runtime.
This option is mutually exclusive with the option 'Remap texts'
Binary font files
This option defines whether or not the font files in a project, should be moved into binary files that can be loaded at runtime.
Further reading
Simulator
In this section, a skin can be added to the Simulator when running it. A skin can be added for both landscape and portrait orientated projects. The X and Y properties determine the position of the simulator on the skin.
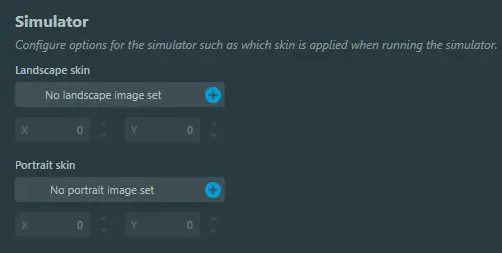
Simulator settings in Config View
Below is a demonstration of a simulator running with a skin.
When a simulator runs with a skin, the standard window controls are hidden. To close the simulator press Esc
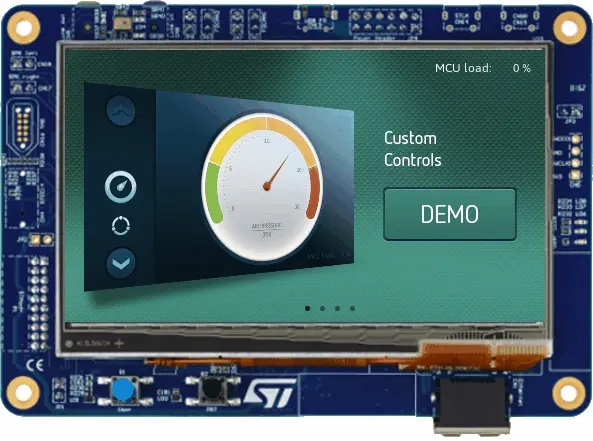
Simulator running with a skin.
Build
In this section the commands that are executed when pressing 'Run Simulator', 'Run Target' and 'Generate Code', can be overwritten.
To overwrite a command, simply write any command in the text boxes. To reset a command, if it has been overwritten, press the blue 'Reset' label next to the name of the Command.
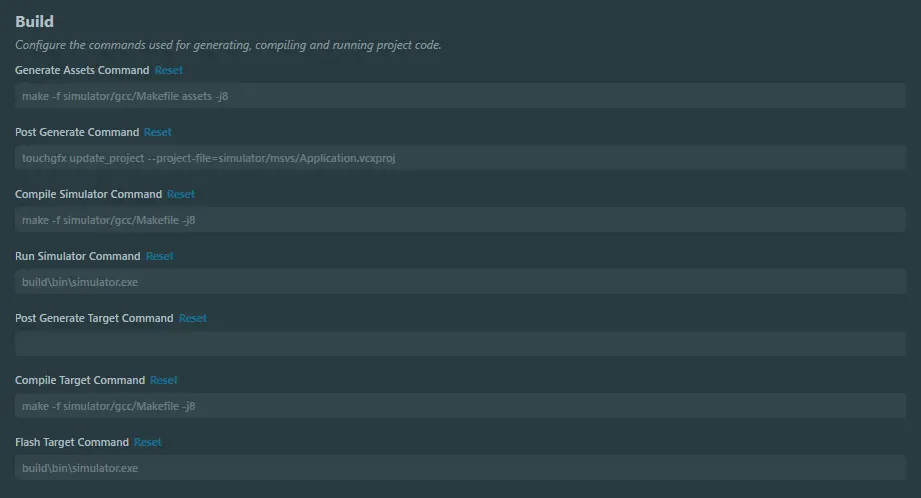
Build settings in Config View
Generate Assets Command
This command is usually setup to generate text and image assets, and is executed after the TouchGFX Designer has generated the code.
Post Generate Command
This command is usually used to update various project files. The built in touchgfx update_project commandline tool supports updating the following project files:
- Visual Studio (.vcxproj)
- Keil (.uvprojx)
- IAR (.ewp & .ipcf)
- CubeIDE (.project & .cproject)
- CubeMX (.ioc)
However, any command that needs to be executed after code generation can be written here.
Compile Simulator Command
This command executes the compilation of a project for the simulator, usually by executing the Makefile generated by the TouchGFX Designer.
Run Simulator Command
This command executes the startup of the simulator.exe.
Post Generate Target Command
This command is usually used to update various project files mostly CubeMX (.ioc) project files.
However, any command that needs to be executed after code generation can be written here.
Compile Target Command
This command executes the compilation of a project for the target hardware.
Flash Target Command
This command executes the flashing of a project to the target hardware.
Framework Features
In this section features in the framework, specifically which image formats the TextureMapper widget supports, can be enabled/disabled. This can be used for optimizing the code size a project takes up on hardware.
The available options displayed in this section depend upon which color depth has been chosen for the project. In the image below the image formats for a 16 bit color depth TextureMapper is shown.
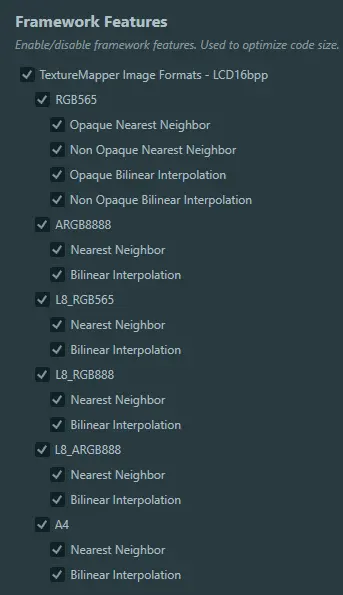
Framework Features settings in Config View