Startup Window
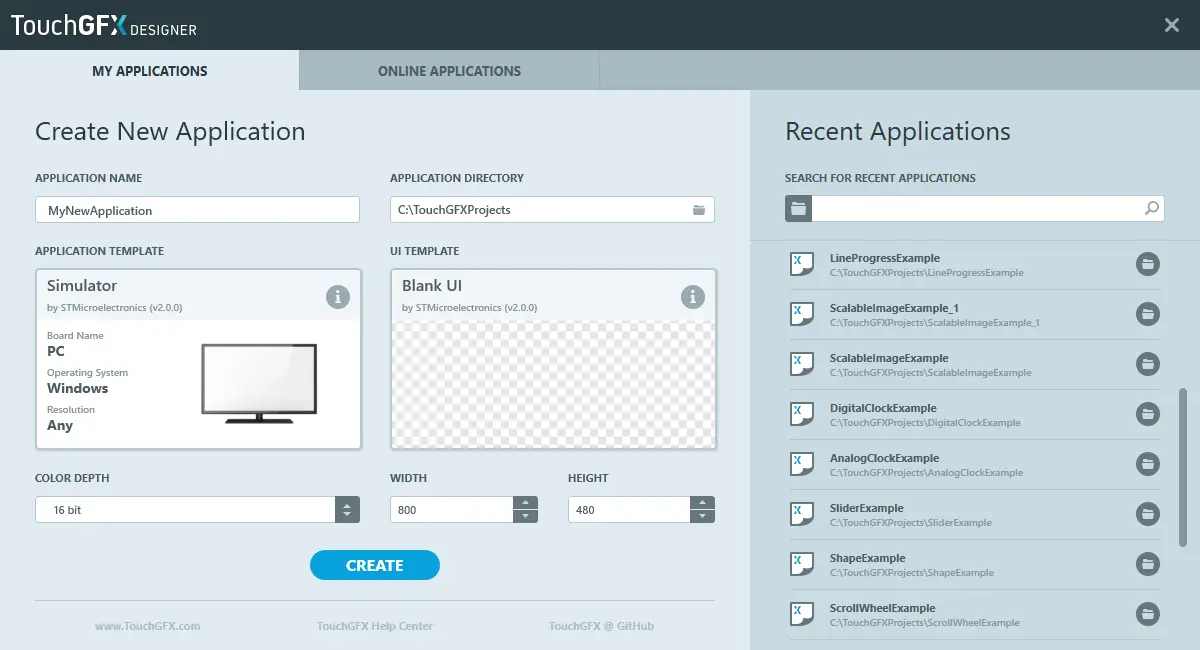
The Startup Window of TouchGFX Designer is where new projects can be created, demo projects can be explored and existing projects can be opened from.
The Startup Window can also be opened by pressing CTRL + N.
Create New Application
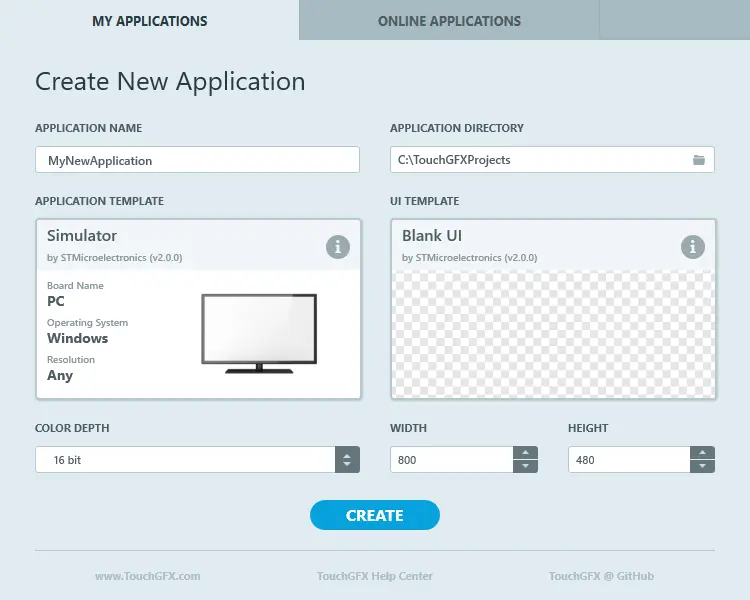
In the My Applications tab new projects can be created by combining an Application Template and UI Template.
Application Name
This will determine the name of the new project, as well as the name of the folder the new project will be contained in.
Application Directory
This will determine the location of the new project.
Application Template
This select the Application Template used when creating the new project.
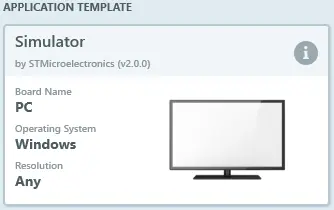
To reveal more information about the selected Application Template, the icon with an 'i' located in the top right corner, as can be seen in the image below, can be clicked.
To change the Application Template, simply click the Application Template to bring up all available Application Templates.
UI Template
This select the UI Template used when creating the new project.
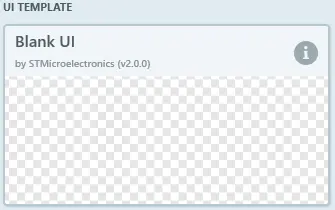
To reveal more information about the selected UI Template, the icon with an 'i' located in the top right corner, as can be seen in the image below, can be clicked.
To change the UI Template, simply click the UI Template to bring up all available UI Templates.
Color Depth
This dropdown will contain the color depths supported by the selected Application Template.
Width & Height
The adjustment of width and height will vary depending on which Application Template has been selected. The Simulator application template will support any resolution size between 0 x 0 and 2000 x 2000
Some Application Templates only support one resolution size, therefore the width and height adjustment will be locked to whatever the selected Application Template dictates the resolution size should be.
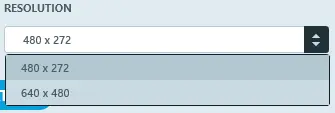
Some Application Templates support multiple resolutions, therefore the width and height adjustment will be changed to a dropdown with available resolution sizes from the selected Application Template.
Application Templates
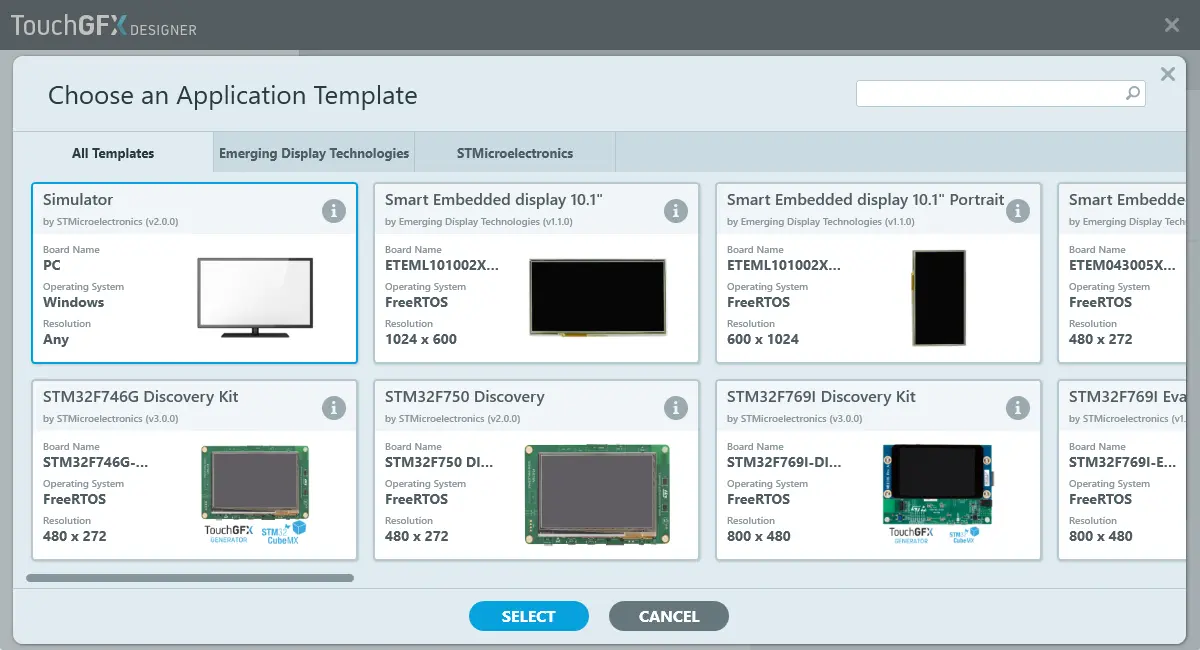
The Application Templates View consists of a search bar in the top right corner, and a tab control that will filter the Application Templates by their provider.
To select an Application Template, simply click the entry, which will mark it with a blue border, as can be seen on the 'Simulator' Application template in the image below, and click the blue button with the label 'SELECT'.
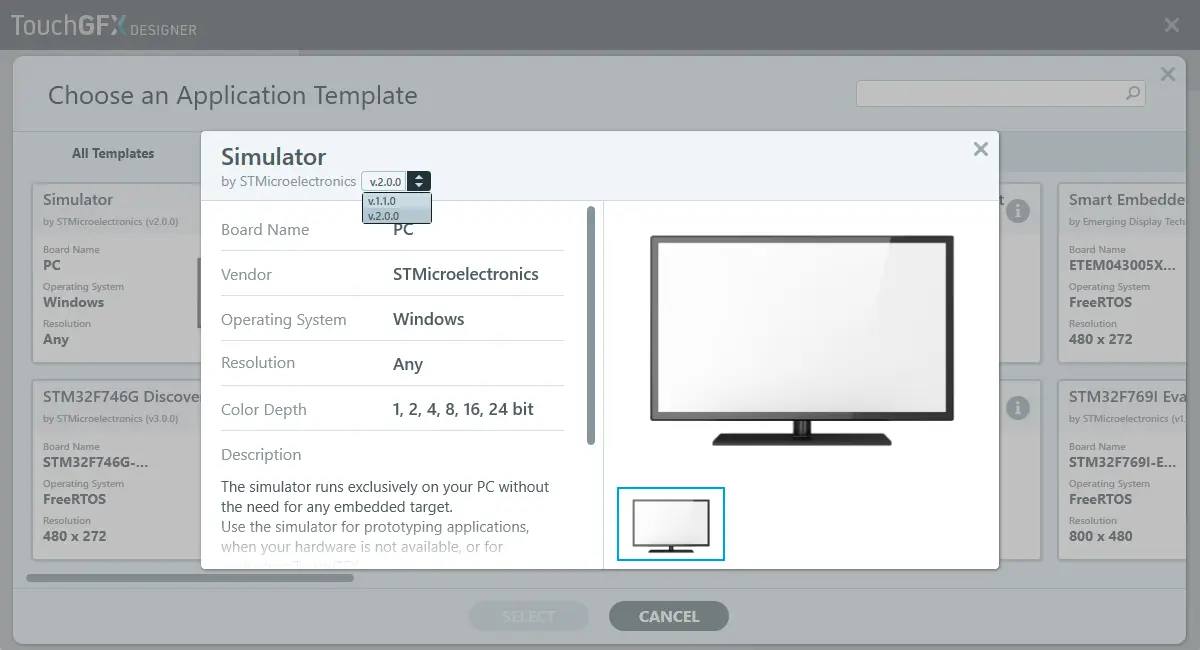
To view more information about an Application Template, each of the Application Templates, as shown in the image above have an icon with an 'i' located in their top right corner, that can be clicked. When clicked the window in the image below will be displayed, here it is also possible to choose the version of the Application Template to use.
UI Templates
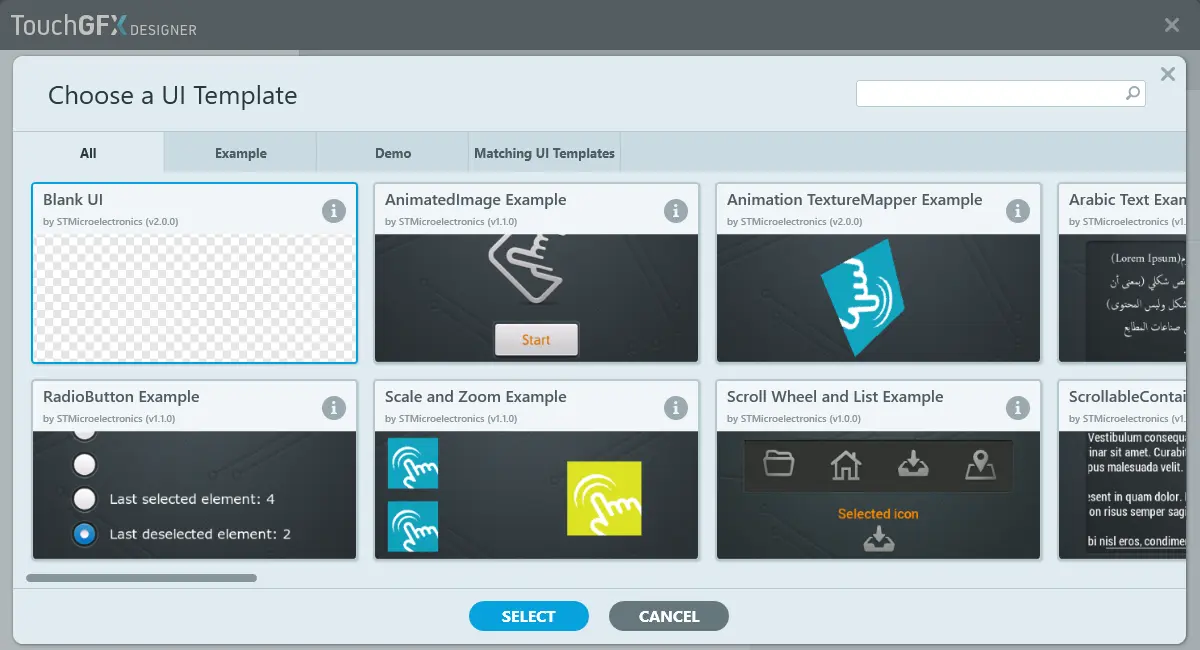
The UI Templates View consists of a search bar in the top right corner, and a tab control that will filter the UI Templates by their category.
To select an UI Template, simply click the entry, which will mark it with a blue border, as can be seen on the 'Blank UI' UI Template in the image below, and click the blue button with the label 'SELECT'.
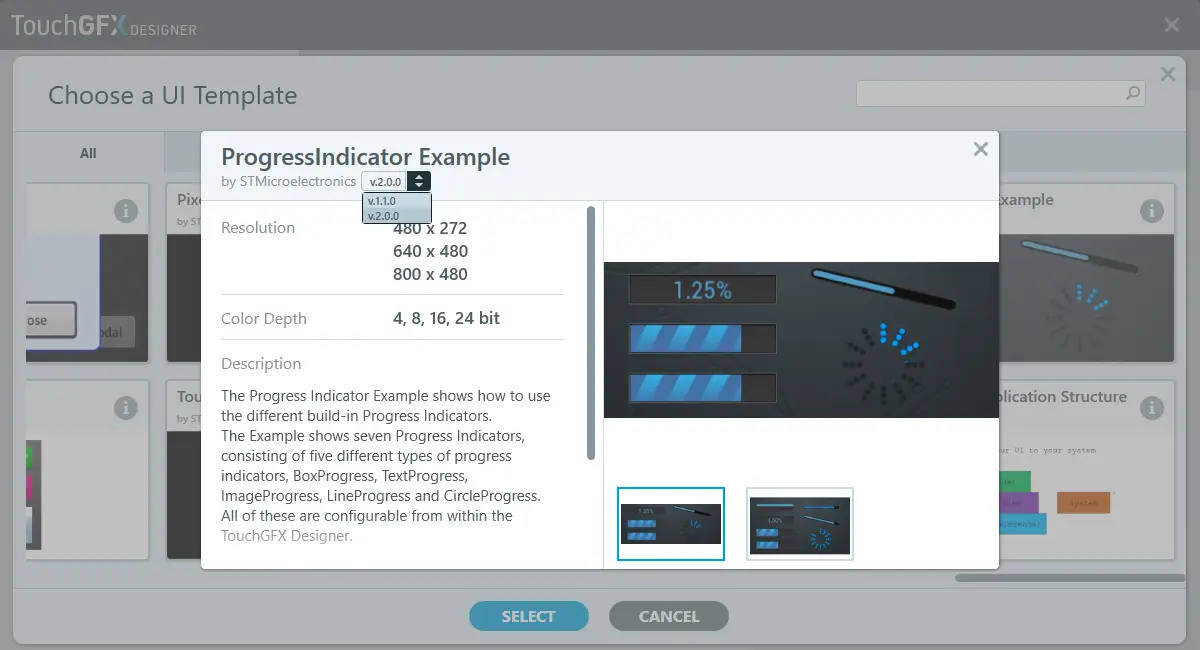
To view more information about an UI Template, each of the UI Templates, as shown in the image above have an icon with an 'i' located in their top right corner, that can be clicked. When clicked the window in the image below will be displayed, here it is also possible to choose the version of the UI Template to use.
Open Online Applications
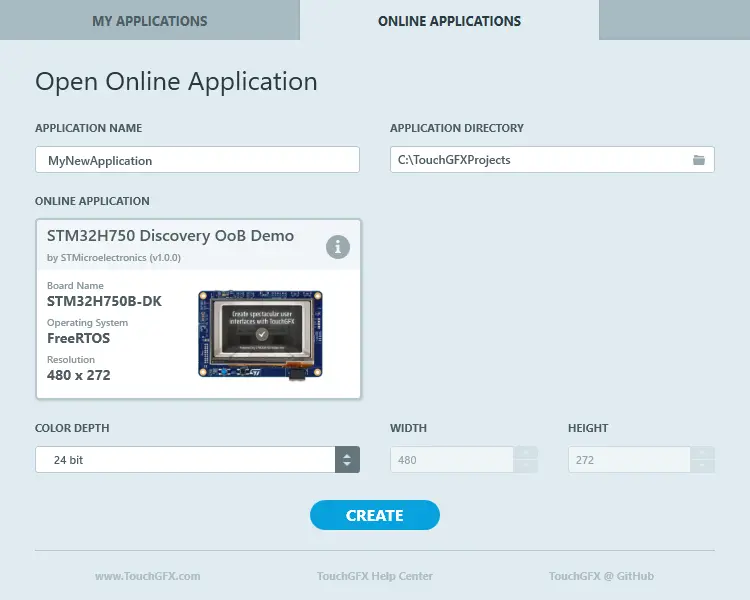
In the Online Applications tab new projects can be created by using an Online Application.
Application Name
This will determine the name of the new project, as well as the name of the folder the new project will be contained in.
Application Directory
This will determine the location of the new project.
Online Application
This select the Online Application used when creating the new project.
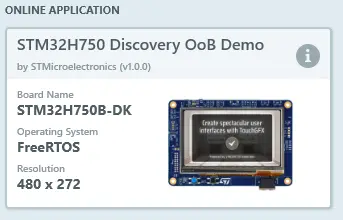
To reveal more information about the selected Online Applications, the icon with an 'i' located in the top right corner, as can be seen in the image below, can be clicked.
To change the Online Applications, simply click the UI Template to bring up all available Online Applications.
Color Depth
This dropdown will contain the color depths supported by the selected Online Applications.
Width & Height
Online Applications only support one resolution size, therefore the width and height adjustment will be locked to whatever the selected Online Applications dictates the resolution size should be.
Online Applications
The Online Applications View consists of a search bar in the top right corner, and a list of the available Online Applications.
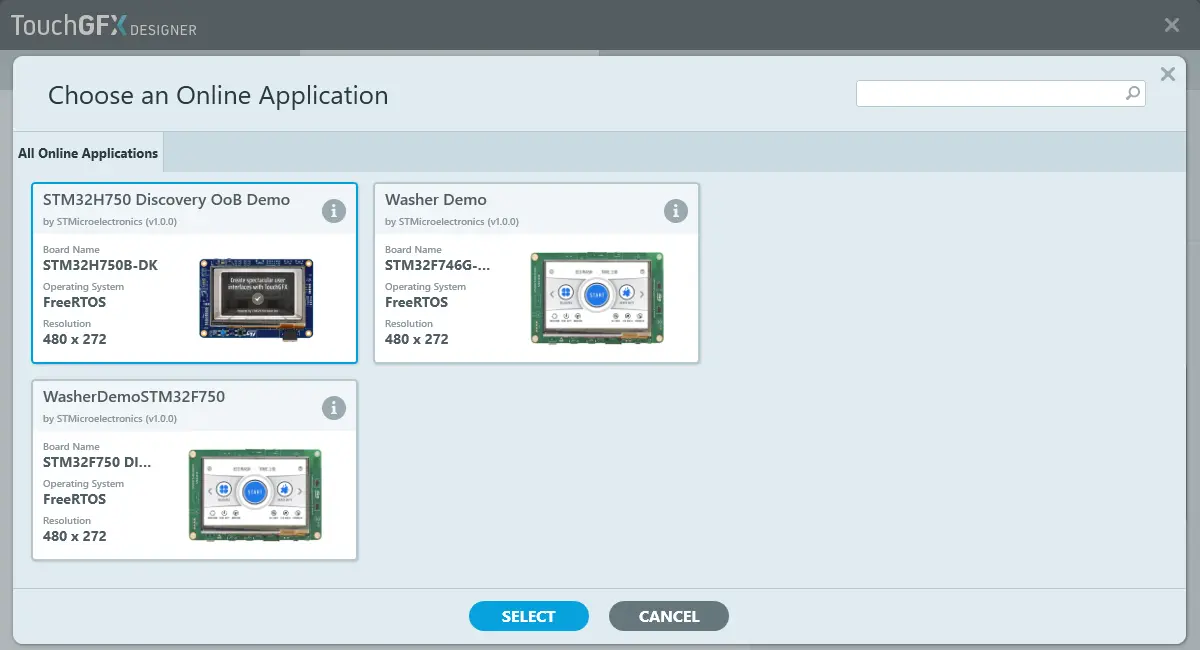
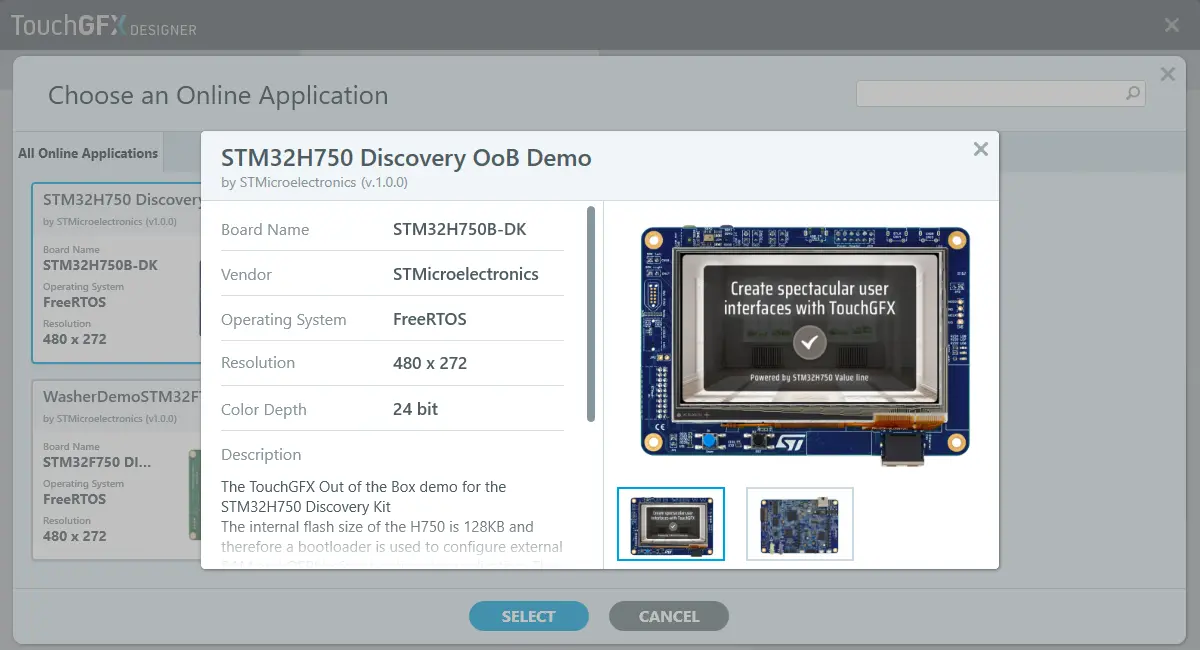
To select an Online Application, simply click the entry, which will mark it with a blue border, as can be seen on the 'STM32H750 Discovery OoB Demo' Online Application in the image below, and click the blue button with the label 'SELECT'.
To view more information about an Online Application, each of the Online Applications, as shown in the image above have an icon with an 'i' located in their top right corner, that can be clicked. When clicked the window in the image below will be displayed.
Recent Applications
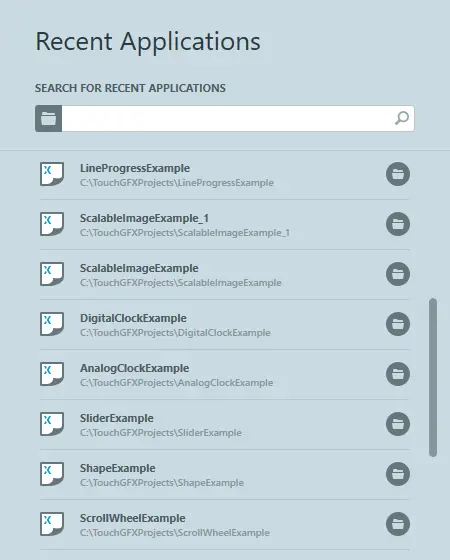
In the Recent Applications view the projects that have most recently been created, opened or modified can be found.
As can be seen in the image above the Recent Applications view consists of a search bar with a list of recent applications below it.
The search bar will filter the recent applications list as characters are entered into it. At the left side of the search bar a button with a folder icon is located, pressing this button will open a file browser allowing for manual navigation and opening of a .touchgfx project file.
Each entry in the recent applications list consists of the name given to the project, the path to the .touchgfx project file and a button with a folder icon. Clicking an entry will load the project and close the Startup Window.
Hovering the folder icon will reveal the full path to the .touchgfx project file, and clicking it will open the folder containing the file in a file explorer.
