Canvas View
The Canvas is the view used for building the graphical parts of an application by providing a visual representation of the interface as it will look while running. The dynamic aspects, like animations and interactions between parts of the system, are described here.
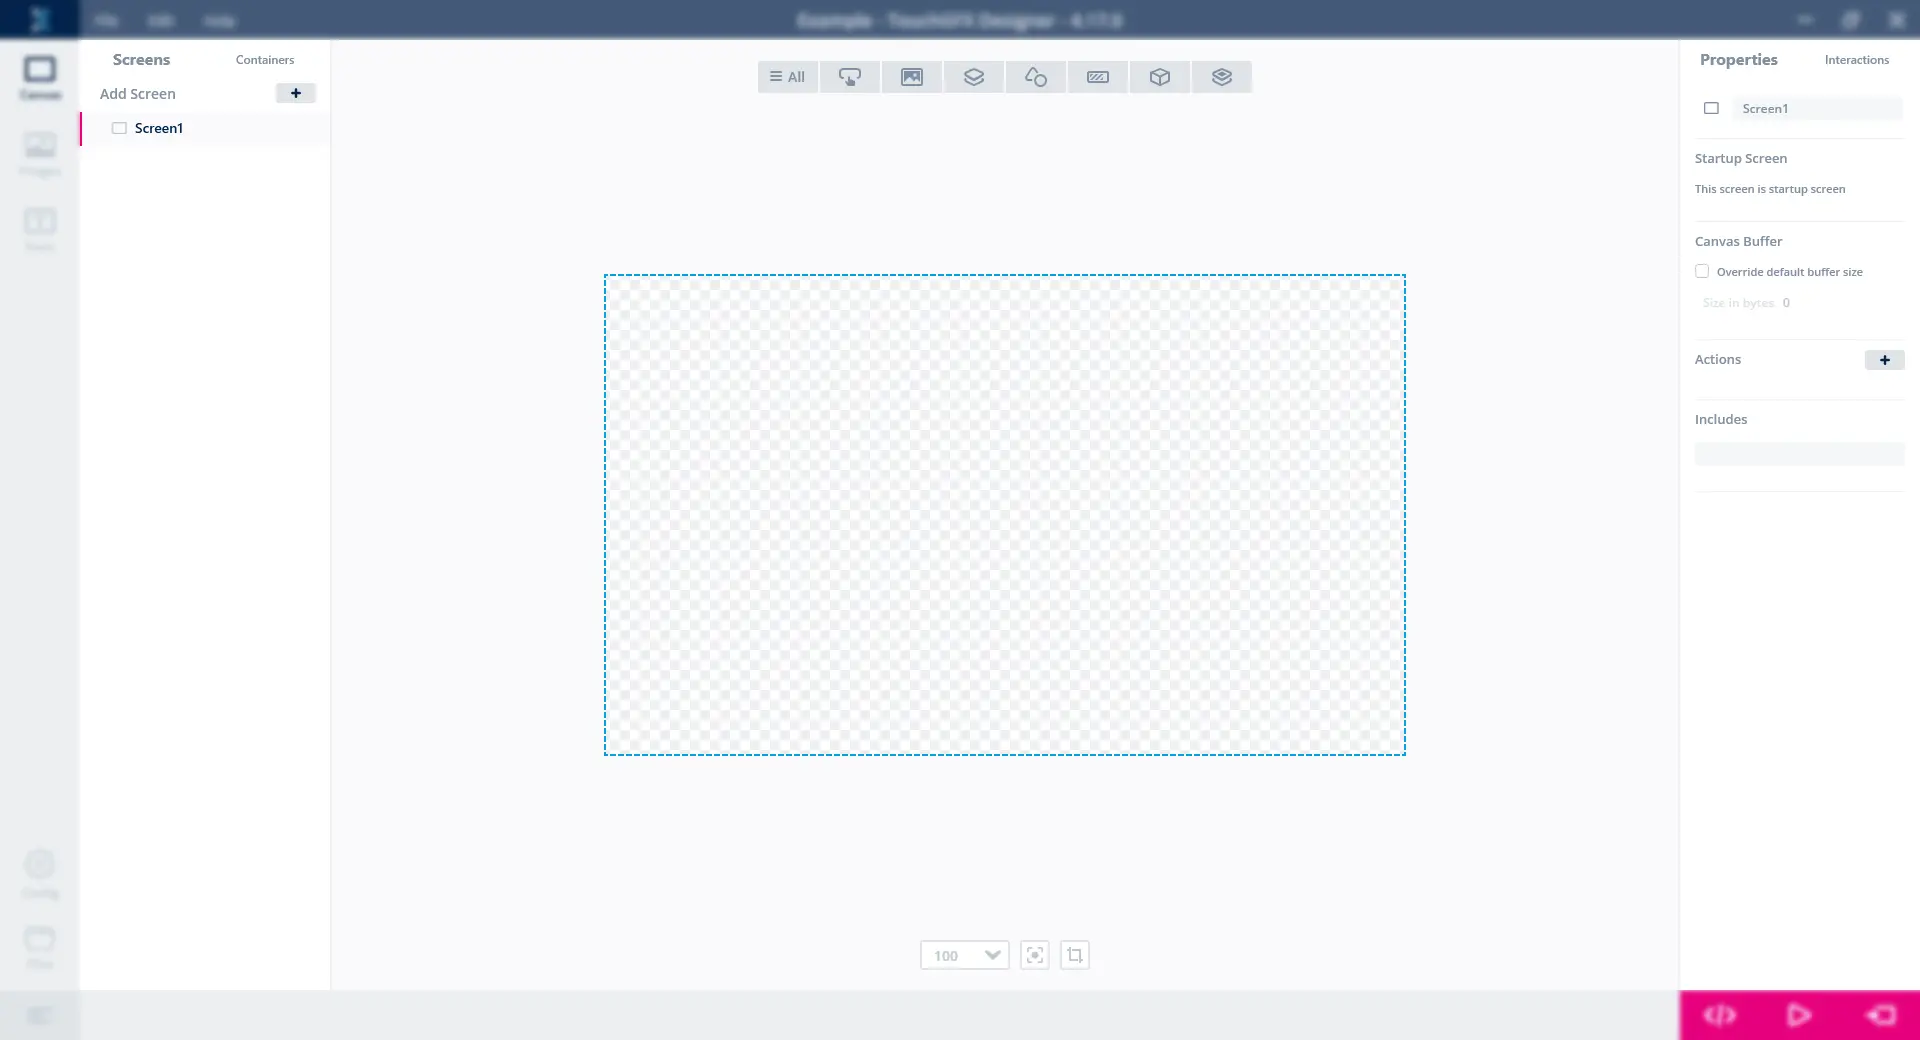
The Canvas View of TouchGFX Designer
Left Side Bar
The side bar to the left contains a tab control, with navigation between and Screens & Custom Containers.
Screens & Custom Containers
Both the Screens tab and Custom Containers tab contain a tree giving an overview of the widgets in each screen/custom container, every widget in the tree, that can contain other widgets can be collapsed by pressing the chevron next to the widgets name.
The order of the screens, custom containers, and widgets within can be changed by dragging them below or above other screens, custom containers and widgets, the order can also be changed with the widget order controls. Changing the order of widgets will determine which widgets is rendered on top of other widgets.
Widgets that are container types, can have children added to them by dragging widget on top of them in the tree view. widgets can also be dragged from one screen to another.
Select multiple widgets by pressing and holding CTRL while clicking widgets.
Screens/Custom Containers can be added to the project by pressing the "+" button. The Custom Containers can be added to screens and other custom containers from the Widget Menu, they can be found in their own category named 'Custom Containers'.
Screens, Custom Containers and Widgets also have a right-click menu where you can:
| Rename | F2 |
| Delete Widget | DEL |
| Copy | CTRL + C |
| Paste | CTRL + V |
| Move Up | CTRL + F |
| Move Down | CTRL + B |
| Edit Source Files* |
*Only available for Screens and Custom Containers
The Screens tree in the left side bar
Canvas
The top of the view contains the Widget Menu, which contains all available widgets.
The center of the view contains the canvas, which displays the view of the screen or custom container that is currently selected.
The bottom of the view contains various controls: Zoom Controls and Content Clipping Control.
The Canvas in the Canvas View
Widget Menu
Clicking the All widget group tab in the Widget Menu or its shortcut A opens up a list which contains all available widgets grouped into categories. Clicking a specific widget group tab opens up a list of available widgets within that specific category.
Clicking a widget, will add it to the canvas of the Screen or Custom Container that is currently selected and visible.
The All widget group also contains a search field which, powered by fuzzy search, helps find the widget which suits the search input best. The best result is highlighted. Due to fuzzy search, it is for example possible to input "bwl" and get "Button With Label" due to abbreviations being a factor. After inputting something into the search field, hitting Enter will insert the highlighted widget on canvas and close the Widget Menu.
The Widget Menu in the Canvas view
Widget Selection
As shown in the animation above, it is possible to select a widget by simply clicking it on the canvas. Multi-selection is also possible by clicking multiple widgets while holding down Ctrl on the keyboard.
Widget Positioning
As shown in the animation above, it is possible to move and resize widgets by dragging their thumbs.
It is also possible to move selected widgets by 1 pixel using the arrow keys. Holding down Ctrl while using the arrows keys will move selected widgets by 10 pixels.
Widget Order Controls
The z-order of widgets can be manipulated by the Bring Forward and Send Backwards shortcuts, this also changes their order in the Screens or Custom Container tree.
Bring Forward is triggered by pressing CTRL + F.
Send Backward is triggerd by pressing CTRL + B.
Content Clipping Control
In the canvas, widgets outside the borders of the Screen, Custom Container and children of container type widgets are clipped. The content clipping control toggles between clipping the widgets fully or showing them partially anyway.

Show/Hide Clipped Content control in the Canvas View
In the image below a Box is placed halfway outside the borders of a screen, when the content clipping control is set to show clipped widgets, the Box will not be shown fully but instead have the part that is outside desaturated.
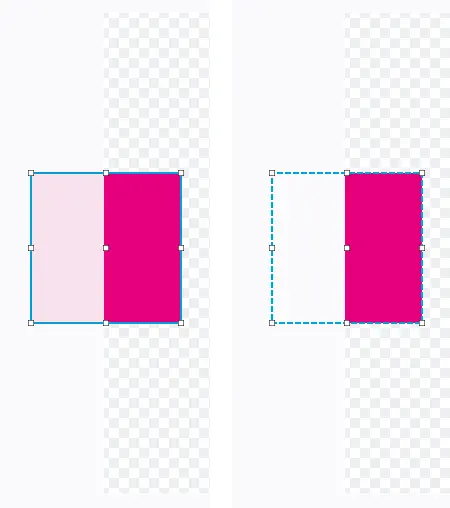
Box widget appearance difference when showing and hiding clipped content
History Controls
The history of changes performed on the canvas can be undone and redone through the Edit in the File Menu.
Each screen and custom container maintains its own history, therefore to undo or redo a change performed on a certain screen, that specific screen has to be visible on the canvas.
The History controls can also be triggered by pressing CTRL + Z and CTRL + Y.
Zoom Controls
The zoom level of the canvas can be controlled with the zoom control in the bottom of the canvas.
To center the canvas and return to 100% zoom scale press the Reset Canvas button.
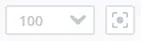
Zoom controls in the Canvas View
Zooming can also be achieved by using the following shortcuts:
| Zoom 25% | CTRL + 1 | CTRL + NUMPAD 1 |
| Zoom 50% | CTRL + 2 | CTRL + NUMPAD 2 |
| Zoom 75% | CTRL + 3 | CTRL + NUMPAD 3 |
| Zoom 100% | CTRL + 4 | CTRL + NUMPAD 4 |
| Zoom In | CTRL + Mouse wheel up | CTRL + '+' |
| Zoom Out | CTRL + Mouse wheel down | CTRL + '-' |
| Reset Zoom | CTRL + 0 | CTRL + NUMPAD 0 |
Right Side Bar
The side bar to the right contains a tab control, with navigation to the Properties of the widget currently selected, and the Interactions of the Screen or Custom Container that is currently viewed on the canvas.
Properties
The Properties tab will show the properties of the Widget/Screen/Custom Container that is currently selected. The name of the selected component is displayed at the top of the properties list. To the left side of the name there is a icon, hovering this icon will display a descriptive text and clicking the icon will link to the documentation of the component.
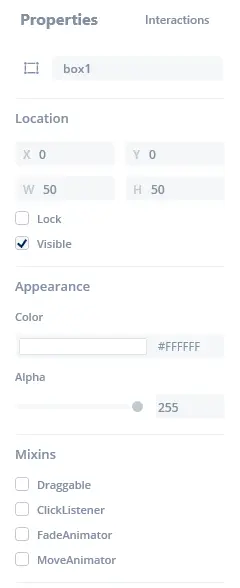
Properties of Box
Interactions
The Interactions tab will show the interactions of the Screen or Custom Container that is currently displayed on the canvas.
Interactions can be added by pressing the "+" button.
Add Interactions