列表布局
列表布局控件属于容器,会自动按给定方向将其子控件排列在列表中。 向列表布局添加控件或从列表布局中移除控件会重新排列子部件。
在模拟器中运行的列表布局
控件组
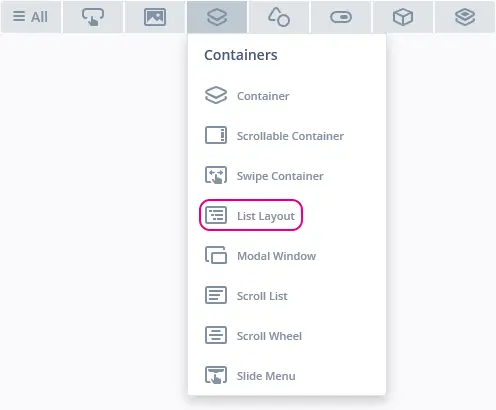
列表布局位于TouchGFX Designer中的容器控件组中。
TouchGFX Designer中的列表布局
属性
TouchGFX Designer中列表布局的属性。
| 属性组 | 属性说明 |
|---|---|
| 名称 | 控件的名称。 名称是TouchGFX Designer和代码中使用的唯一标识符。 |
| 位置 | X 和 Y 指定控件左上角相对于其父的位置。 W 和 H 指定控件的宽度和高度。 列表布局的大小总计为其子部件的总大小。 锁定 指定控件是否应锁定为其当前的X、Y、W和H。 如果锁定控件,还会禁止通过屏幕与控件进行交互。 可见 指定控件的可见性。 如果将控件标记为不可见,还会禁止通过屏幕与控件进行交互。 |
| 方向 | 方向指定布局的排列方向。 在沿东向(向右)排列的水平布局与沿西向(向下)排列的垂直布局之间进行选择。 |
| Mixin | 可拖动 指定在运行时控件是否可拖动。 ClickListener 指定控件被点击时是否会调用回调函数。 MoveAnimator 指定控件是否可绘制 X 和 Y 值变化的动画。 |
交互
TouchGFX Designer中的列表布局支持的操作和触发条件。
操作
| 标准控件操作 | 说明 |
|---|---|
| 移动控件 | 随时间的推移将控件移动到新位置。 |
| 隐藏控件 | 隐藏控件(将可见性设置为false)。 |
| 显示控件 | 使隐藏的控件可见(将可见性设置为true)。 |
触发条件
列表布局不会产生任何触发条件。
性能
列表布局自身对性能没有显著影响,几乎完全依赖于其子部件。 因此,在大部分平台上,会将列表视为非常快速的控件。
更多关于绘图性能的常规信息,请阅读常规UI组件性能部分。
列表布局的大小
When a List Layout is inserted in TouchGFX Designer, the size is set to 250 x 250 pixels.
If you add any Widgets to the List Layout in TouchGFX Designer the size of the List Layout is adjusted to fit the children on both width and height.
If you don't add any children in TouchGFX Designer but only in code, the List Layout does not remove the initial space created by TouchGFX Designer.
下面是我们在TouchGFX设计器中添加列表布局的一个示例。 我们在背景中有一个黄色框,在列表布局后有一个白色框来显示其区域:
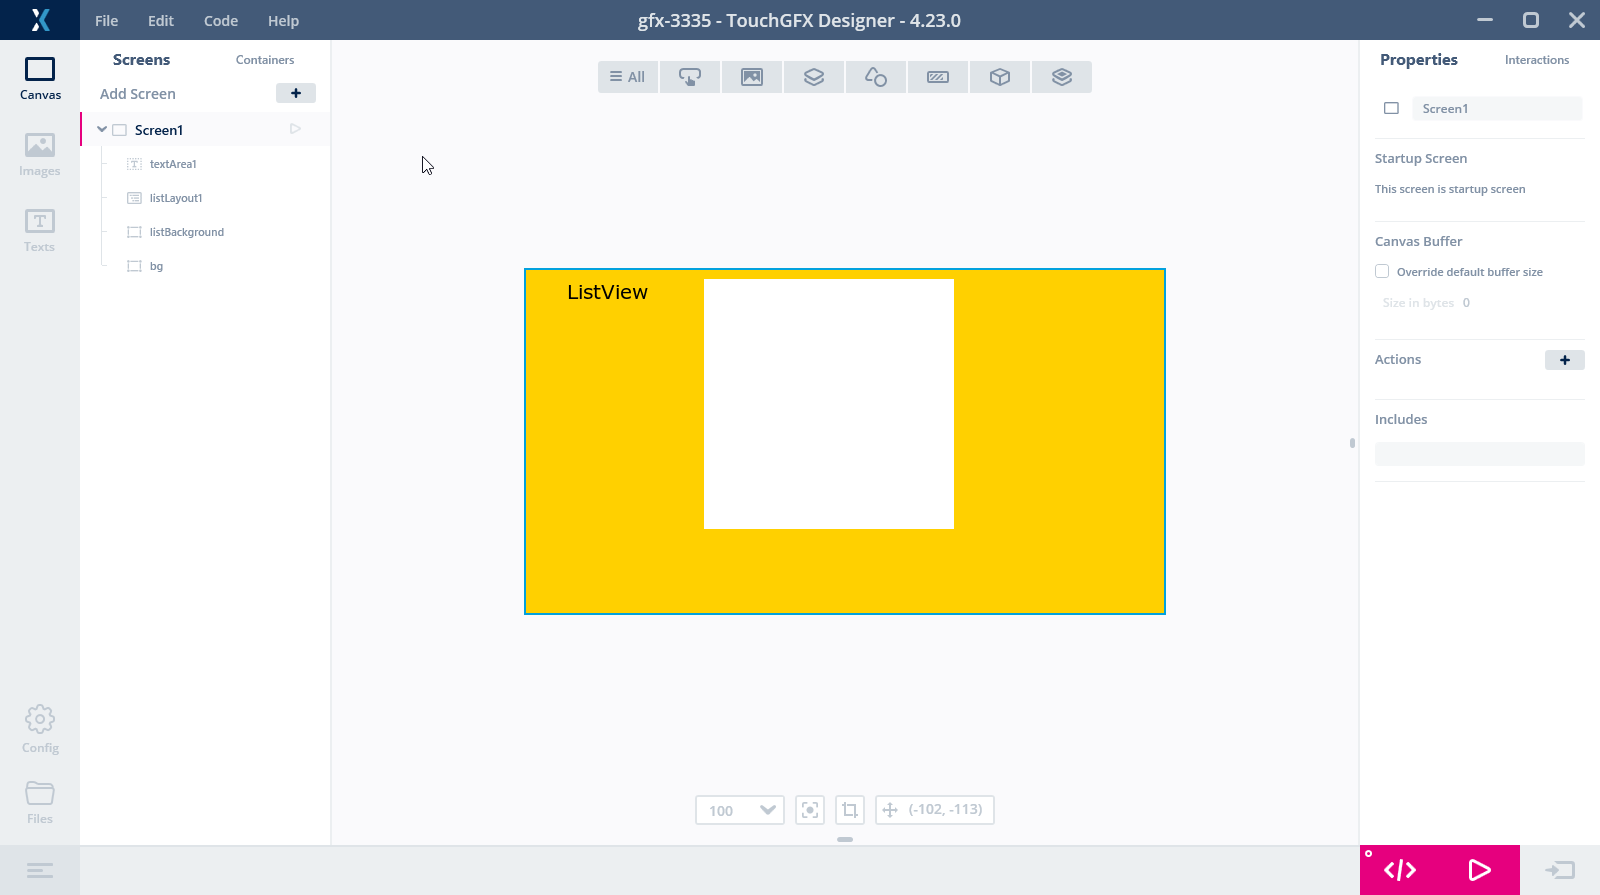
List Layout in TouchGFX Designer.
我们没有向列表布局添加任何子项,因此大小为默认的250 x 250像素。
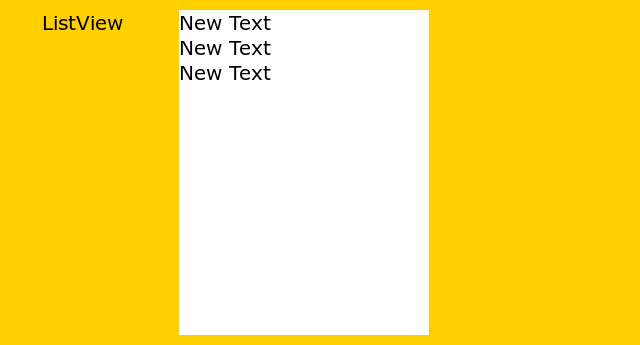
我们将使用以下方法在用户代码中添加三个TextArea:
Screen1View.cpp
#include <gui/screen1_screen/Screen1View.hpp>
#include <texts/TextKeysAndLanguages.hpp>
#include <touchgfx/Color.hpp>

void Screen1View::setupScreen()
{
    Screen1ViewBase::setupScreen();
    //listLayout1.setWidthHeight(0, 0); // Remove excess space in List Layout
    for (int i=0; i < 3; i++)
    {
        TextArea *textArea = new TextArea();
        textArea->setWidthHeight(100, 25);
        textArea->setTypedText(touchgfx::TypedText(T_RESOURCEID1));
        listLayout1.add(*textArea);
    }
    listBackground.setWidthHeight(listLayout1);
}
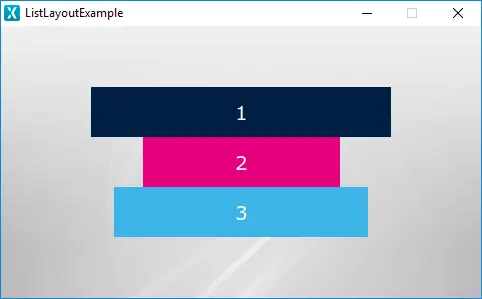
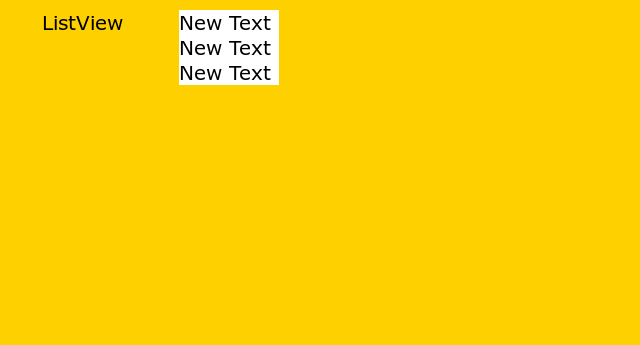
最后一行使白色方框的大小与列表布局的大小相同(添加新的子项后)。 应用程序如下所示:
列表布局示例。
我们看到列表布局高于3个子项。 正好有375像素高和250像素宽。
如果我们取消setupScreen()函数中第8行的注释,会得到以下图像:
列表布局示例。
示例
生成代码
在生成的视图基类的代码中,可以查看TouchGFX Designer是如何创建列表布局的。
Screen1ViewBase.cpp
#include <gui_generated/screen1_screen/Screen1ViewBase.hpp>
#include <touchgfx/Color.hpp>

Screen1ViewBase::Screen1ViewBase()
{
    listLayout1.setDirection(touchgfx::SOUTH);
    listLayout1.setXY(90, 111);

    box1.setWidth(50);
    box1.setHeight(50);
    box1.setColor(touchgfx::Color::getColorFromRGB(255, 255, 255));
    listLayout1.add(box1);

    add(listLayout1);
}
Tip
listLayout1.invalidate() 以强制重绘。用户代码
下面是我们在TouchGFX设计器中添加列表布局的一个示例。
Drawable * next = (listLayout1.getFirstChild());
TypedText* containerText;
MyCustomContainer* current;
while (next != NULL)
{
    current = (MyCustomContainer*) next;
    containerText = current->myContainerFunction();
    doMyfunction(containerText);
    next = next->getNextSibling();
}
TouchGFX Designer示例
如需进一步了解列表布局,请尝试在TouchGFX Designer中使用下列UI模板之一创建新应用:
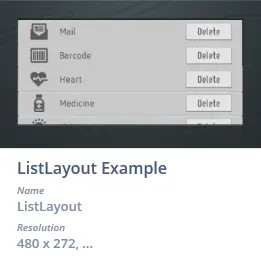
TouchGFX Designer中的列表布局示例UI模板