Changing the Pixel Format of an Application
This article shows how to change the pixel format of an application after a project has been created. Concretely, this article exemplifies modifying a 24-bit RGB888 application to be 16-bit RGB565 through the TouchGFX Generator and also shows the impact on the TouchGFX project configuration. Reasons to change the pixel format could be the following:
- Modified display requirements
- Modified application requirements
- Mistake during initial project creation
Further reading
Generally, the following changes could be required to change the pixel format of your application.
- Board Bring Up: Change the pixel format of the LTDC.
- HAL Development: Modify TouchGFX Generator settings to reflect LTDC settings or location of framebuffer(s) in memory.
- TouchGFX Designer: Ensure that the designer is using this new converted bit depth and correct format for image assets.
Starting from the designer we can inspect the current configuration for Display and Image and return to these screens later to validate.
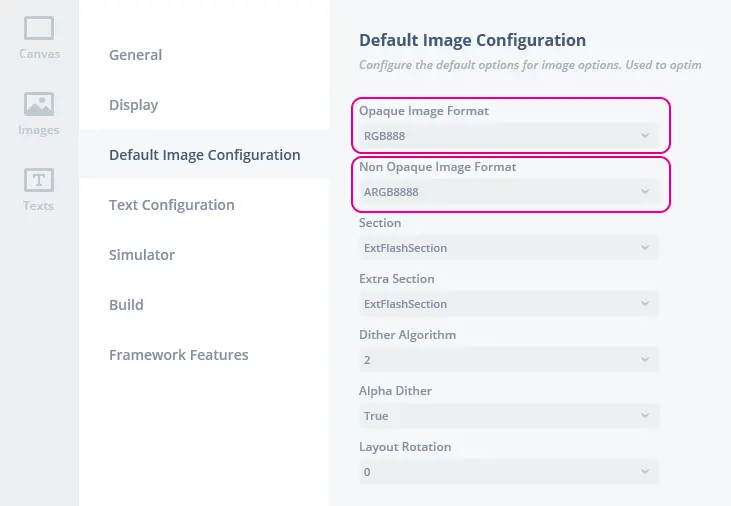
Image configuration RGB888
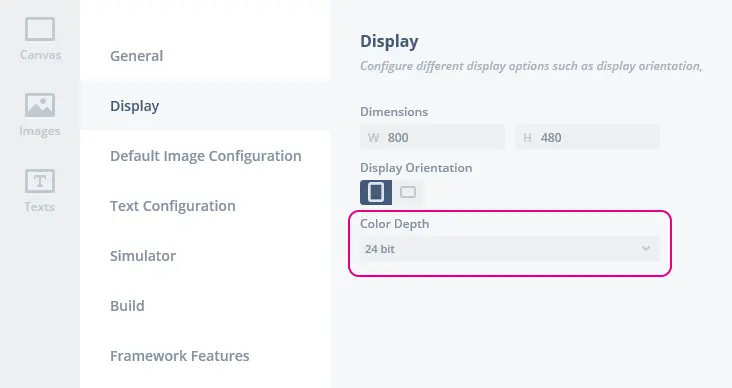
Display configuration 24-bit
Board Bring Up
If certain settings in the STM32CubeMX project can impact the desired pixel format of the application, as is the case for LTDC, developers are required to make appropriate changes here such that TouchGFX renders in the format expected by the LTDC.
Further reading
HAL Development
If the bit-depth of the applications changes along with the pixel format of the framebuffer (e.g. changing ARGB2222 to BRGA2222 you would still have an 8-bit application), developers may be required to modify the memory locations of the framebuffers. In the case below:

Modify pixel format
Generating code using this configuration will generate a TouchGFXConfiguration that uses the 16-bit TouchGFX LCD class.
TouchGFXConfiguration.cpp
static LCD16bpp display;
If the project is open in TouchGFX Designer, developers will be prompted to update to reflect the newly generated configuration changes.
{
  "image_configuration": {
    "images": {},
    "dither_algorithm": "2",
    "alpha_dither": "yes",
    "layout_rotation": "0",
    "opaque_image_format": "RGB565",
    "nonopaque_image_format": "ARGB8888",
    "section": "ExtFlashSection",
    "extra_section": "ExtFlashSection"
  },
The table below lists the impact on opaque and non-opaque image formats given a pixel format:
| Framebuffer pixel format | Opaque format | Non-Opaque format |
|---|---|---|
| Gray2 | Gray2 | Gray2 |
| Gray4 | Gray4 | Gray4 |
| ABGR2222 | ABGR2222 | ABGR2222 |
| ARGB2222 | ARGB2222 | ARGB2222 |
| BGRA2222 | BGRA2222 | BGRA2222 |
| RGBA2222 | RGBA2222 | RGBA2222 |
| RGB565 | RGB565 | ARGB8888 |
| RGB888 | RGB888 | ARGB8888 |
TouchGFX Designer
Once the TouchGFX project has been updated based on the new TouchGFX Generator settings defined in STM32CubeMX, developers will find that the TouchGFX Designer configuration has changed to match.
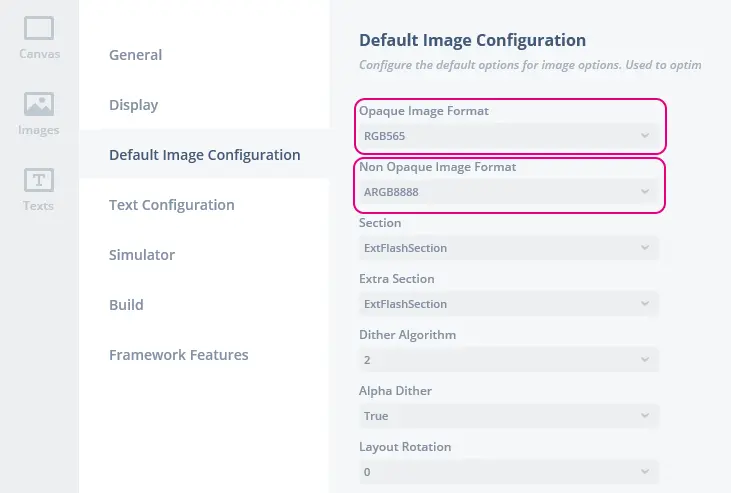
Image configuration RGB565
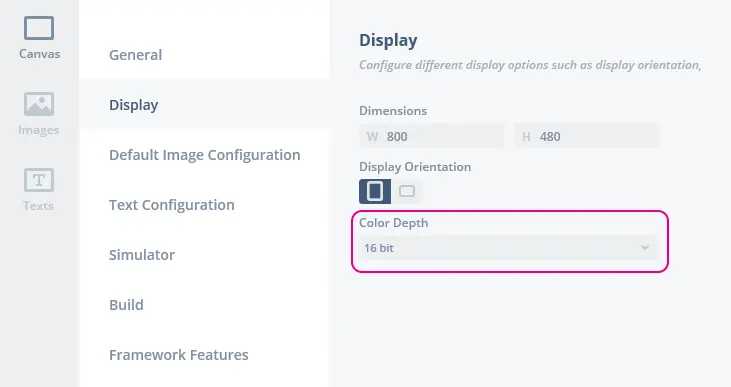
Display configuration 16-bit
After generating code from within TouchGFX Designer the code for image assets now reflect the updated pixel format:
TouchGFX\generated\images\src\my_image.png
LOCATION_PRAGMA("ExtFlashSection")
KEEP extern const unsigned char my_image[] LOCATION_ATTRIBUTE("ExtFlashSection") = // 320x240 RGB565 pixels.
Conclusion
Modifying the current pixel format of an application can be done by simply using TouchGFX Generator. For MCUs with an LTDC, the layer running TouchGFX must match the Framebuffer pixel format defined in TouchGFX Generator (Limited to RGB565 and RGB888 for LTDC) settings to ensure compliance with the format rendered by TouchGFX Core.
Once code has been generated from STM32CubeMX, the TouchGFX project will be updated and upon subsequent code generation in TouchGFX Designer both image assets and framebuffer driver will have the specified formats.