1. Create Project
Motivation
In this section we will use CubeMX to generate a working project for the specific MCU. This project will be the basis for the rest of the steps in this how-to guide.
We will refine the project using CubeMX in coming steps and write and integrate code to make all required peripherals work.
This project will be long lived and should be kept. You should now decide on a strategy to keep the different versions available, so that you can go back and run them again. Either on new hardware or just to recheck the hardware.
Maybe you need many small test programs. In that case this project is a good starting point.
Goal
The goal is to create a project in CubeMX that can be flashed to your board and executed. If you have an IDE with a debugger (e.g STM32CubeIDE or IAR Embedded Workbench) you should also check that you can debug and step your project on the MCU.
If you do not have a debugger you should find a way to print out debug statements from various places in your project. E.g. on a serial port.
Verification
Here are the verification points for this section:
| Verification Point | Rationale |
|---|---|
| Project opens in IDE | The project was generated correct by CubeMX and can be used as starting point for further board bring up development. |
| Project compiles | The project is setup correctly with drivers and include paths. We can write more code and recompile the project repeatedly. |
| Breakpoints are hit | The project can be debugged and stops at breakpoints. We can examine the project state and investigate errors. |
Prerequisites
The following are the prerequisites for this step:
- STM32 based board
- Programming / debugging interface - ST-LINK, JLINK or similar
- CubeMX installed
- IDE installed - STM32CubeIDE, IAR Embedded Workbench, Keil uVision or similar
Do
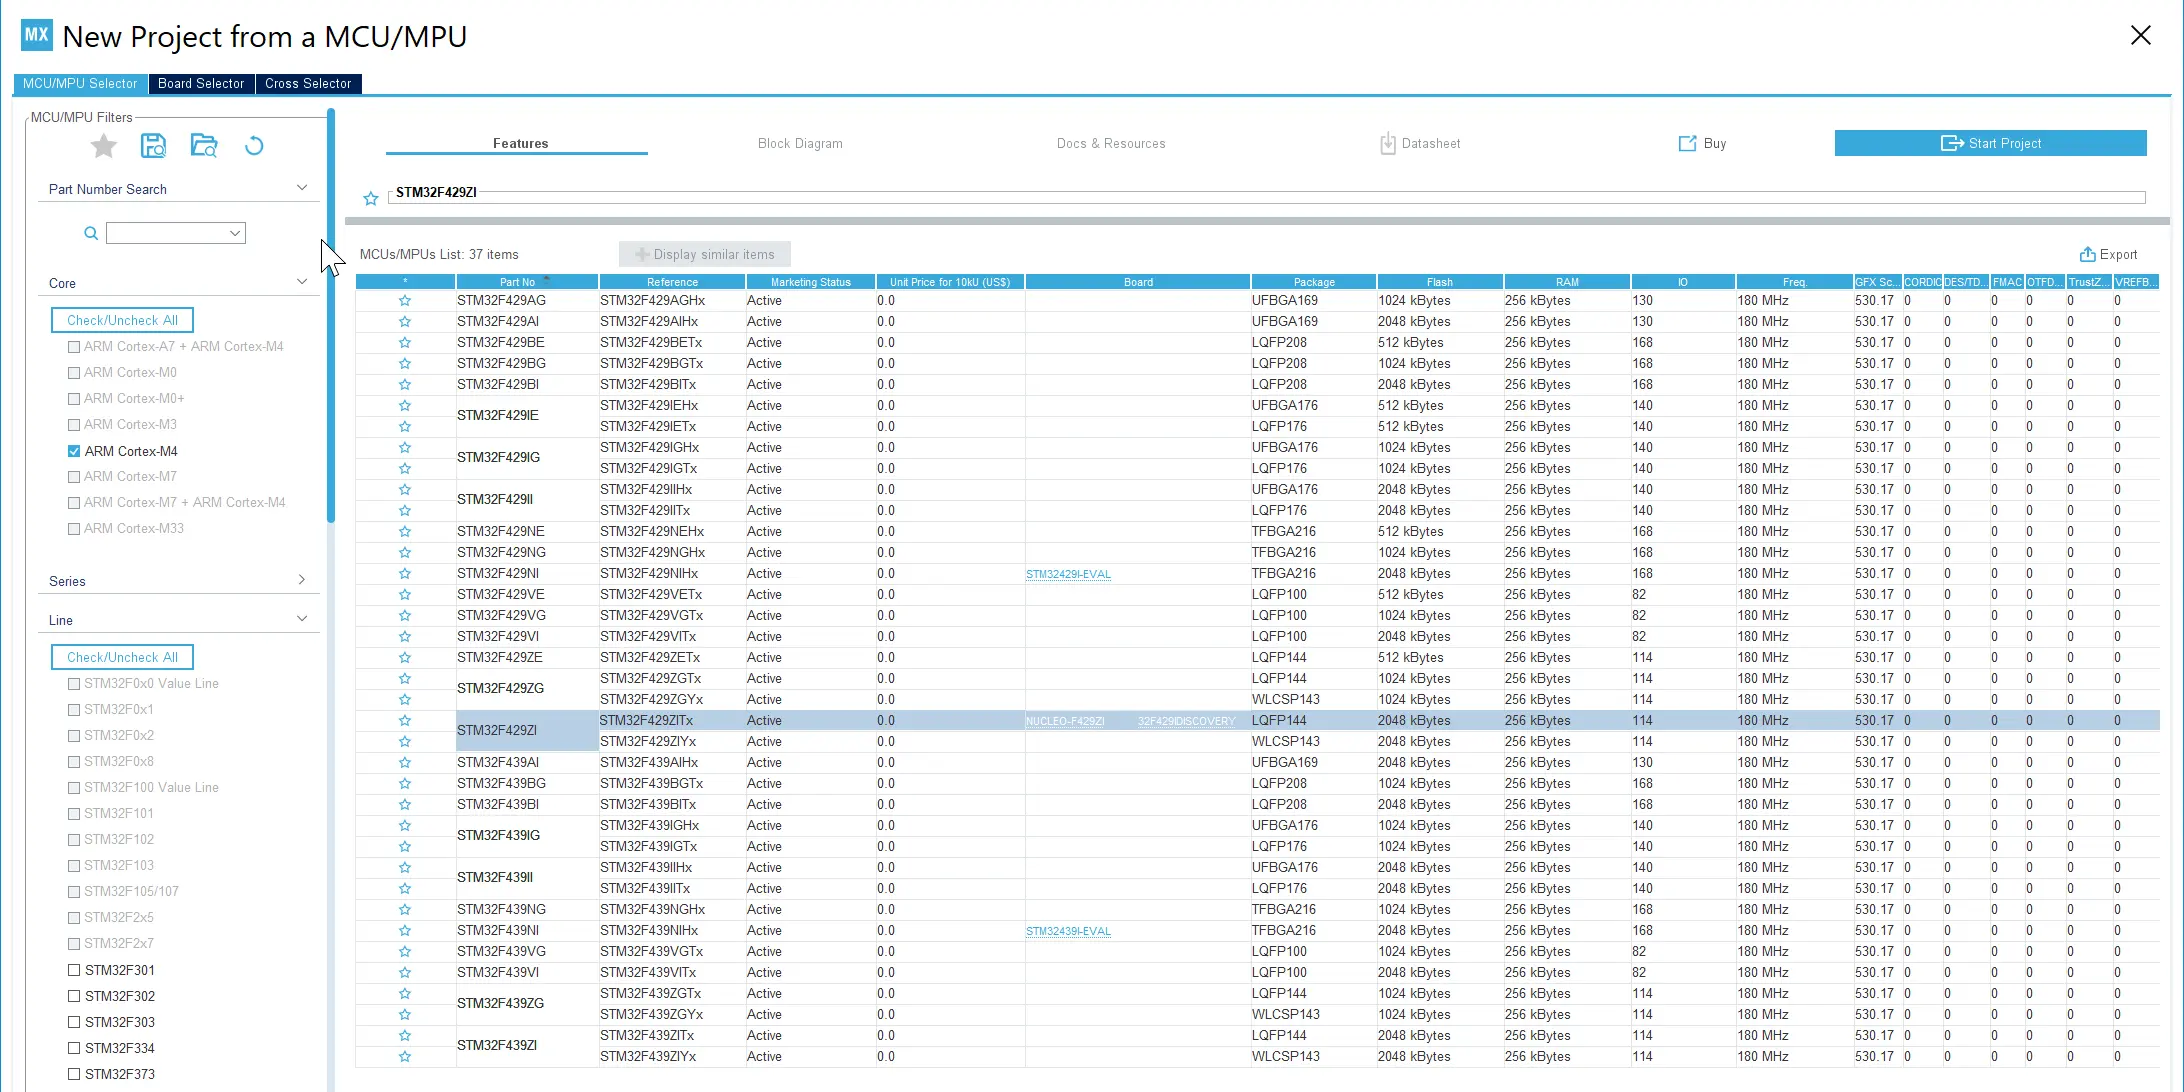
We will now go through the steps of creating a new project in CubeMX. In this example we will use the STM32F429 MCU. You should of course select the MCU on your hardware.
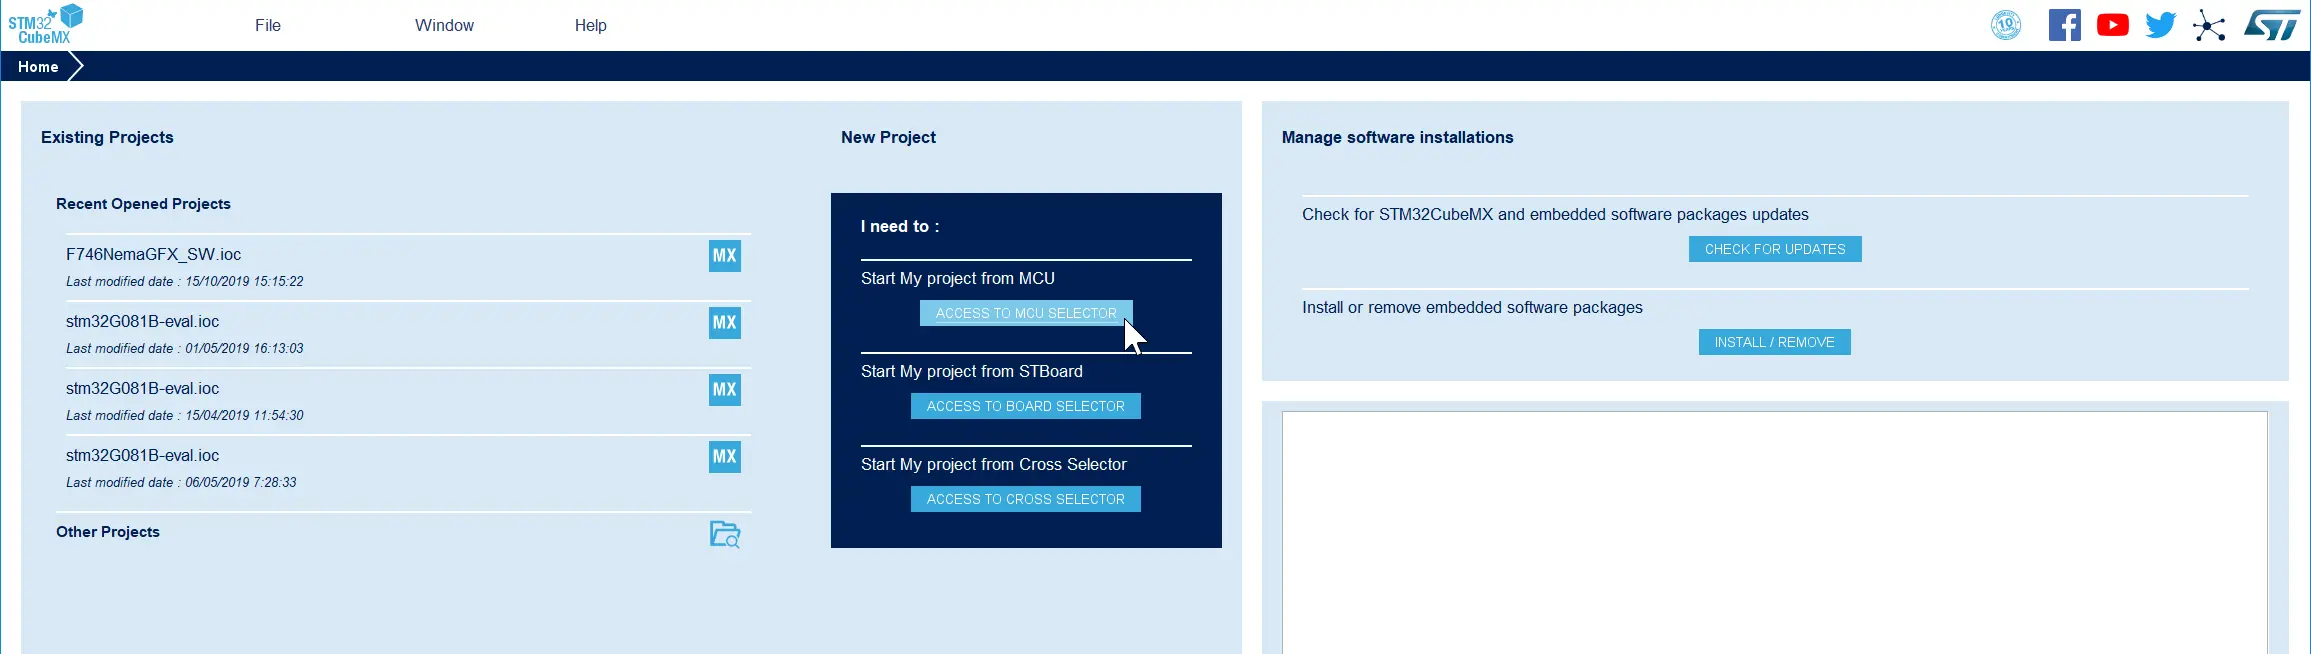
In CubeMX click "ACCESS TO MCU SELECTOR" in the "Start My Project from MCU":
Create new Project
It is also possible to start a new project based on a STM32 evaluation kit, e.g. the STM32F429Discovery board. You can/should do this if your hardware design is based on one of the evaluation kits.
We then select the relevant MCU. Here we select the STM32F429ZIT6U:
Select the MCU
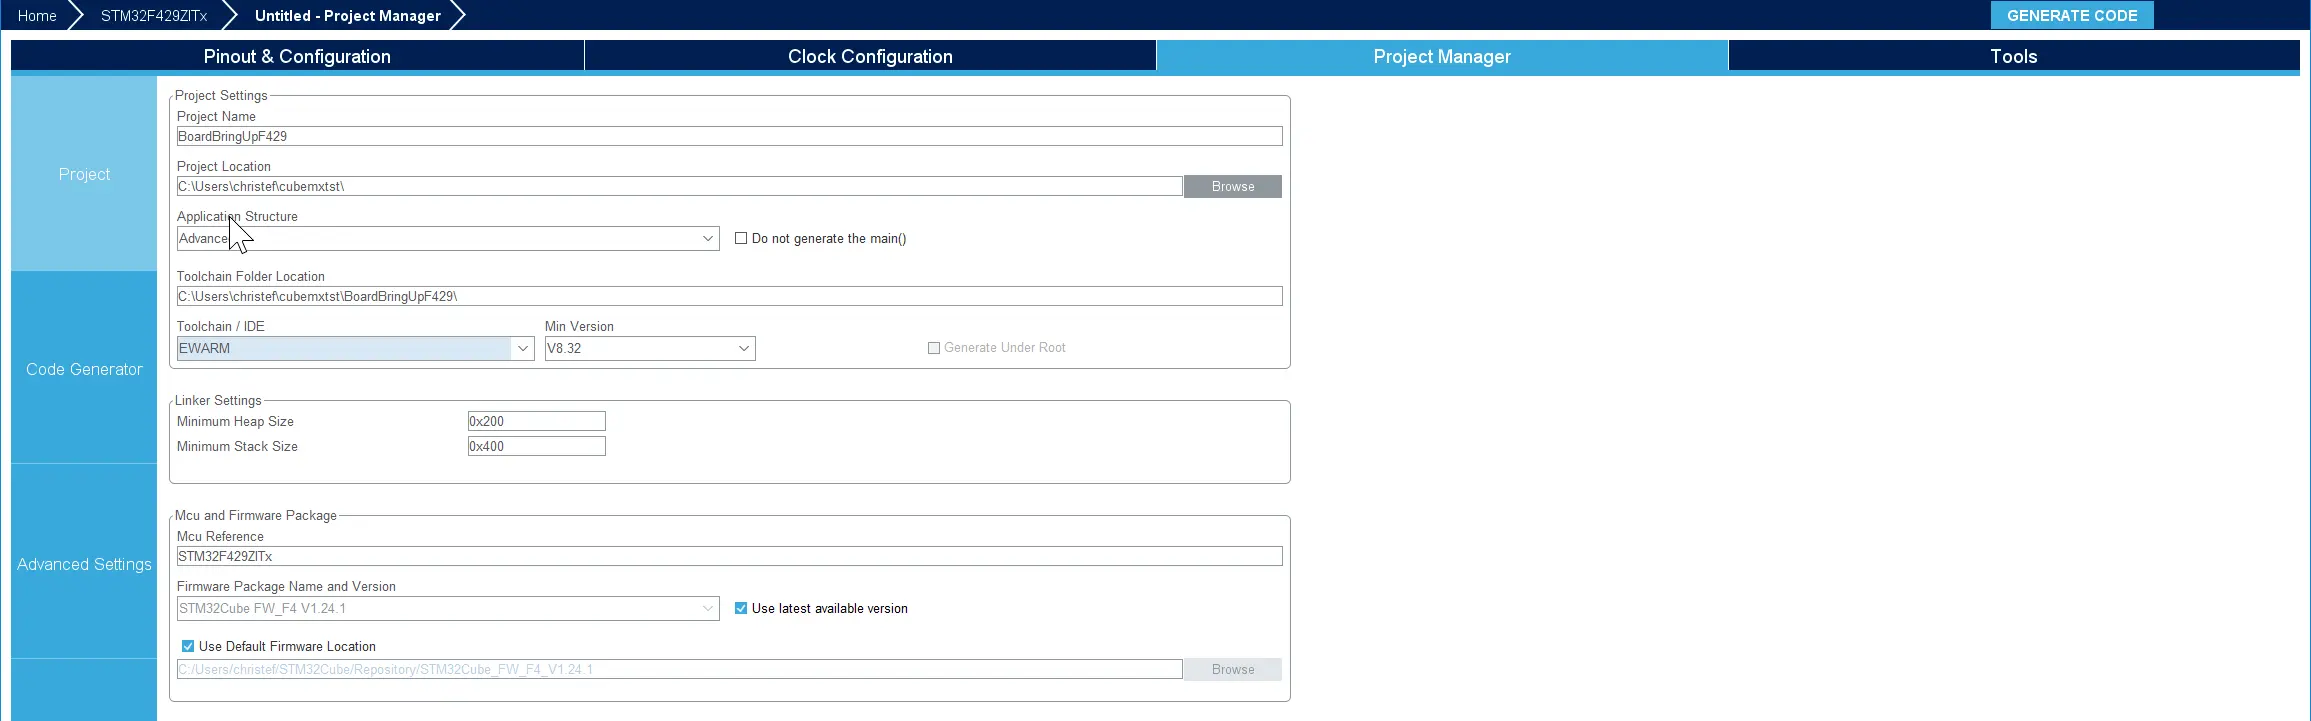
Change to the "Project Manager" tab, and give your project a name. You can of course also select a new project location. Under "Application Structure", select Advanced. Under "Toolchain / IDE" you must select your IDE. For this example we select IAR:
Set project name and IDE
Now click the "Generate Code" button in upper right corner. If this is your first project for the selected MCU family (F4/F7/H7) CubeMX automatically proposes to download the relevant Cube Firmware package. Accept that to get the latest version for later use.

CubeMX can download Cube Firmware
Click "Open Project" to open the project in your IDE:

The project is generated
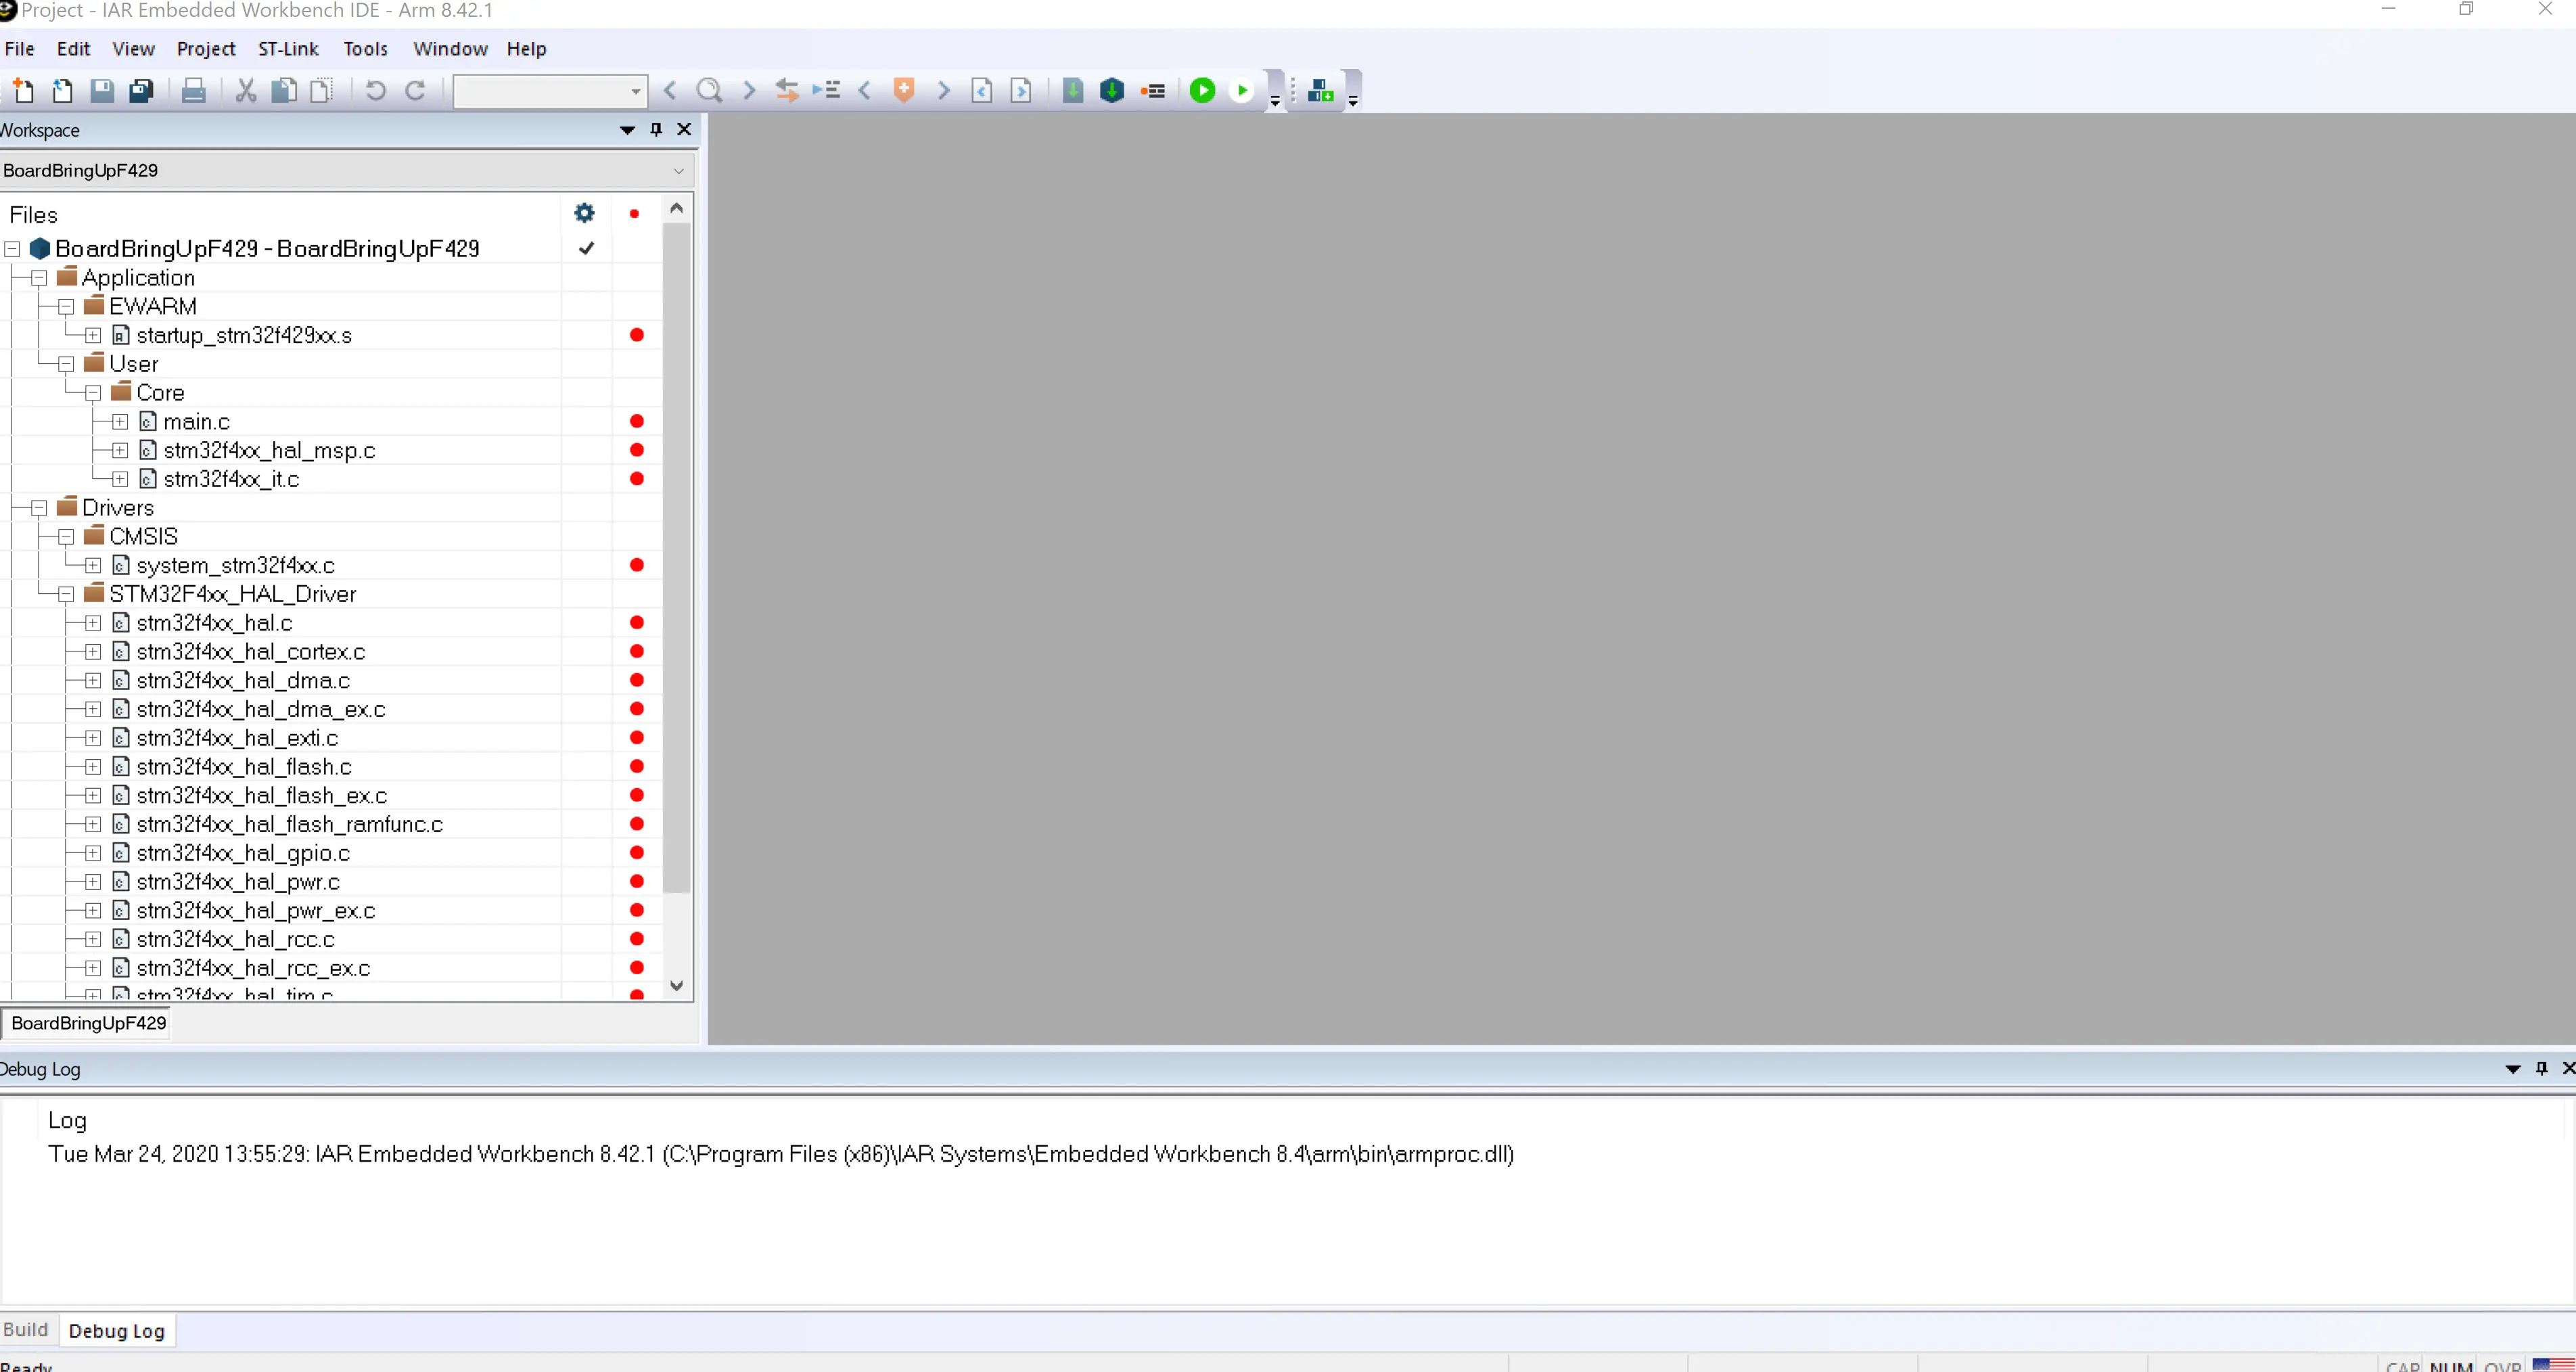
The project is opened in IAR Embedded Workbench
The project generated by CubeMX contains startup code specific to the MCU, interrupt table, system initialisation code, and HAL drivers for all the peripherals in the MCU.
The project can now be compiled and debugged from your IDE. In IAR we click Project->Make to compile the project, and Project->Download and Debug to debug the project:
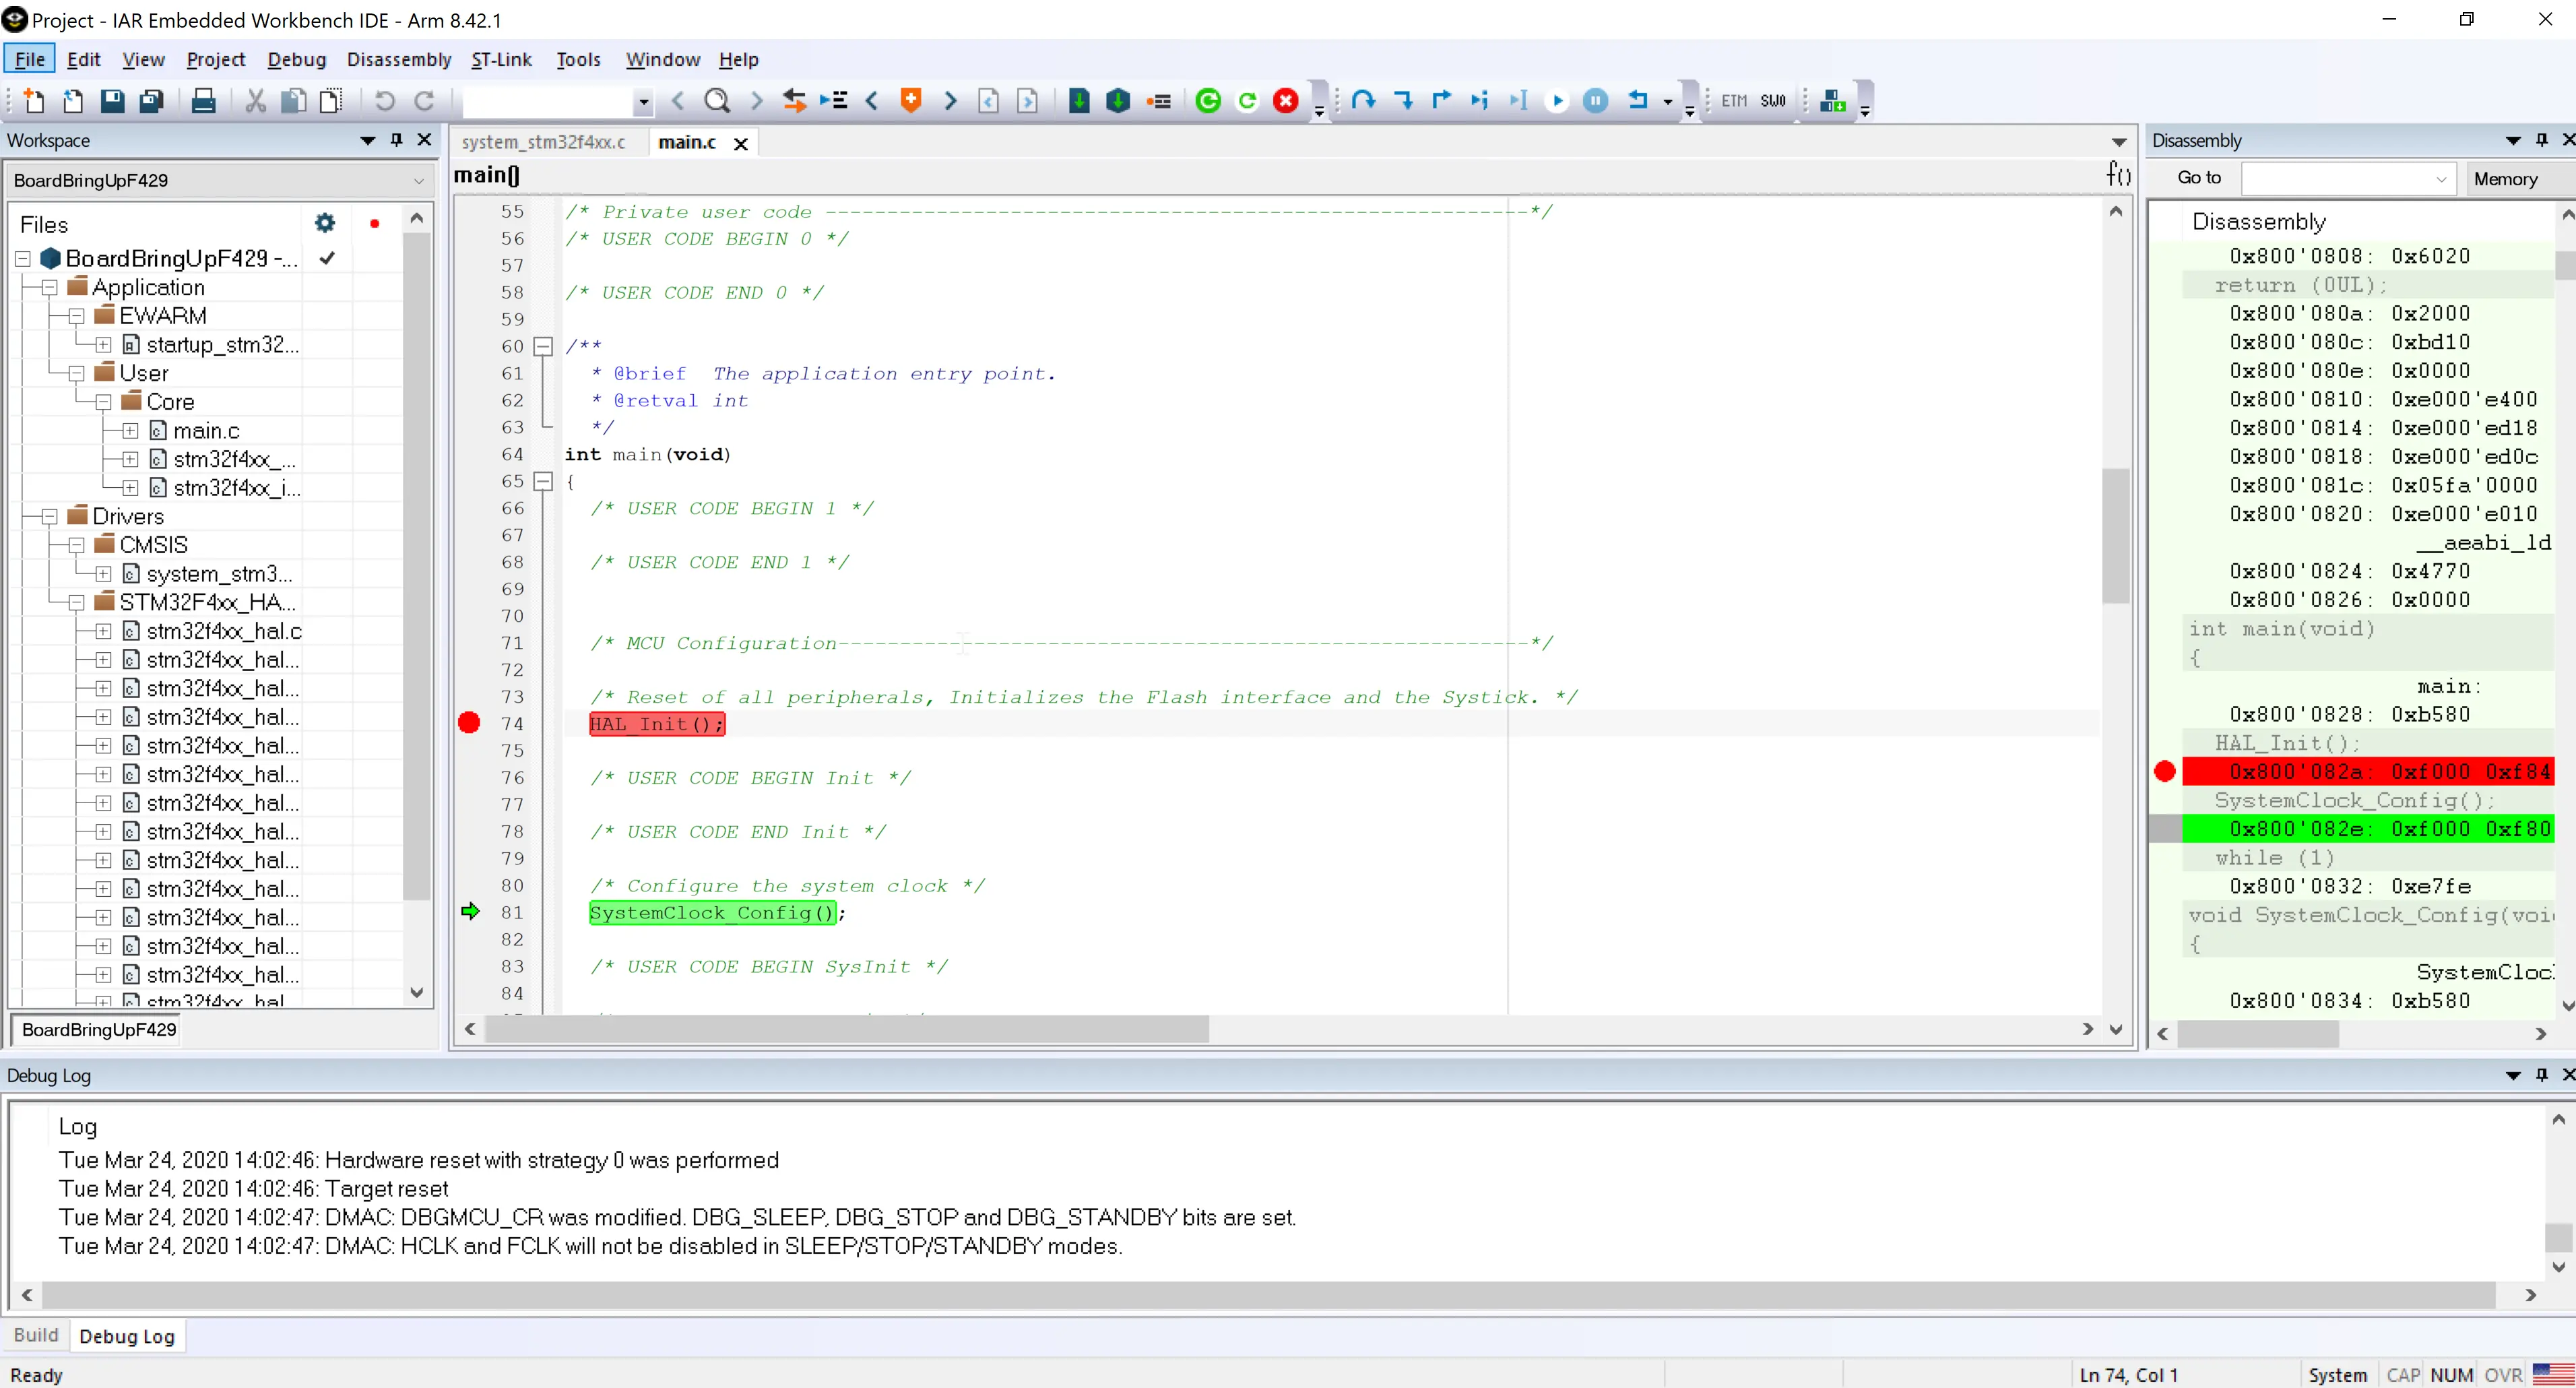
Debugging the project in IAR Embedded Workbench
The IAR project is setup to use the STLink debugger. If you are using something else, then change the Debugger properties for the project in your IDE.
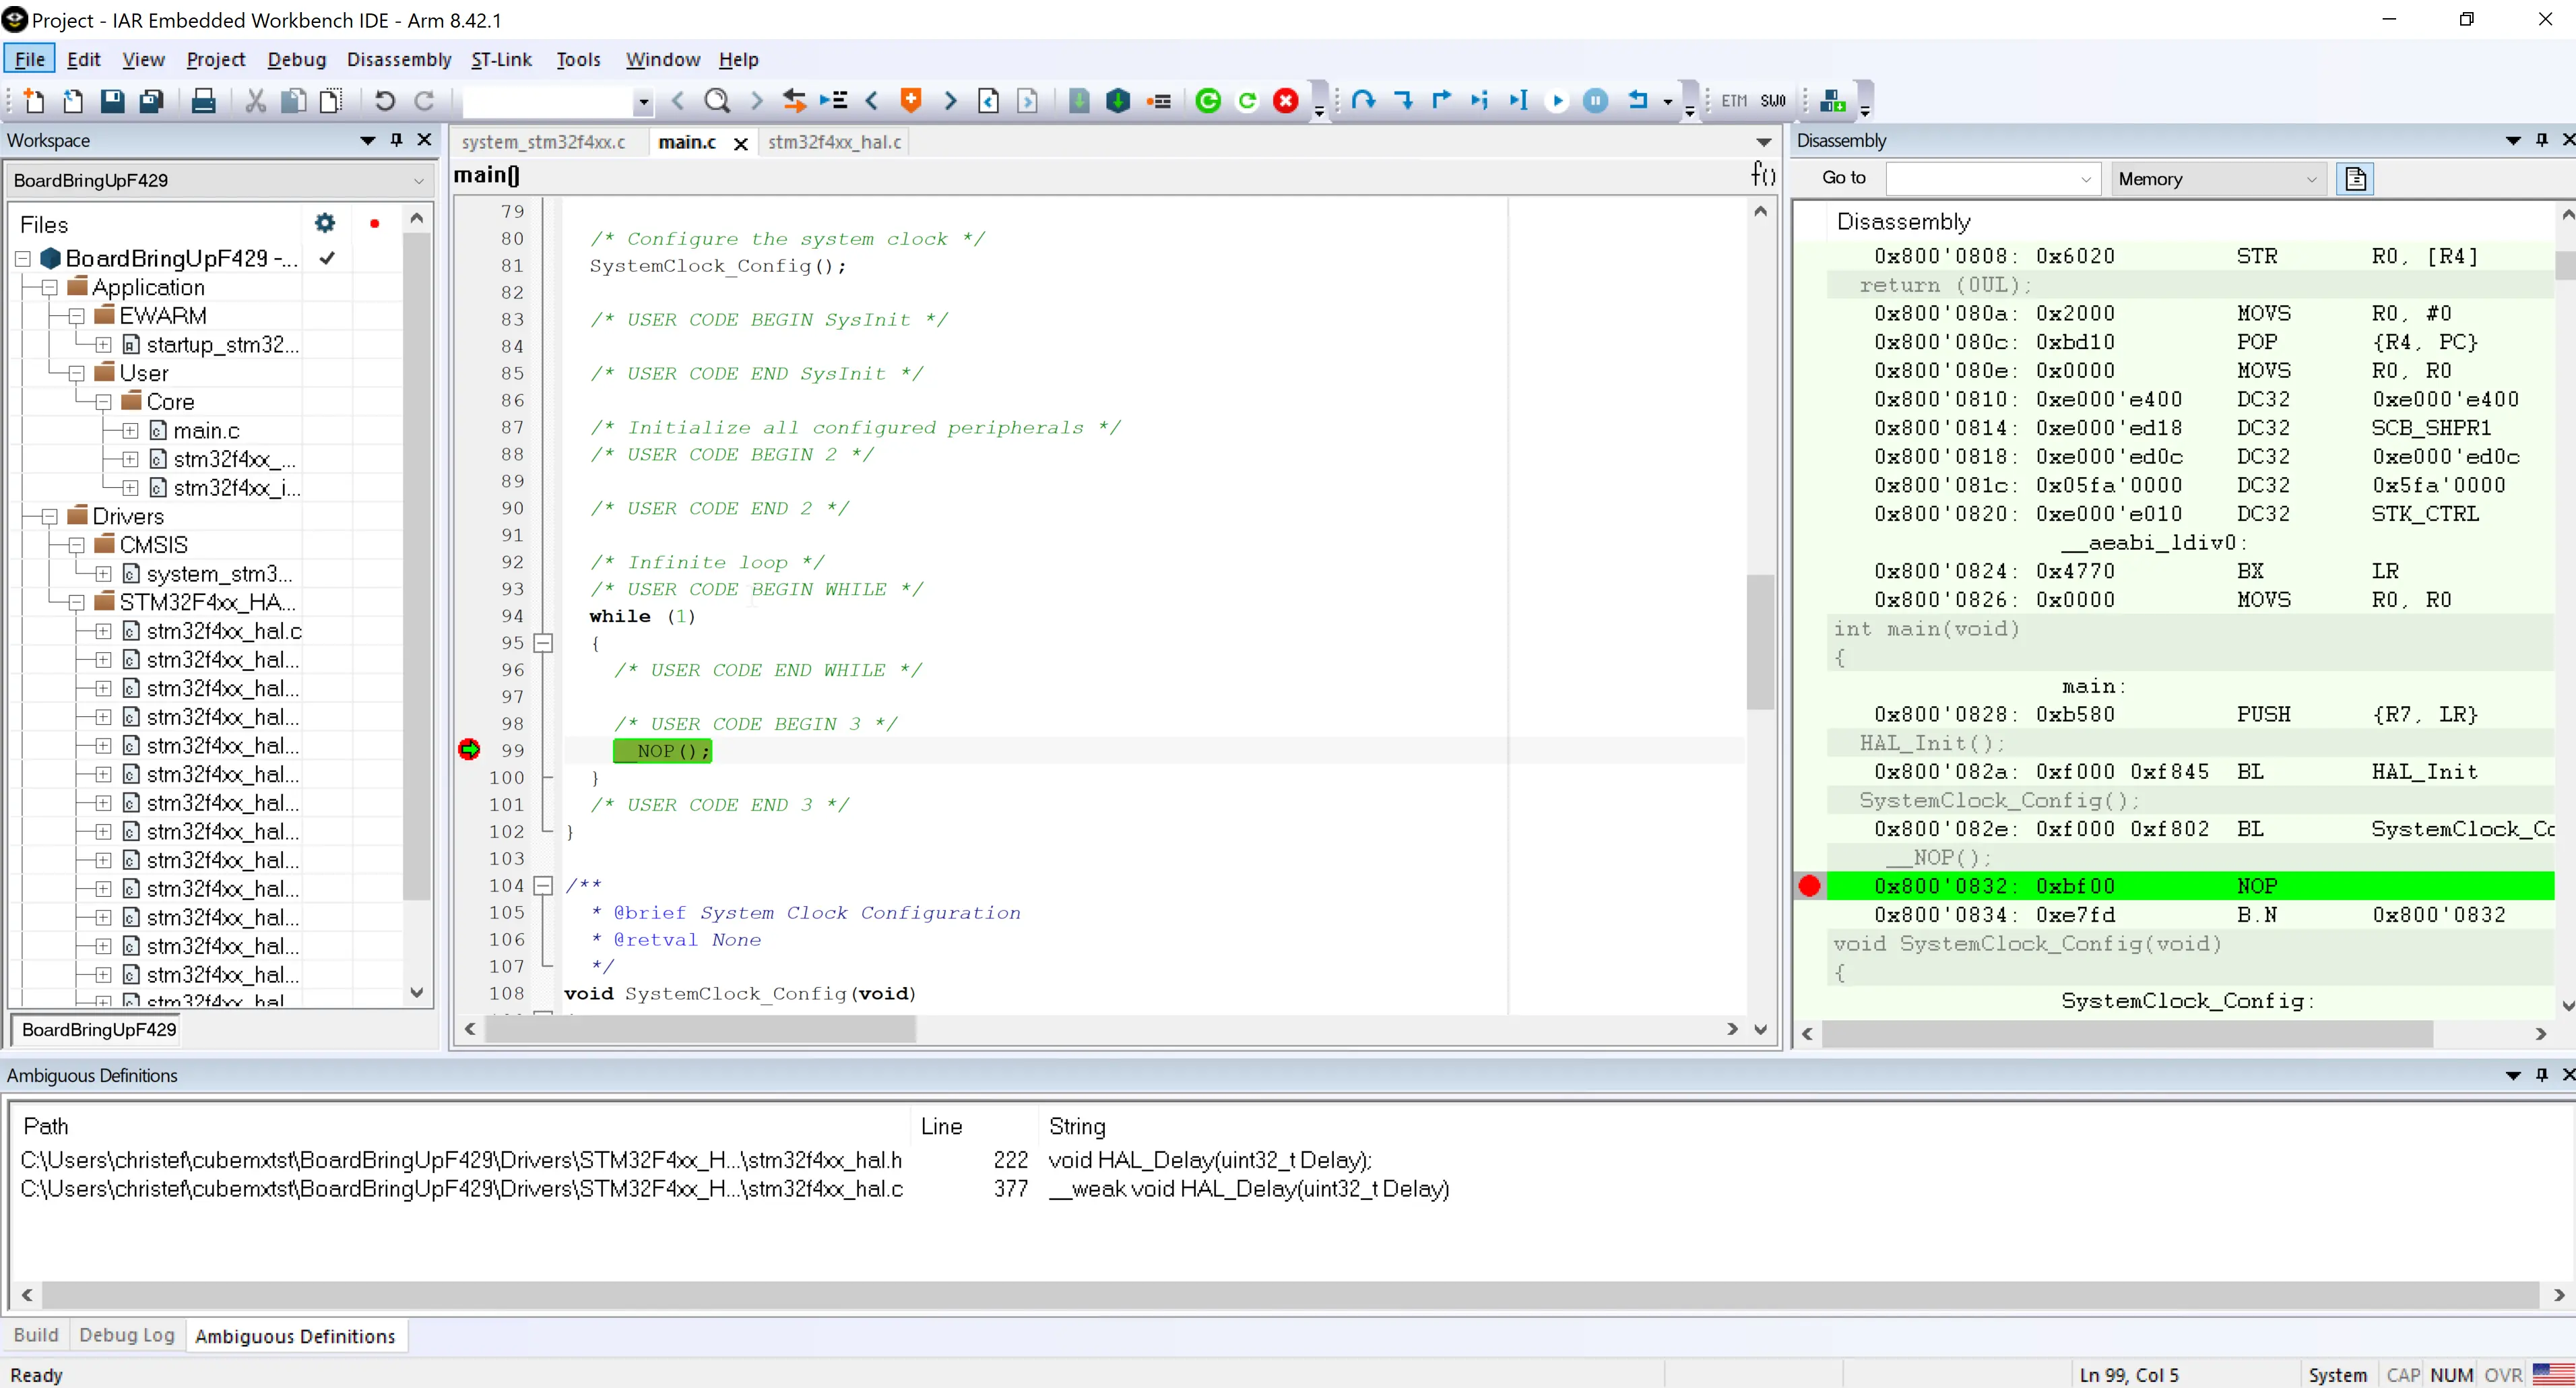
The main loop is running continously
The while loop in main is typically important in projects running without an operating system. Check that you get there by setting a breakpoint and maybe add some code to the loop.
It is recommended to browse the project in your IDE to get familiar with the structure. Try also to step from SystemInit to main.
User Code sections
At this step it is important to understand the concept of "User Code sections" used by CubeMX before you start editing your project. All of the source files in the Core/Src folder in your project are generated by CubeMX. When you later change the project configuration in CubeMX, e.g. to enable a UART, some of these files will be regenerated. You have probably also inserted code in some of these files. Your code will be lost when CubeMX regenerates the project unless you follow one single rule:
- Only write code in User Code sections
Any code that you write outside of a User Code section will be deleted by CubeMX.
As an example, let us look at the first few lines in Core/Src/main.c:
main.c
int main(void)
{
  /* USER CODE BEGIN 1 */

  /* USER CODE END 1 */


  /* MCU Configuration--------------------------------------------------------*/

  /* Reset of all peripherals, Initializes the Flash interface and the Systick. */
  HAL_Init();
  ...
}
If you want to insert code here in the beginning of the main function, you must put it between USER CODE BEGIN 1 and USER CODE END 1. If you put code outside this block it will be deleted by CubeMX.
Caution
Further reading
The documents linked here contains more information about CubeMX: