向量字型
TouchGFX自4.23版開始支援使用向量格式字型。 以向量格式儲存的字型,有助於減少字型資料的大小,因為字型資料會在所有大小的字型之間共用。 相較之下,每種字型大小的點陣圖字型都有該大小字符專屬的點陣圖。
向量字型用於使用者介面,就像是使用TextArea或ButtonWithLabel等小工具的一般點陣圖字型。
要使用向量字型格式,就必須在STM32CubeMX為平台啟用向量字型功能。
向量字型僅於16bpp、24bpp或32bpp影像緩衝區獲得支援。
什麼是向量字型
向量字型是指以曲線及直線描述的個別字母。 這類曲線及直線可放大及縮小,以產生不同大小的字符。 我們一般在TouchGFX使用的所有字型都是向量字型(例如TrueType或OpenType字型)。 字型描述中的曲線及直線會在TouchGFX Designer產生圖資時,由TouchGFX Font Converter轉換為許多小型點陣圖。
將向量字型轉換為點陣圖時,是以TouchGFX Designer之中定義的字體排印為基礎。 例如應用程式可能使用大及小這兩種字體排印。 大可能是以大小30的Verdana為基礎,小可能是以大小20的Verdana為基礎。 如果我們假設應用程式在這類字體排印中使用字符A-Z和a-z,則每個字體排印就會有52個字符,不過應用程式將包含104個點陣圖,因為每個字母會有兩個點陣圖, 也就是一個點陣圖用於大小30,另一個用於大小20。
向量字型則不一樣,因為我們會保留字符的向量定義,不會建立字符的點陣圖, 而是只讓向量定義包含在目標應用程式中一次。 產生所需兩種字體排印時唯一需要的額外資料,就是兩種不同的縮放係數。 其中一個係數用於將向量定義放大為大小30,另一個則用於縮小至大小20。
因此如果我們將另一個字體排印大小新增至範例應用程式,例如大小40的Verdana,則Flash需求只會略微增加。
範例
舉例來說,Truetype字型Verdana中「G」的向量定義為170位元組。
代表字符的點陣圖大小,取決於使用的bpp及字符大小。 下表顯示4bpp各種字符大小中「G」的點陣圖大小:
| 字型大小 | G字符大小/像素 | 點陣圖大小/位元組 |
|---|---|---|
| 20 | 14 x 14 | 98 |
| 30 | 21 x 22 | 242 |
| 40 | 27 x 32 | 448 |
| 總計 | 788 |
我們發現字型大小20的點陣圖大小,比「G」的向量定義更小,不過如果是大小30,向量定義則比點陣圖大小更小。 如果我們使用三種不同大小的Verdana,點陣圖就達到788位元組,但向量定義仍僅使用170位元組。 因此我們可以節省使用78%的Flash。
這種節省空間的作法有一項缺點,就是效能問題。 如果我們需要繪製字符,就必須將向量定義轉換為像素。 轉換方式為縮放及轉譯字符的向量定義,然後將其渲染至影像緩衝區。
在Verdana中一個「G」是由20條Bezier曲線及6條直線組成。 這些線條都會轉換為輪廓,於最後使用選取的文字色彩加以上色。 這項流程會重複用於文字中的所有字母,而且只要文字重新繪製就會重複進行。
上述流程會在有配置GPU2D的微控制器 (例如STM32U5G9)上進行硬體加速。 如果是STM32G0這類沒有浮點硬體的緩慢微控制器,硬體在執行這類作業時就會很費力。
在這種情況下,使用點陣圖字型時比較適合使用渲染。 因此我們建議在必須節省Flash的情況下使用向量字型,其他情況則使用點陣圖字型。
如果文字有動畫特效(例如捲動、移動或淡化),則建議使用點陣圖字型。
設定
使用向量字型時需要Vector Rendering (向量渲染)及Vector Fonts (向量字型)這兩項額外的架構功能。 前述功能於STM32CubeMX中啟用。 更多詳細資訊請參閱Generator使用者指南。
字體排印是在TouchGFX Designer中設定。 您可在其中選擇專案字體排印是否應使用點陣圖字型或向量字型格式。 預設為點陣圖字型格式。
使用向量字型
向量字型在TouchGFX中就是作為點陣圖字型使用。 您可建立文字作為命名資源或一次性使用文字。 您可在其中一個小工具顯示文字,例如TextArea。 向量字型與點陣圖字型之間的差異隱藏在渲染程式碼中。
字體排印
如果字體排印在TouchGFX Designer中設定為以向量為基礎,就會產生向量字型。 請參閱Designer使用者指南。
如果多個字體排印使用相同字型(例如Verdana),則字體排印會在專案中共用向量定義,但使用不同縮放係數以產生不同大小的字符。
這也代表各個字體排印的Fallback Character (遞補字元)及Ellipsis Character (省略號字元)等字體排印屬性必須相同。
字體排印使用的字元(包括萬用字元)會結合在一起,並提供給專案中使用相同字型的所有字體排印。
架構
向量字型渲染是以新元件VectorFontRenderer為基礎。 此元件使用VectorRenderer元件繪製字符。
在使用向量字型的專案中,這兩項元件必須為可用。 如果前述兩項元件已啟用,就會由STM32CubeMX自動提供使用。 如果您沒有使用STM32CubeMX,就必須手動進行。
以下是STM32CubeMX產生的程式碼,並反白突顯相關程式行:
static STM32TouchController tc;
static STM32DMA dma;
static TouchGFXDataReader dataReader;
static LCD16bppSerialFlash display(dataReader);
static VectorFontRendererImpl vectorFontRenderer;
static ApplicationFontProvider fontProvider;
static Texts texts;
static TouchGFXHAL hal(dma, display, tc, 240, 320);

void touchgfx_init()
{
    Bitmap::registerBitmapDatabase(BitmapDatabase::getInstance(), BitmapDatabase::getInstanceSize());
    TypedText::registerTexts(&texts);
    Texts::setLanguage(0);

    hal.setDataReader(&dataReader);
    fontProvider.setFlashReader(&dataReader);

    display.setVectorFontRenderer(&vectorFontRenderer);
    ...
也必須提供VectorRenderer元件(來自TouchGFXGeneratedHAL.cpp):
namespace touchgfx
{
VectorRenderer* VectorRenderer::getInstance()
{
    static CWRVectorRendererRGB565 renderer;

    return &renderer;
}
} // namespace touchgfx
如果您使用具有GPU2D加速器的平台,就應使用CPU2DVectorRenderer取代CWRVectorRendererRGB565。 這樣可以啟用硬體加速。
限制
纏繞規則
TouchGFX應用程式中使用的向量字型字體排印,必須遵循特定規則以便正確地繪製字符。
Glyphs can sometimes not be rendered correctly due to the winding rule deployed by TouchGFX when drawing vector fonts. This can for example occur when the font has overlapping or features unsupported by TouchGFX. To solve this problems in custom typographies, it is recommended to use the free FontForge tool.
使用FontForge
導覽至FontForge安裝資料夾(通常為c:/Program Files (x86)/FontForgeBuilds),然後啟動.exe檔案:
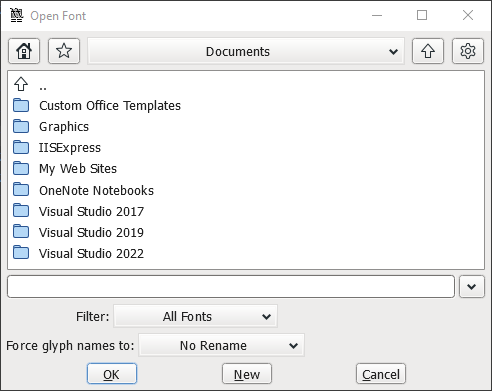
FontForge啟動視窗。
導覽至專案的assets/fonts/資料夾,例如c:/TouchGFXProjects/MyApplication/TouchGFX/assets/fonts/。 FontForge將會偵測應用程式中的所有TrueType字型。 在此範例中,Cairo-Bold.ttf TrueType字型包含未正確繪製的重疊輪廓:
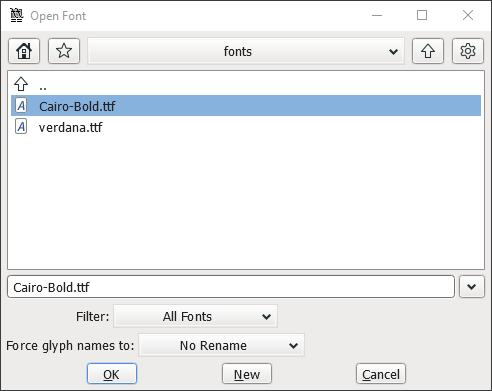
FontForge開啟TrueType字型視窗。
點擊OK (確定)將開啟字體排印中所有字符的font view (字型視窗):
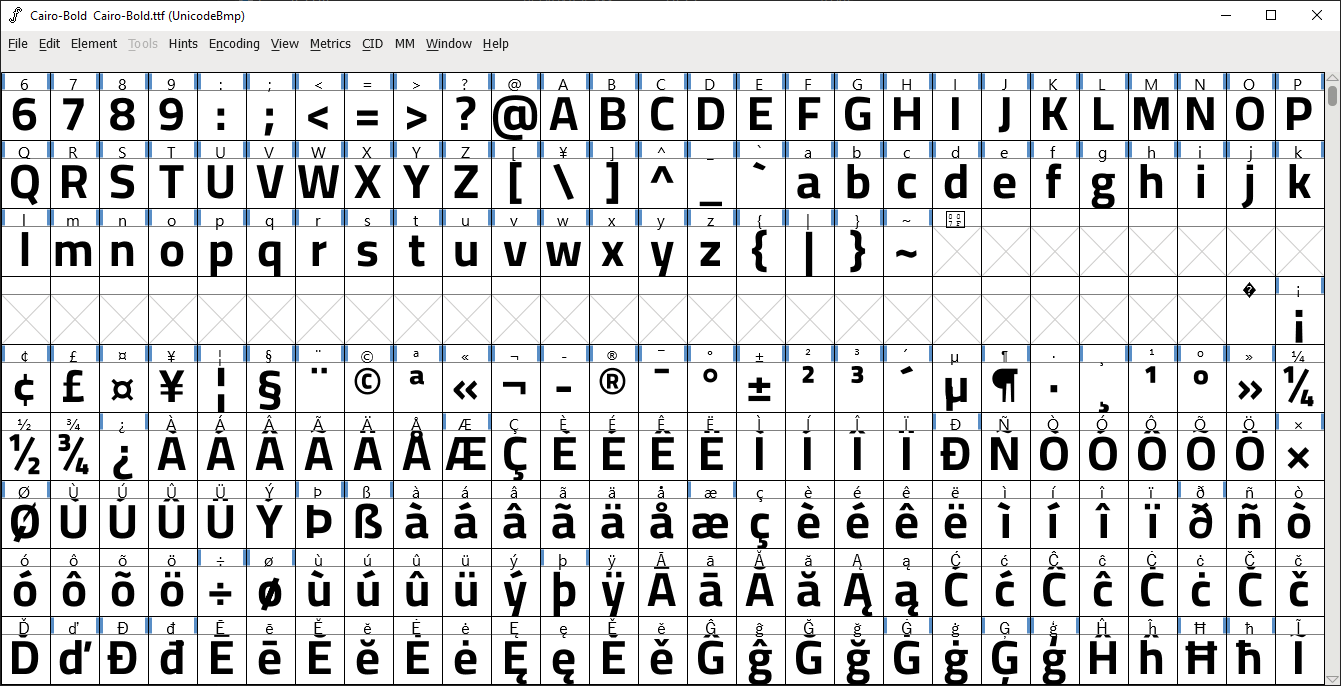
FontForge字型視窗。
若要由字符移除重疊輪廓,請在字型視窗選擇所有字符,方法為使用 Ctrl + A. 選取所有字符後,接下來請使用快速鍵 Ctrl + u 然後使用 Ctrl + Shift + O 以移除選取字符的重疊輪廓。 將會有藍色標記顯示在所有字符上方,表示字符已變更。 您可在個別字符上按兩下以檢視效果。 我們以$字符為例,顯示移除重疊輪廓前後的情況:
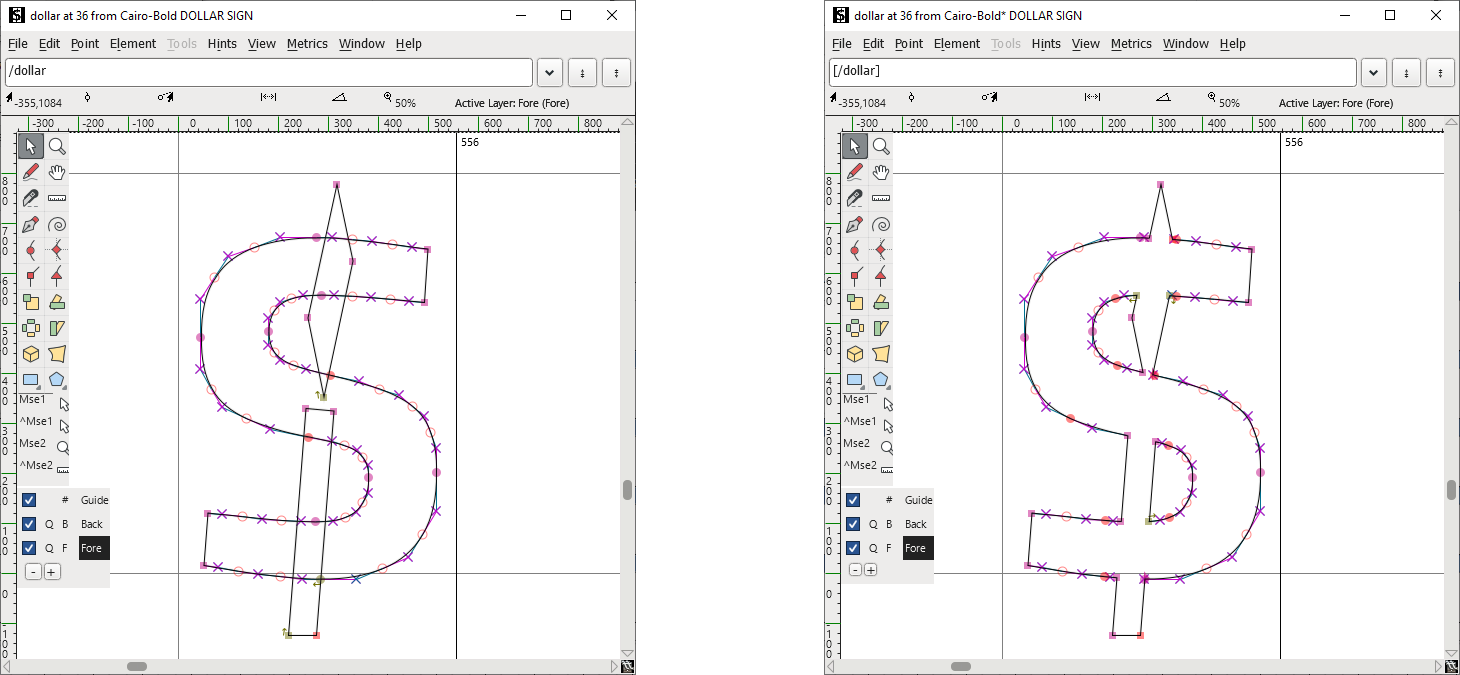
重疊輪廓(左側)及無重疊輪廓(右側)的$字符。
您可觀察到字符輪廓並未受到影響,但重疊輪廓已經合併。 若要在TouchGFX應用程式使用非重疊字體排印,我們會使用FontForge匯出新字型。 在FontForge font view (字型視窗)使用快速鍵 Ctrl + Shift + G 匯出字型。 這樣會開啟Generate Fonts (產生字型)視窗。 建議將字體排印重新命名,例如加上「-no-overlap」作為字尾,以免因為錯誤而覆寫原始字型。 請選擇TrueType作為輸出格式。 設定應如下所示:
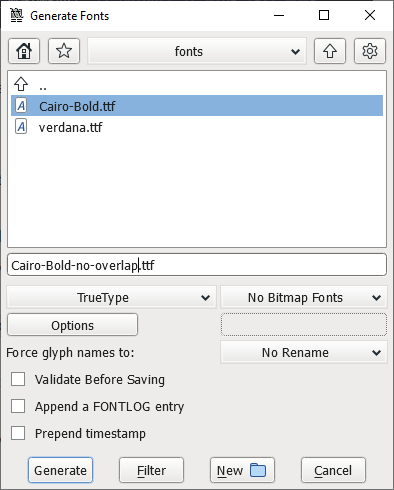
FontForge產生字型設定。
請按下Generate (產生)以匯出字型。 如果出現警告,請按下Yes (是)。 匯出的字體排印將出現在專案assets/fonts/資料夾原始TrueType字型旁邊。 The original font can be removed from this folder and placed elsewhere on disk, to avoid having multiple typographies of the same name appear in TouchGFX Designer. 重新啟動TouchGFX Designer,讓新字型出現在字型選擇器之中。 如果您已在修改字型之前於TouchGFX Designer產生程式碼,請務必於再次產生程式碼之前移除generated/fonts/資料夾。
儲存
向量字型資料必須儲存於記憶體映射區域, 例如內部Flash、記憶體映射模式的外部QSPI/OSPI Flash、RAM或其他類似記憶體。
如果您的平台在非記憶體映射資料儲存其他字型資料,就必須變更連結器腳本,以便將所有向量字型資料移往內部Flash等地方。 以下說明如何使用ARM gcc進行:
  /* Constant data into "FLASH" Rom type memory */
  .FontFlashSection :
  {
    . = ALIGN(4);
    */Vector_*.o(FontFlashSection)         /* Vector font data  */
    . = ALIGN(4);
  } >FLASH

  FontFlashSection :
  {
    *(FontFlashSection FontFlashSection.*)
    *(.gnu.linkonce.r.*)
    . = ALIGN(0x4);
  } >SPI_FLASH
這會將符合*/Vector_*.o/的字型資料由檔案移往FLASH區域,其他字型資料則移往SPI_FLASH區域。
向量字型資料會產生至檔案中,例如generated/fonts/src/Vector_Font_Verdana.cpp及類似檔案。
泰文
目前已知泰文無法以向量字型正確渲染。 解決方法是針對泰文使用點陣圖字型。