CMake as build system
Introduction
From TouchGFX V4.25.0 and STM32CubeMX V6.14.0 onwards, the CMake build system is a supported toolchain for TouchGFX projects. This scenario will show you how to set up, build, and debug a TouchGFX project using CMake as build system.
To learn more about CMake, visit the official CMake documentation.
Prerequisites
It is recommended to download the STM32Cube Command Line Toolset (STM32CubeCLT). This includes all the required tools (compiler, debugger, CMake, Ninja, etc.) to configure, build, and debug CMake projects generated by STM32CubeMX.
Note
Change toolchain in STM32CubeMX
First, change the toolchain in the "Project Manager" tab in STM32CubeMX to CMake. Then, generate code.
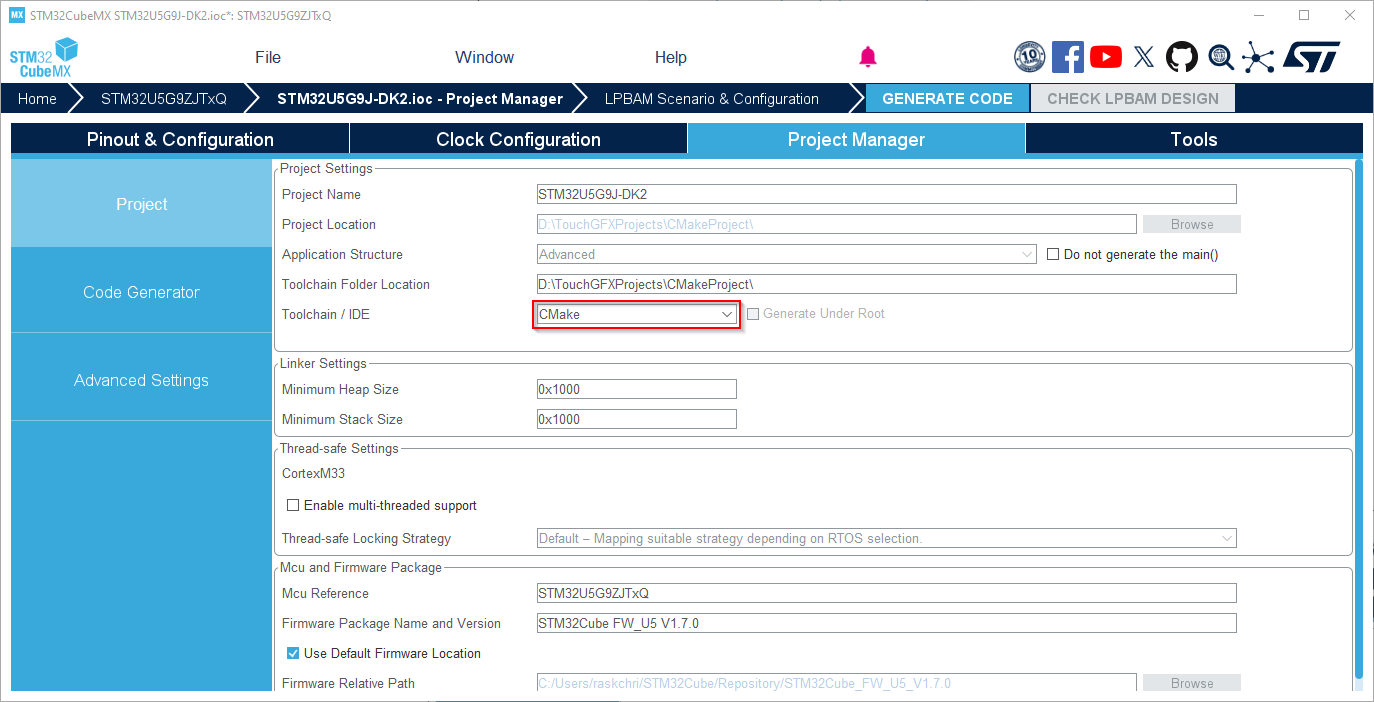
CMake toolchain selected
Generate code in TouchGFX designer
Generate code from TouchGFX Designer by pressing the button or the F4 key on your keyboard, to add the TouchGFX specific code to the project.
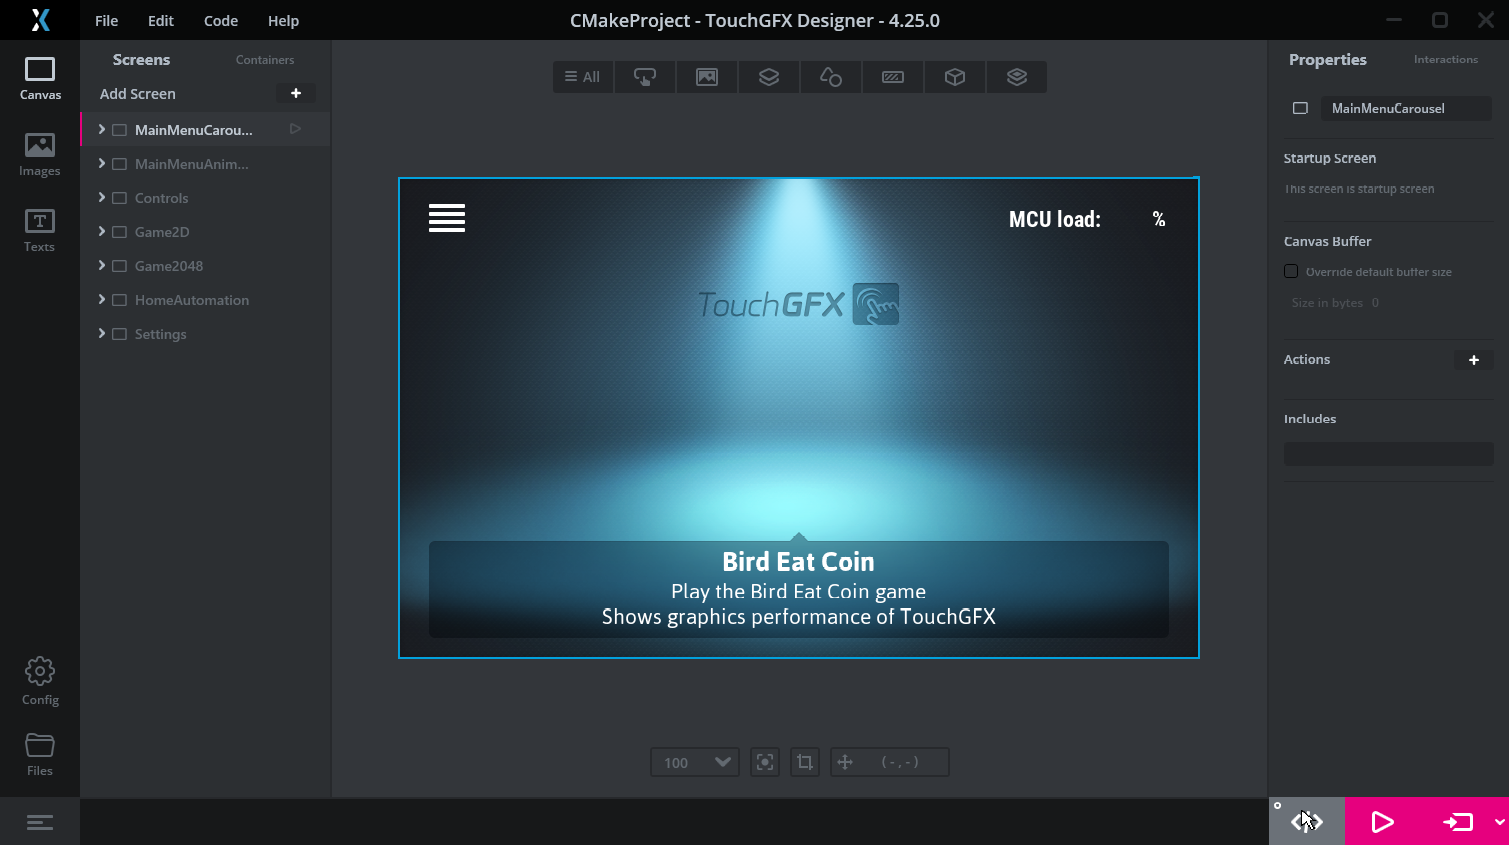
Generate code
Project structure
After generating code in STM32CubeMX and TouchGFX Designer, a file structure similar to the one below will be created:
├───<project-name>.ioc
├───CMakeLists.txt                  # Root CMake list
├───CMakePresets.json               # Predefined CMake configurations
├───<mcu-part-number>.ld                   # Generated linker scripts, e.g., STM32U5g9xx_FLASH.ld
├───cmake
|   ├───gcc-arm-none-eabi.cmake     # CMake toolchain file
│   ├───stm32cubemx
│   │   └───CMakeLists.txt          # STM32CubeMX CMake list
│   └───touchgfx
│       └───CMakeLists.txt          # TouchGFX CMake list
├───Core
├───Drivers
├───Middlewares
└───TouchGFX
The CMakeLists.txt file in the root of the project is intended for user modifications and is the entry point for the CMake configuration. The CMakePresets.json file defines various configuration presets (e.g., Debug, Release) for the project.
The stm32cubemx/CMakeLists.txt list file manages the files generated by STM32CubeMX, while the touchgfx/CMakeLists.txt file manages the TouchGFX specific GUI files.
Therefore, it is important to to re-generate code in TouchGFX Designer when adding/deleting GUI elements and assets to the project to reflect the changes to the build system.
When generating code in TouchGFX Designer the first time, it will try to add the following line to the root CMakeLists.txt, which includes TouchGFX to the build system:
CMakeLists.txt
...
# Add STM32CubeMX generated sources
add_subdirectory(cmake/stm32cubemx)

# Add touchgfx generated sources and libraries
add_subdirectory(cmake/touchgfx)
...
It is required that the TouchGFX CMake list file is included after the STM32CubeMX CMake list, as there are dependencies to MCU specific HAL and Drivers that are defined in the STM32CubeMX CMake list.
Caution
Updating linker scripts
After generating code with STM32CubeMX, one or more linker scripts compatible with arm GCC are generated by STM32CubeMX. The linker scrips are generated once, and can be modified manually to fit the project requirements.
If the project is based on a TouchGFX Board Setup, the linker scripts that are already defined for the STM32CubeIDE toolchain can be used as a reference to update the default linker script.
Alternatively, users can update the generated CMake toolchain file gcc-arm-none-eabi.cmake to point out another linker script to be used by the linker instead of the default one.
For example, to use the already defined STM32CubeIDE linker script:
gcc-arm-none-eabi.cmake
...
set(CMAKE_C_LINK_FLAGS "${TARGET_FLAGS}")
set(CMAKE_C_LINK_FLAGS "${CMAKE_C_LINK_FLAGS} -T \"${CMAKE_SOURCE_DIR}/STM32CubeIDE/STM32U5G9ZJTXQ_FLASH.ld\"")
...
Building a project
After generating code and ensuring TouchGFX is included as part of the build system the project can be build and debugged using the STM32 VS Code Extension. The STM32 VS Code Extension is a useful tool that allow developers to build CMake projects and debug them on target using the STM32CubeCLT.
First, the project must be imported using the STM32 VS Code Extension by selecting Import CMake project and choosing the root of the project as the project location:
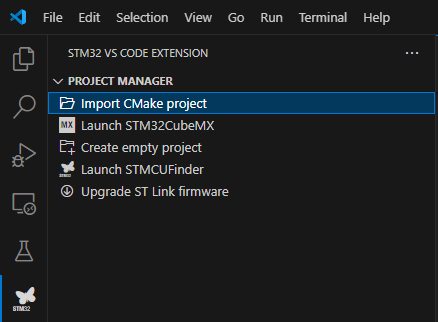
Importing CMake project
The extension will detect the MCU and toolchain used in the project. Various VSCode tasks and launch configurations are generated by the extension in the VSCode meta data folder .vscode/.
These can be used to build, clean, flash, and debug the project. Alternatively, the CMake VS Code extension or a command line can be used to configure and build the project using CMake directly.