Custom Container Import & Export
TouchGFX Designer enables the import and export of custom containers. This makes it possible to share and reuse functionality between projects.
One motivating example is a custom made Alarm custom container. This envisioned alarm component might be created with one particular application in mind, but be generally useful in a lot of applications. The alarm component has a visual appearance consisting of some images and texts and functionality that blinks the texts periodically. Sharing the alarm component between applications therefore means sharing both code files and assets. Care must be taken to ensure that conflicts do not arise when naming components, assets, etc. Longer descriptive names, such as alarmBackground, alarmHeaderText should be preferred over shorter generic names, such as background, headerText.
Export
From the Canvas View of TouchGFX Designer it is possible to export Custom Containers.
Right clicking a custom container, brings up the context menu, selecting Export displays the export dialog.
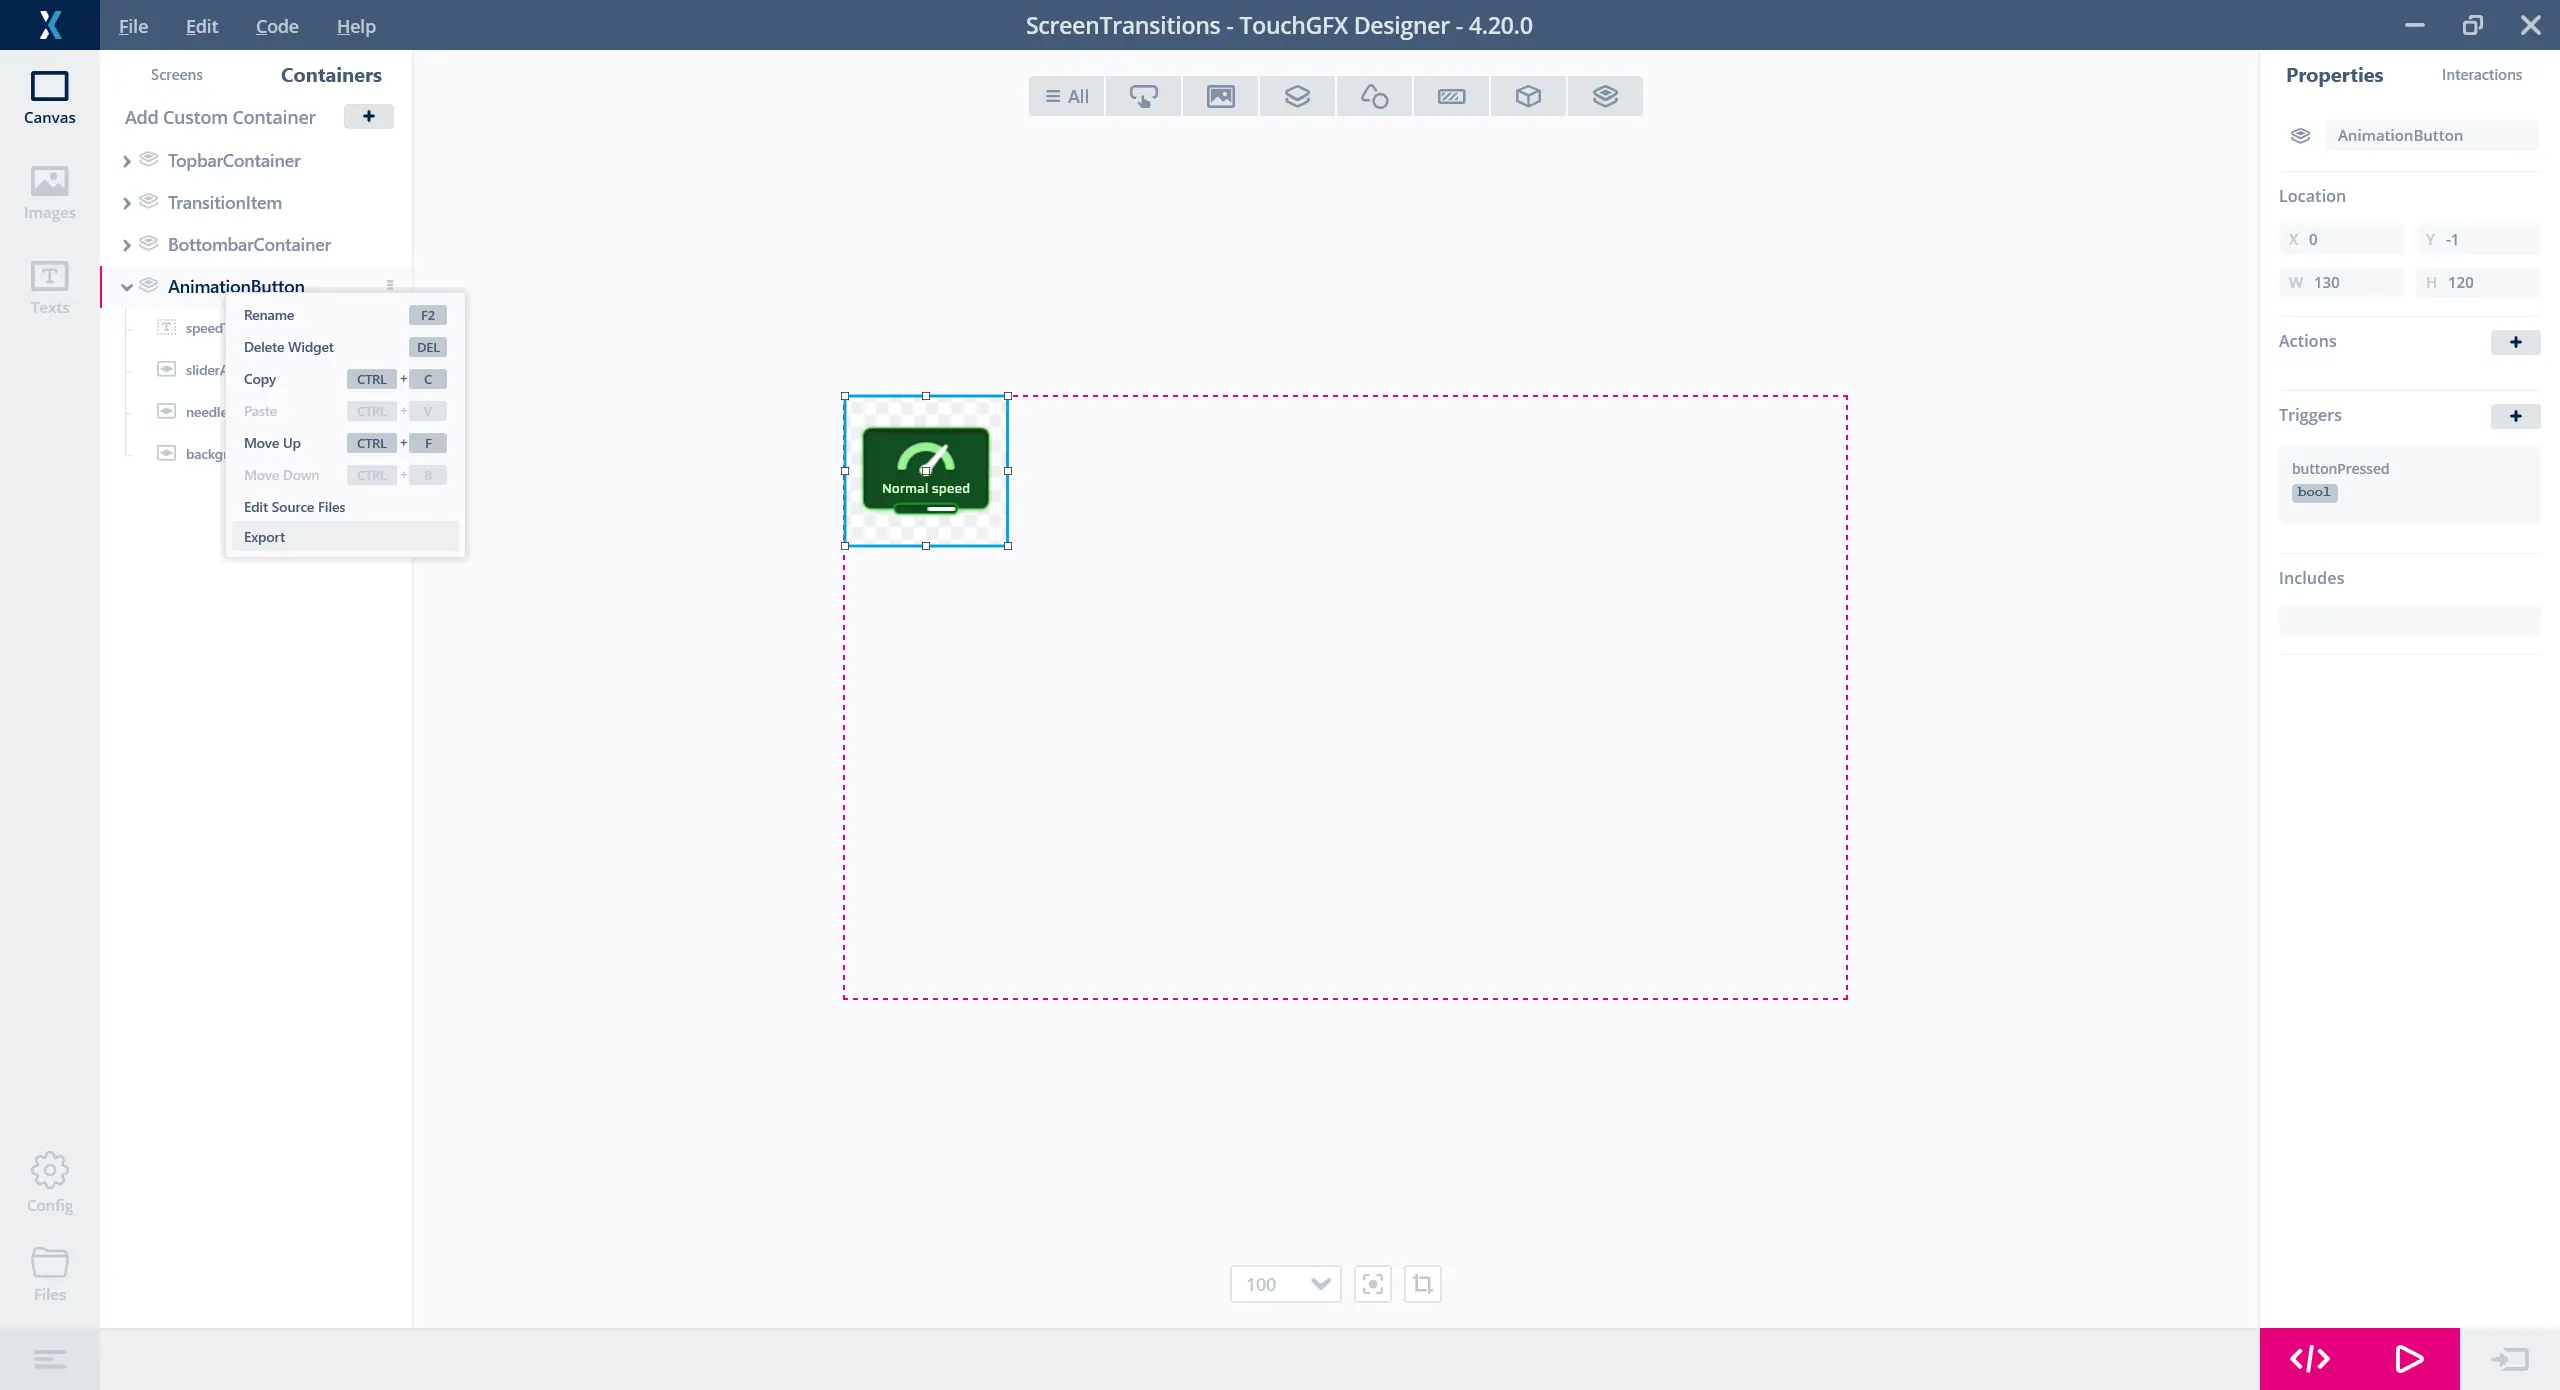
The Custom Container context dialog
When opening the export dialog a scan of all files related to the custom container is performed. This scan finds all necessary dependencies and includes these in the exported package.
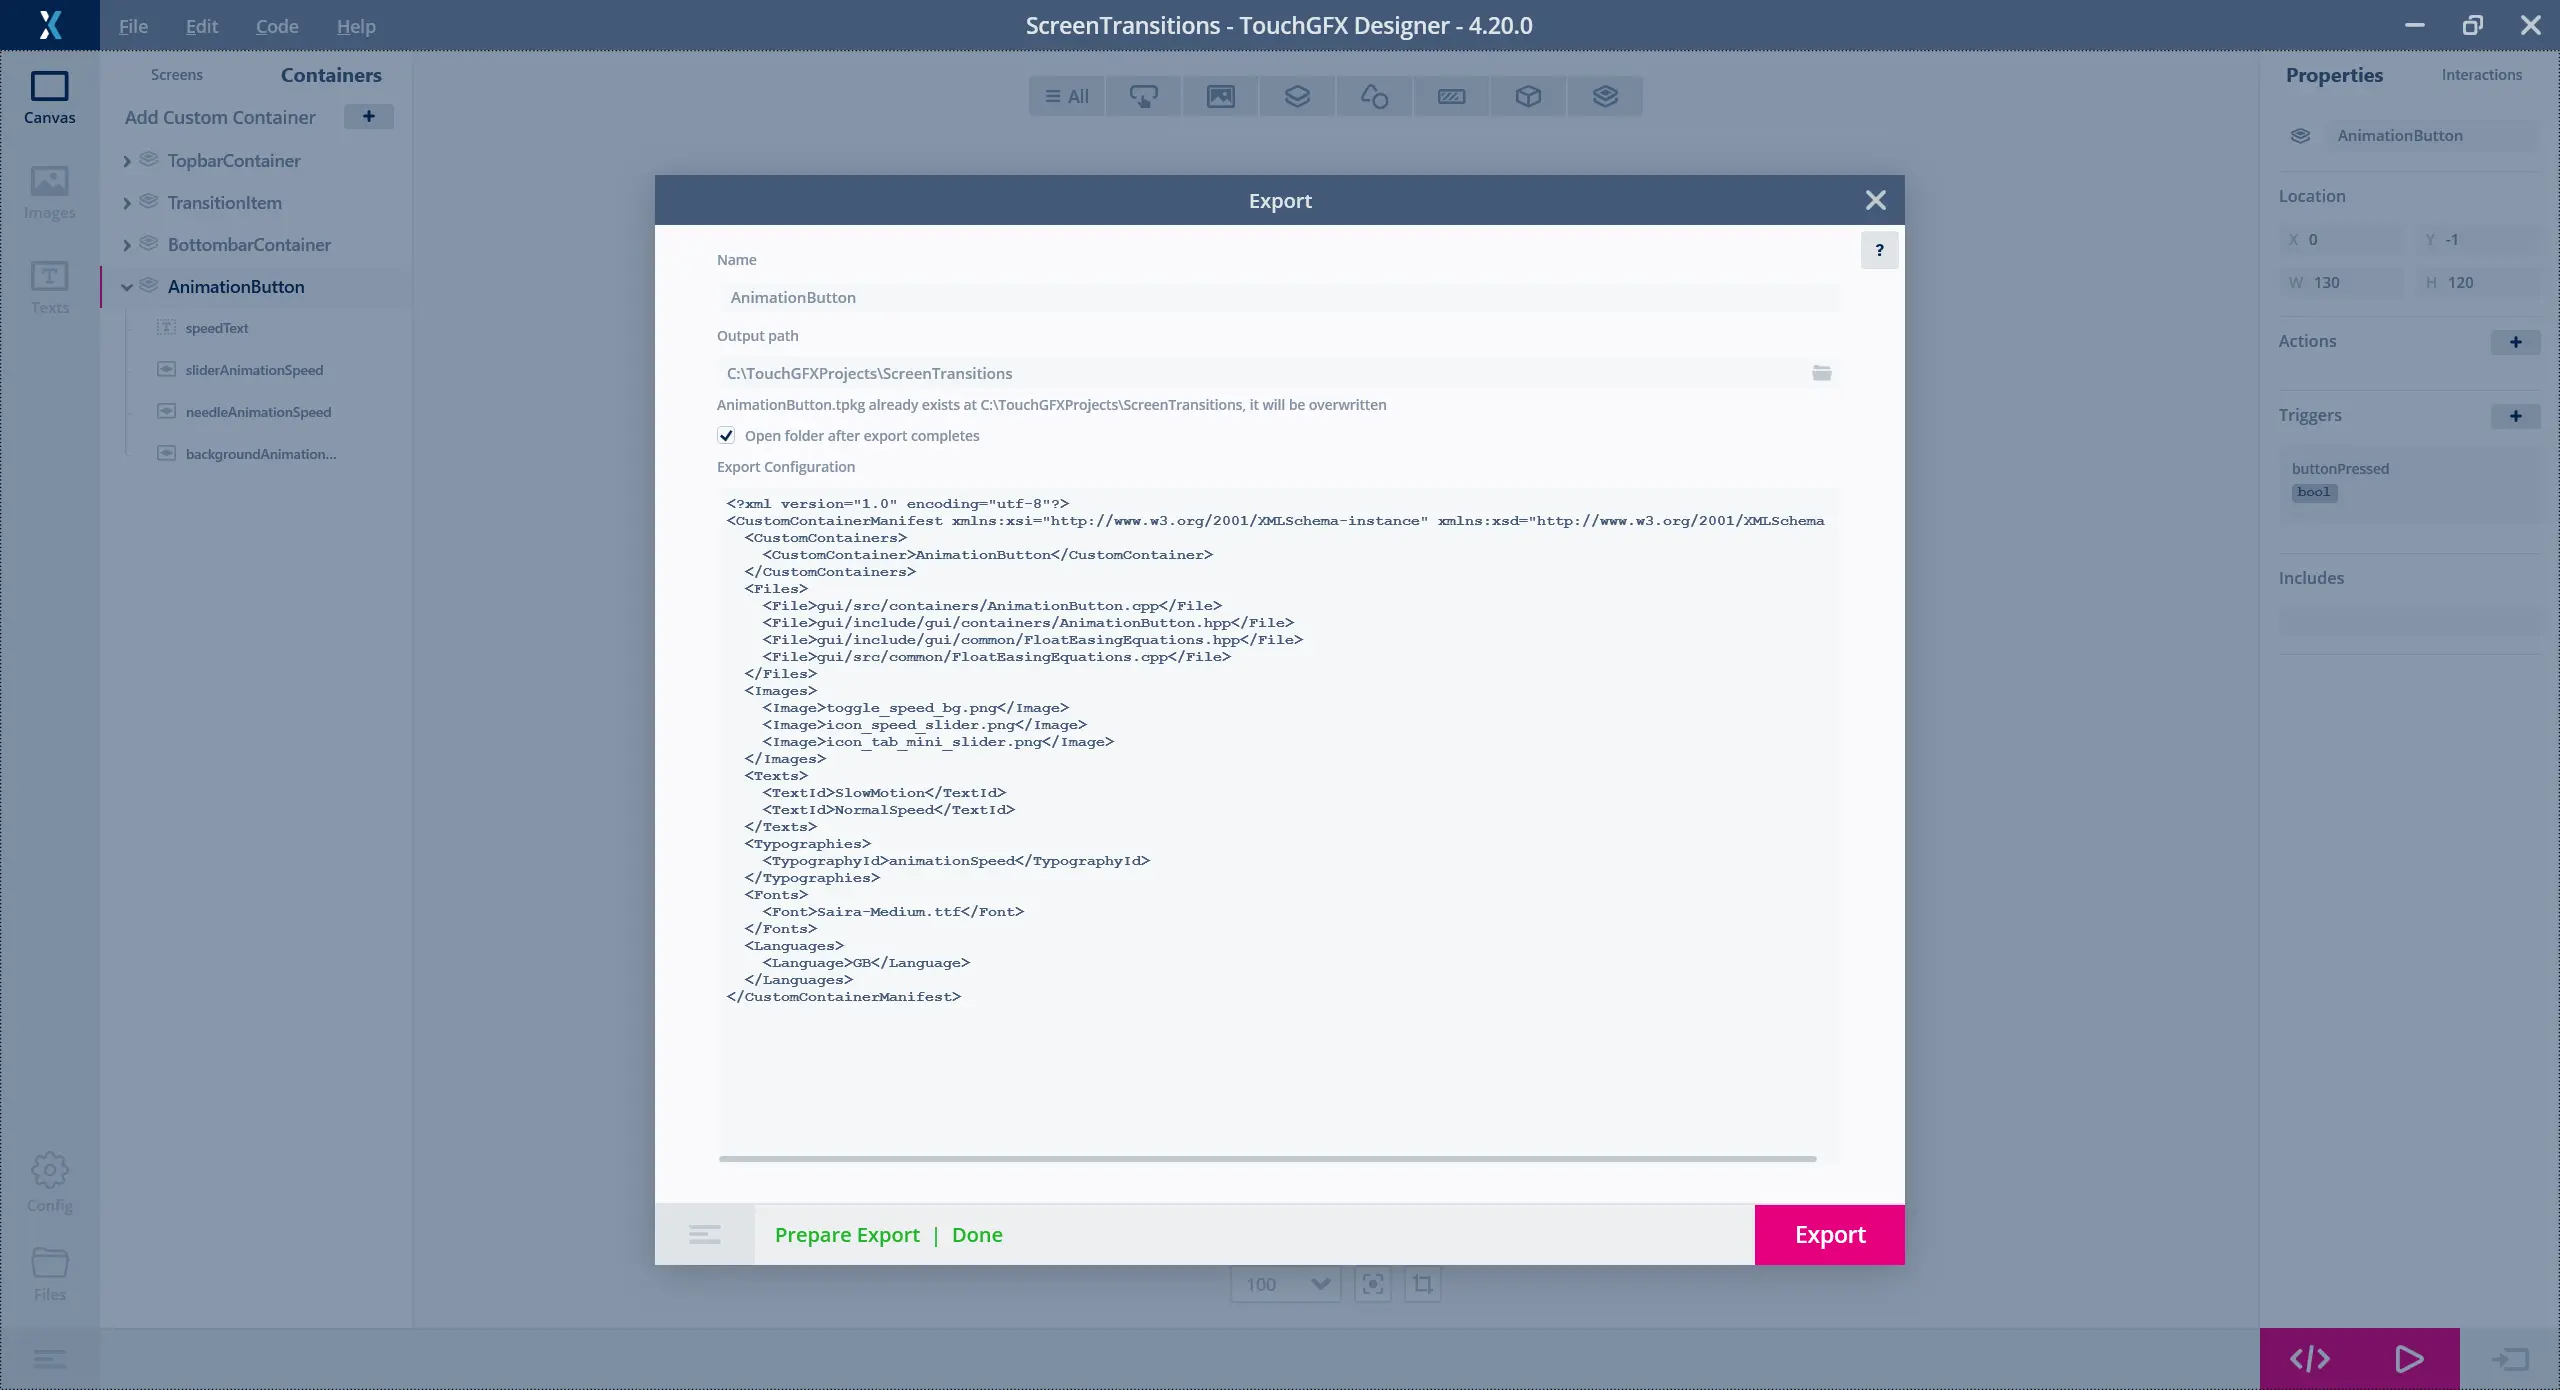
The Custom Container export dialog
The dependencies include
- Custom Containers
- Source files
- Images
- Texts
- Fonts
- Videos
- Typographies
- Languages
The Name and Output path of the exported package can be changed in the export dialog.
The contents of the package can be customized by altering the Export Configuration. This configuration is based on XML and is considered self explanatory. Add more entries to include more files and dependencies. Remove entries to reduce what is included in the package. In most cases it is not necessary to change the configuration.
The exported package file has the file extension .tpkg.
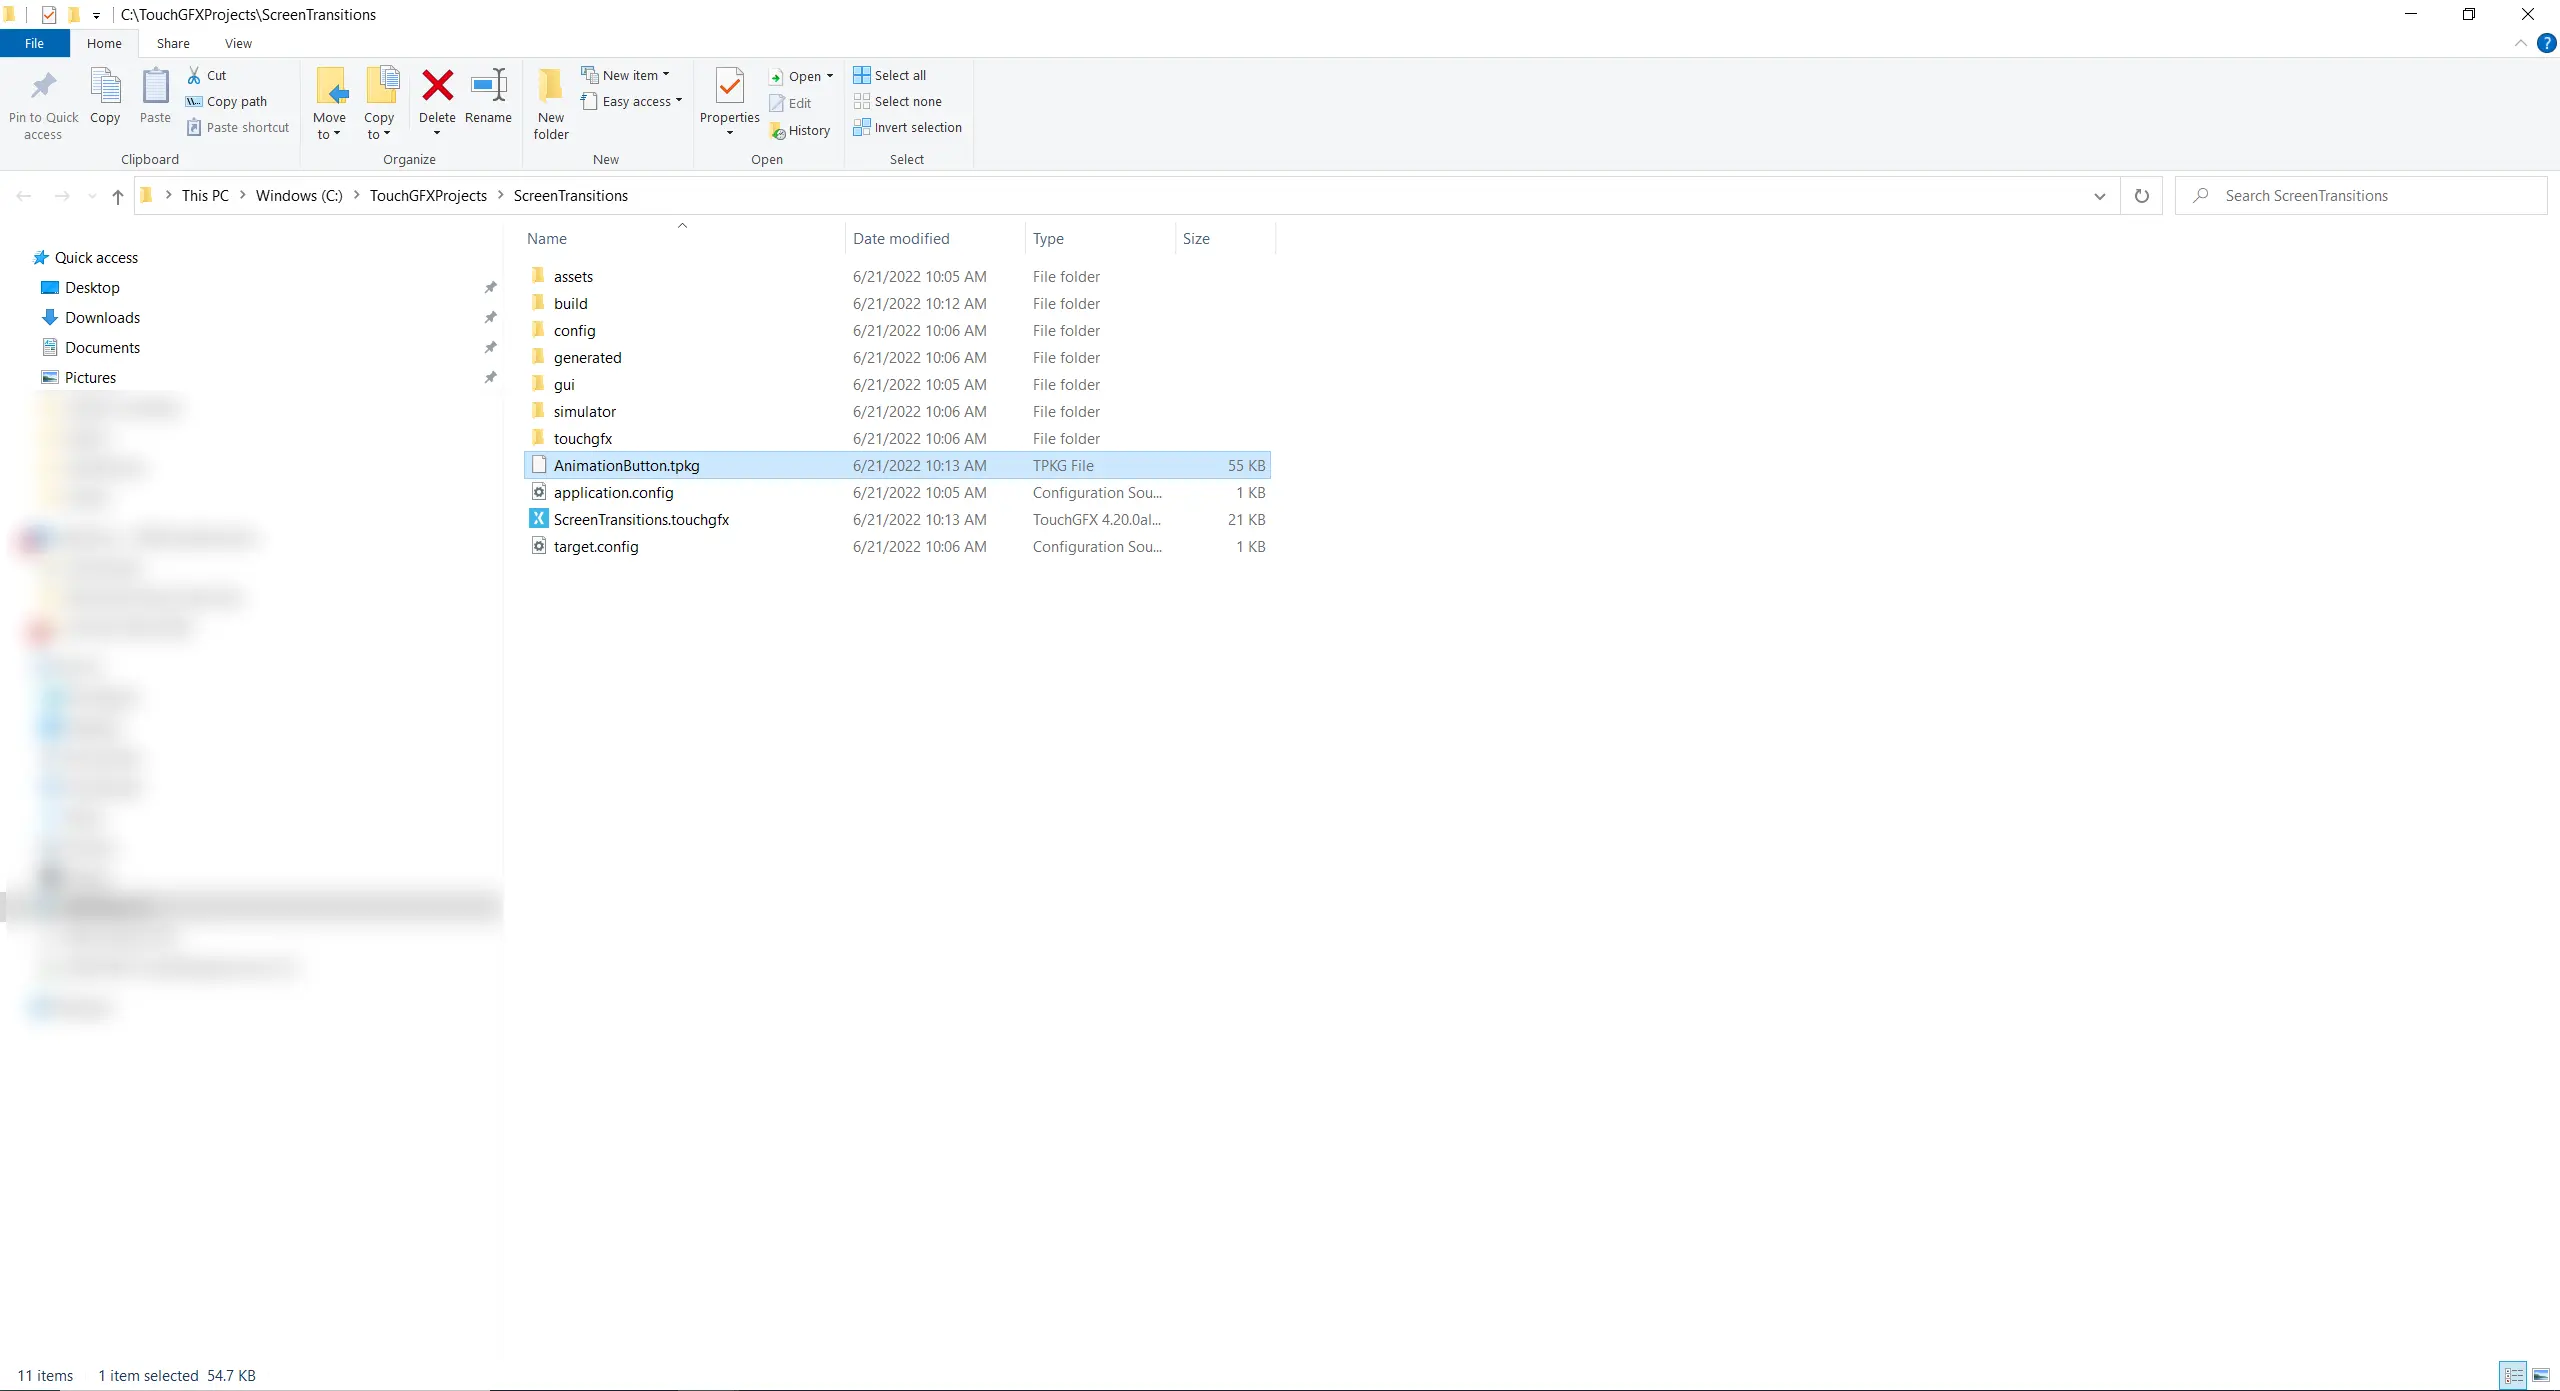
The exported file
Import
A custom container can be imported into an application.
Select Import > Custom Container from the Edit menu.
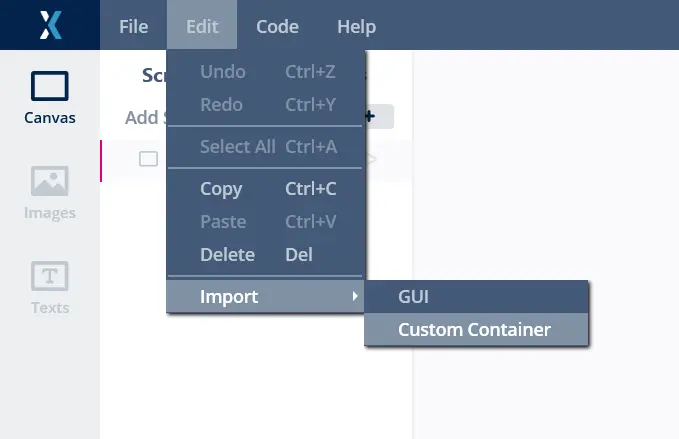
The Custom Container import menu entry
This brings up the Custom Container import dialog. This dialog describes what is to be imported into the application. Any conflicts that might arise will be highlighted, such that they can be handled and the import performed again.
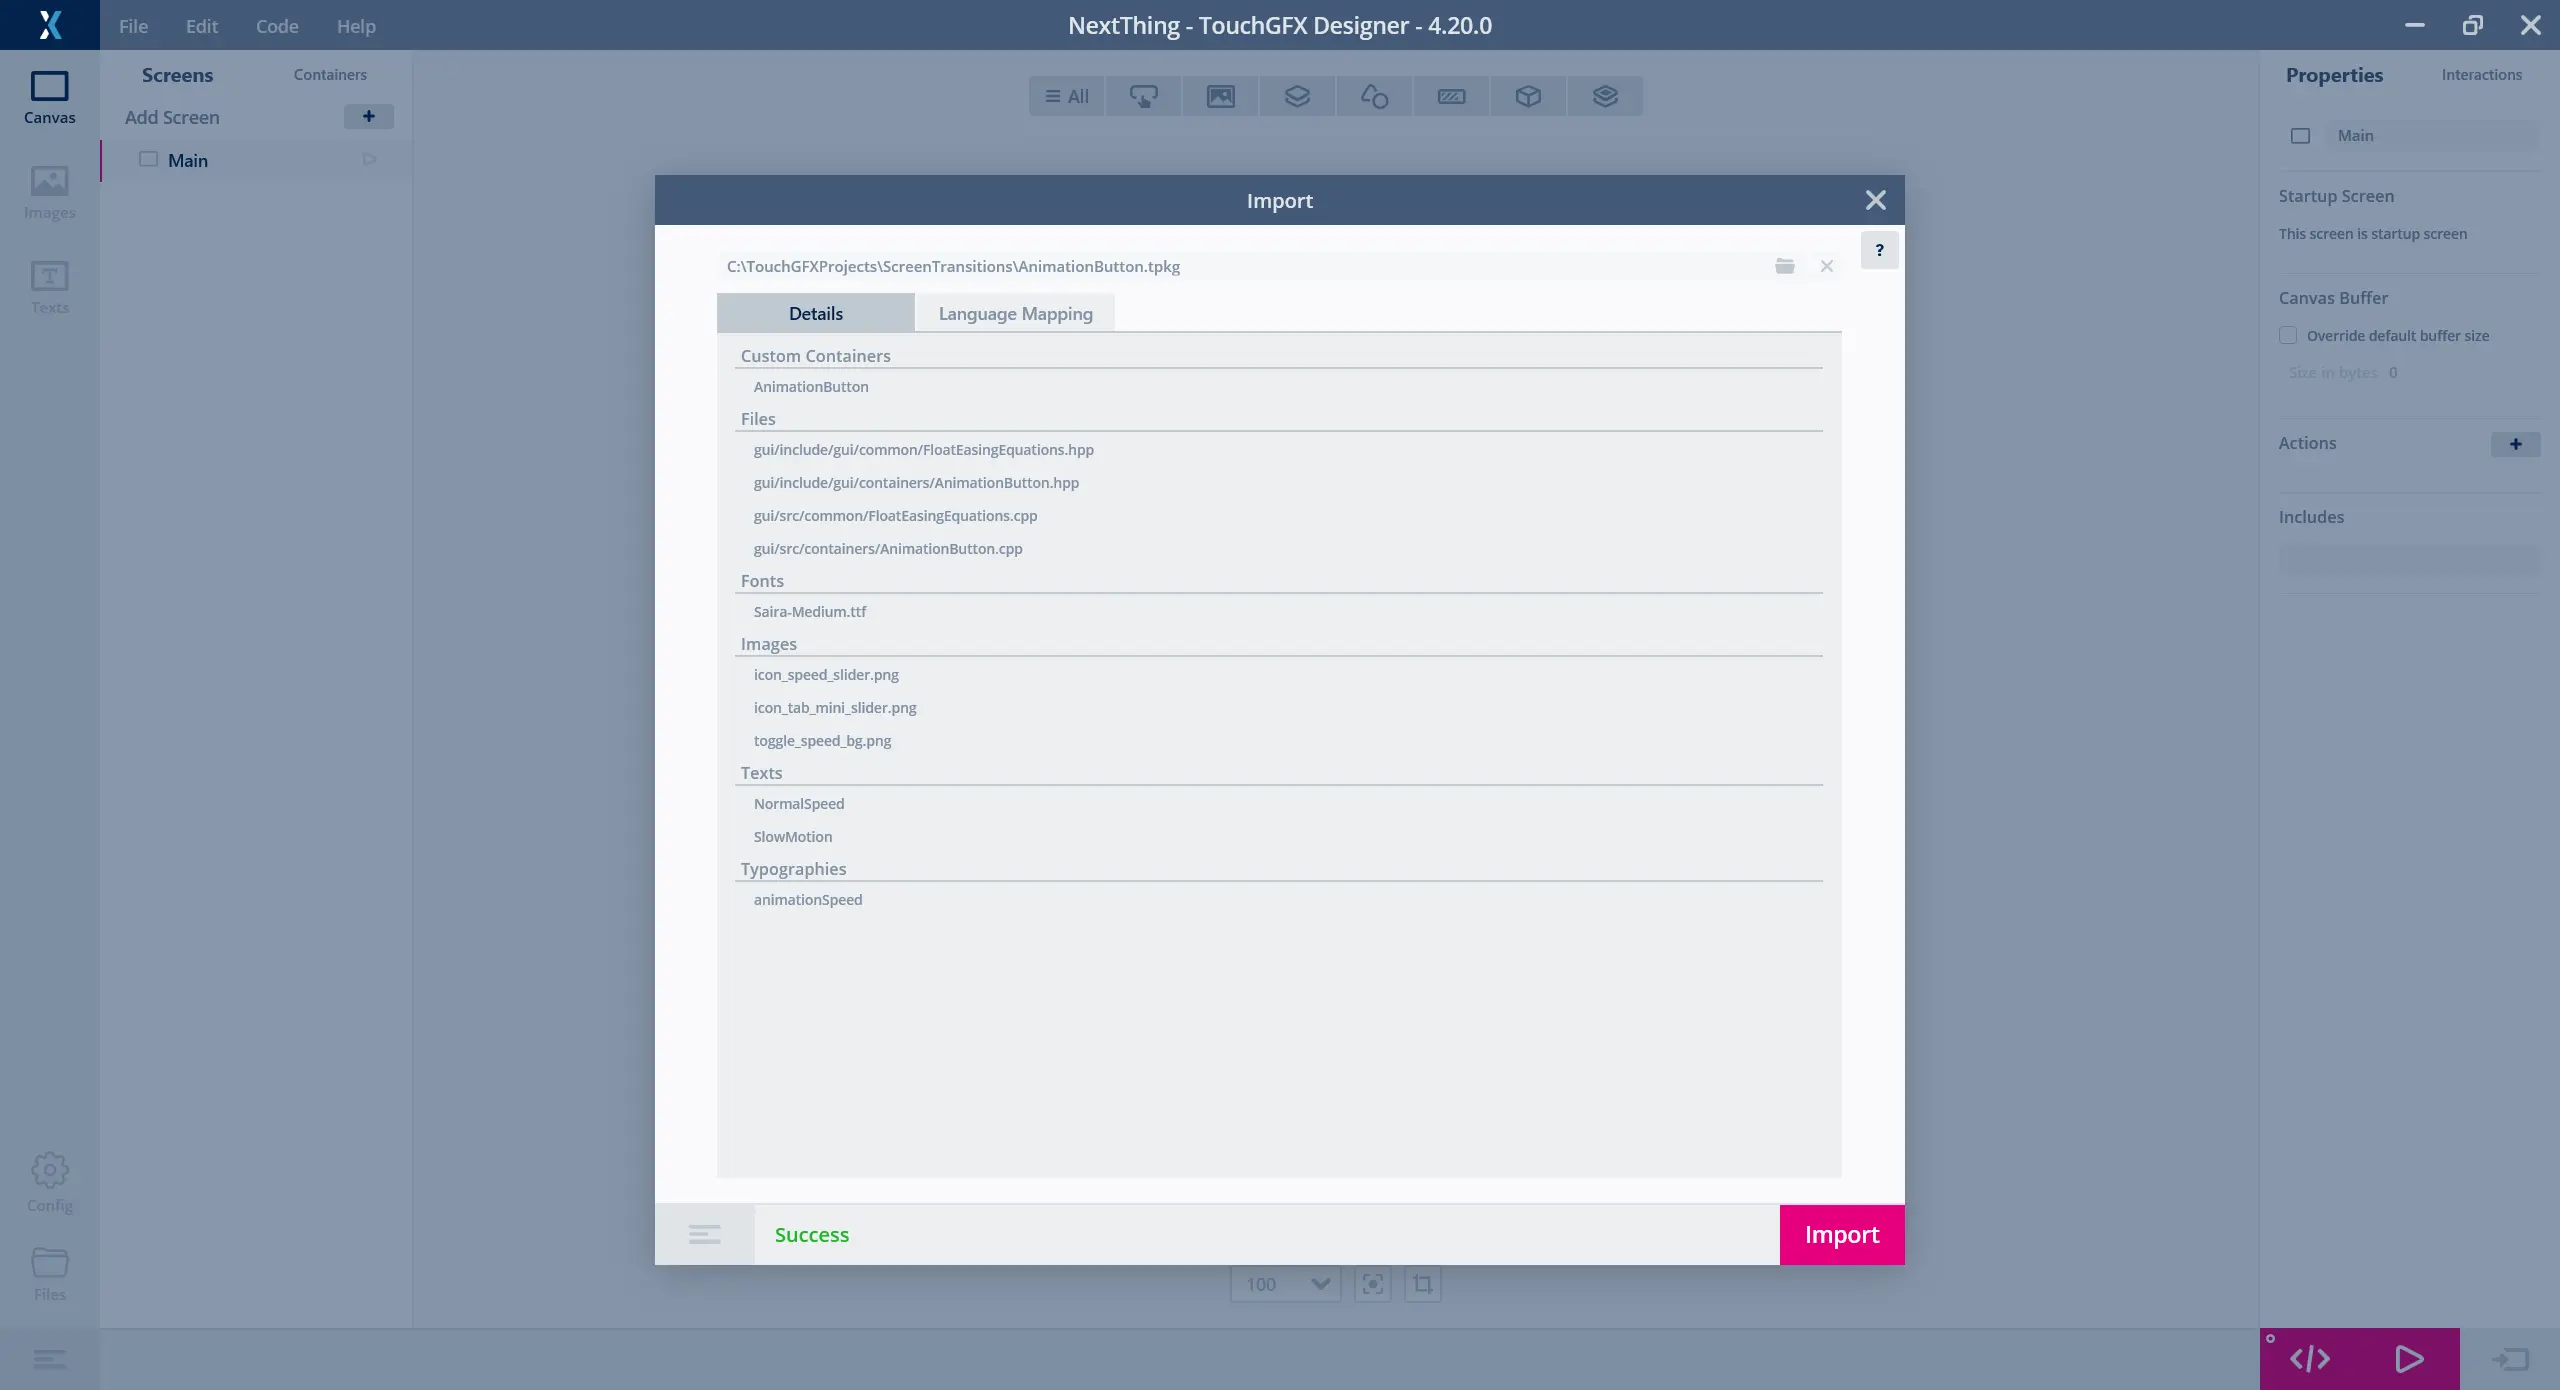
The Custom Container import dialog
If texts and languages are present in the application and the custom container to be imported, the language mapping tab gives the ability to map each of the languages in the application to one of the languages in the custom container.
As an example the following application has one language named English. The imported custom container does not have a language named English, but does have one named GB, which is in fact english. The language mapping tab enables using the texts from the container in the application, without introducing a new language named GB.
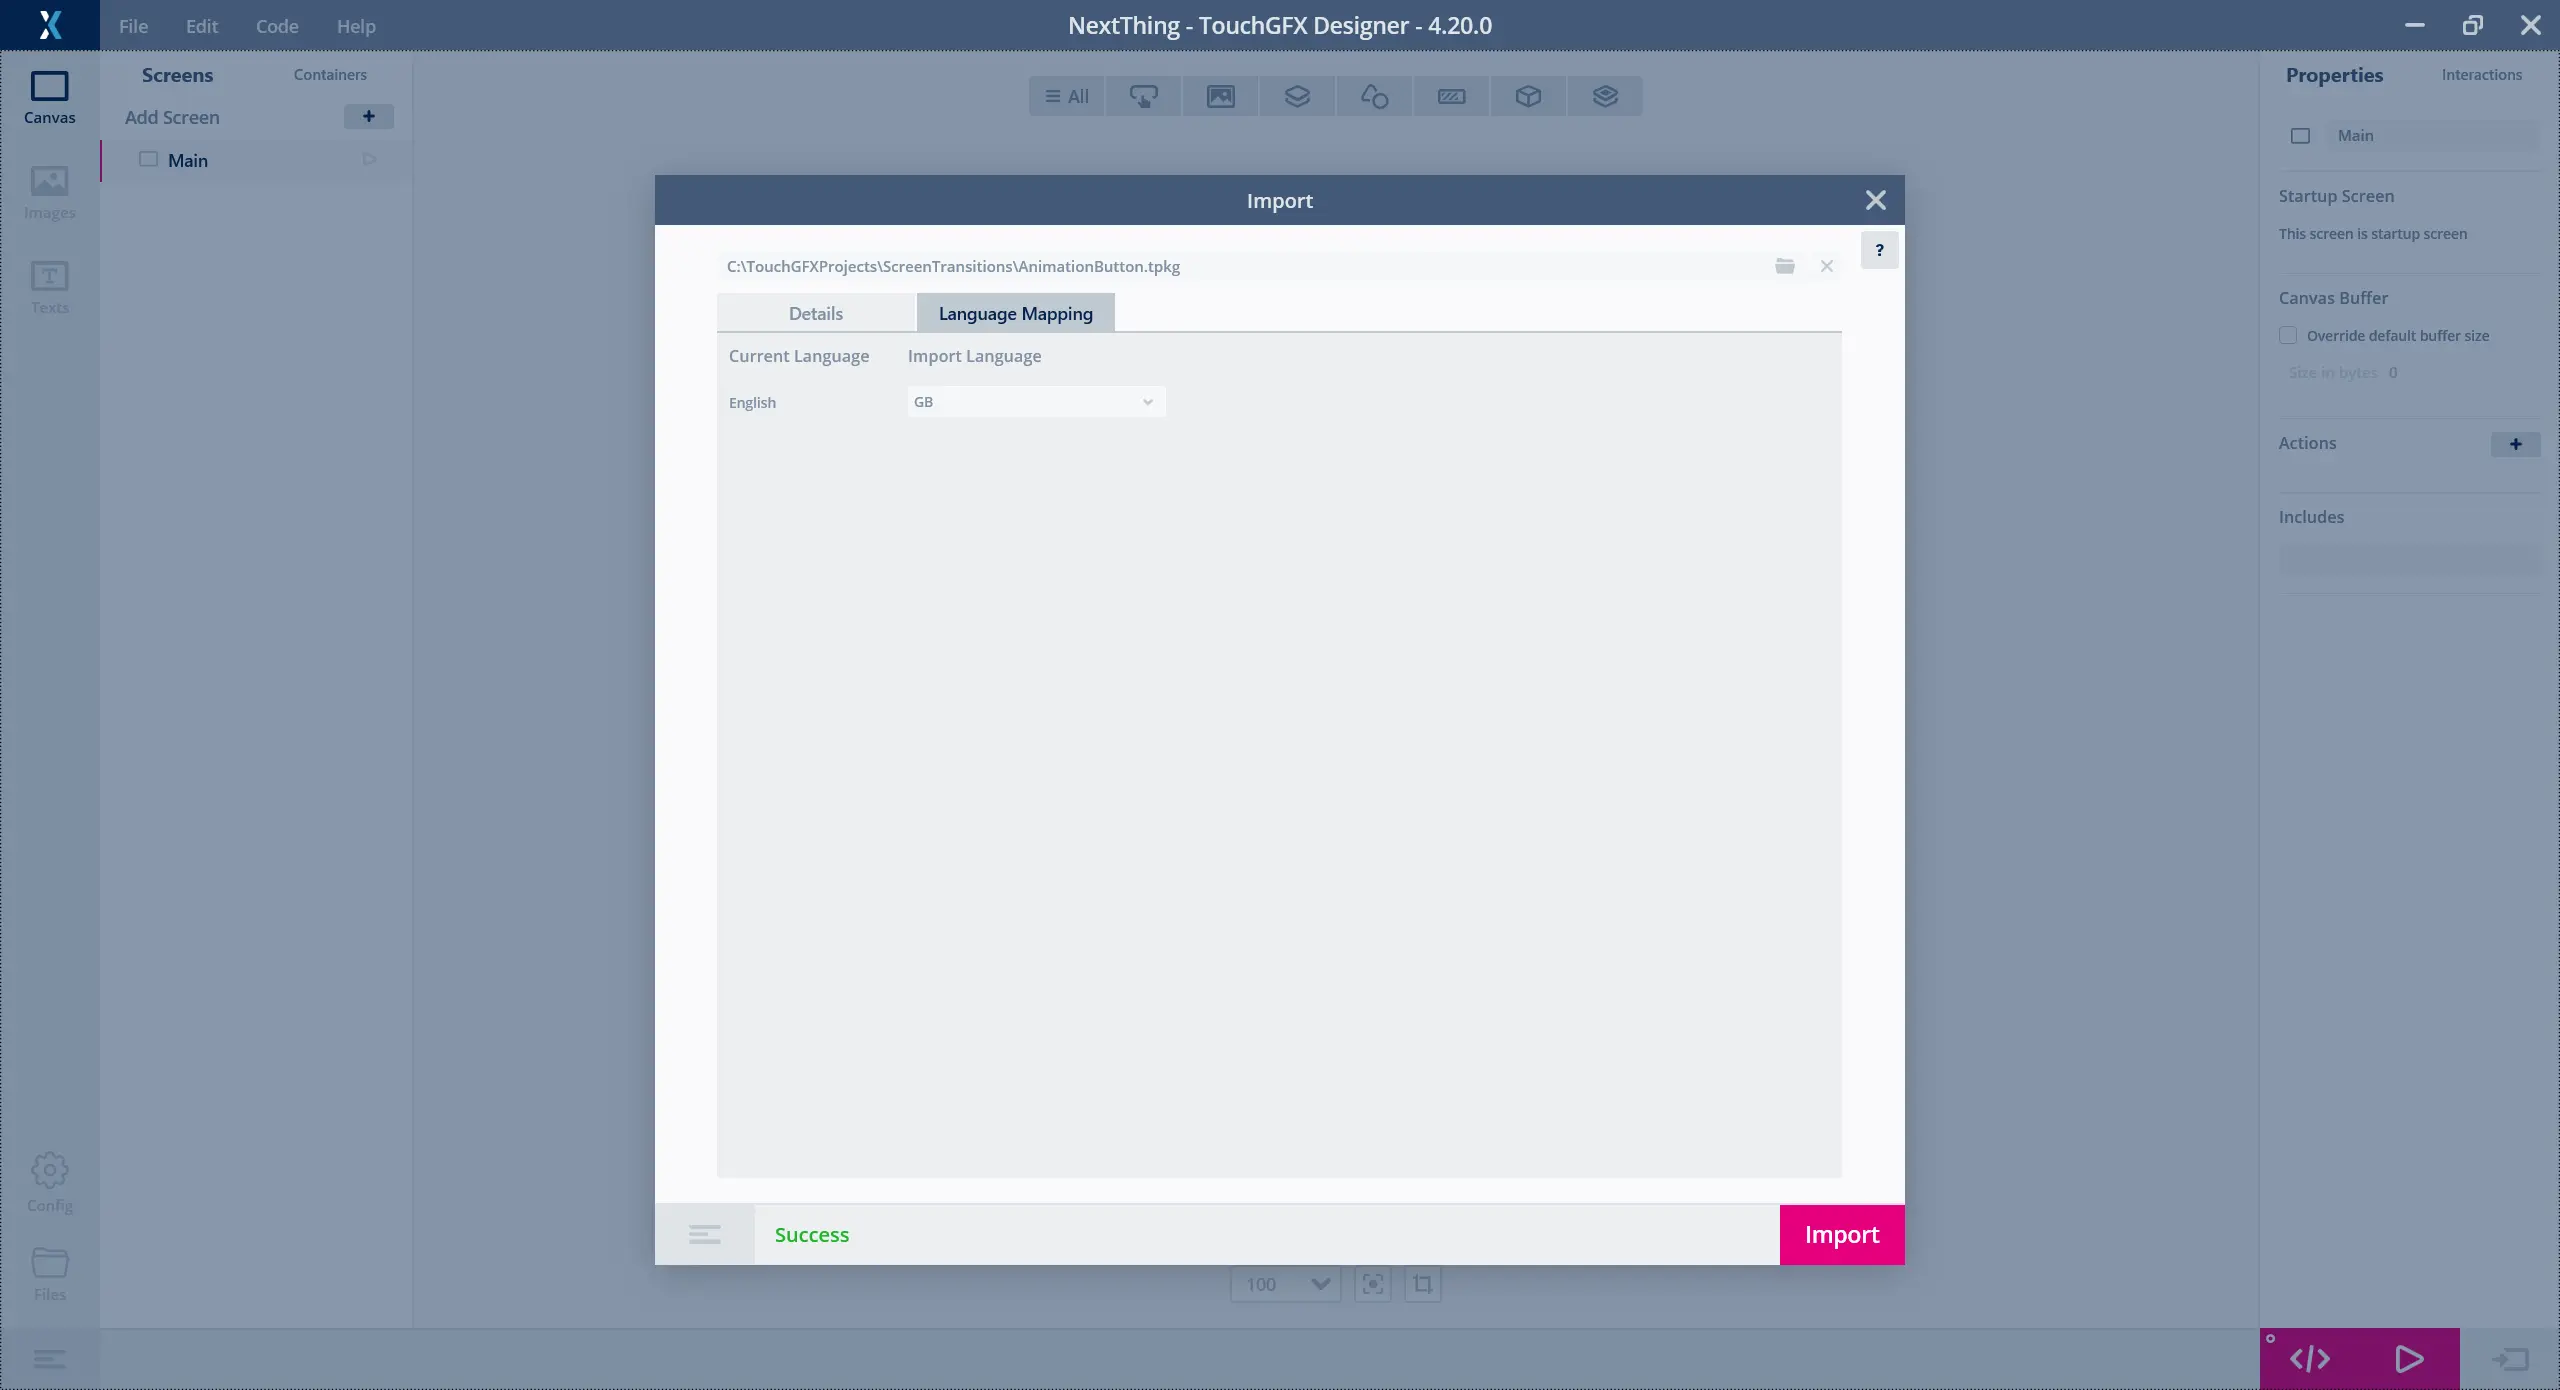
The language mapping tab
Once the import is done, the custom container is part of the application.
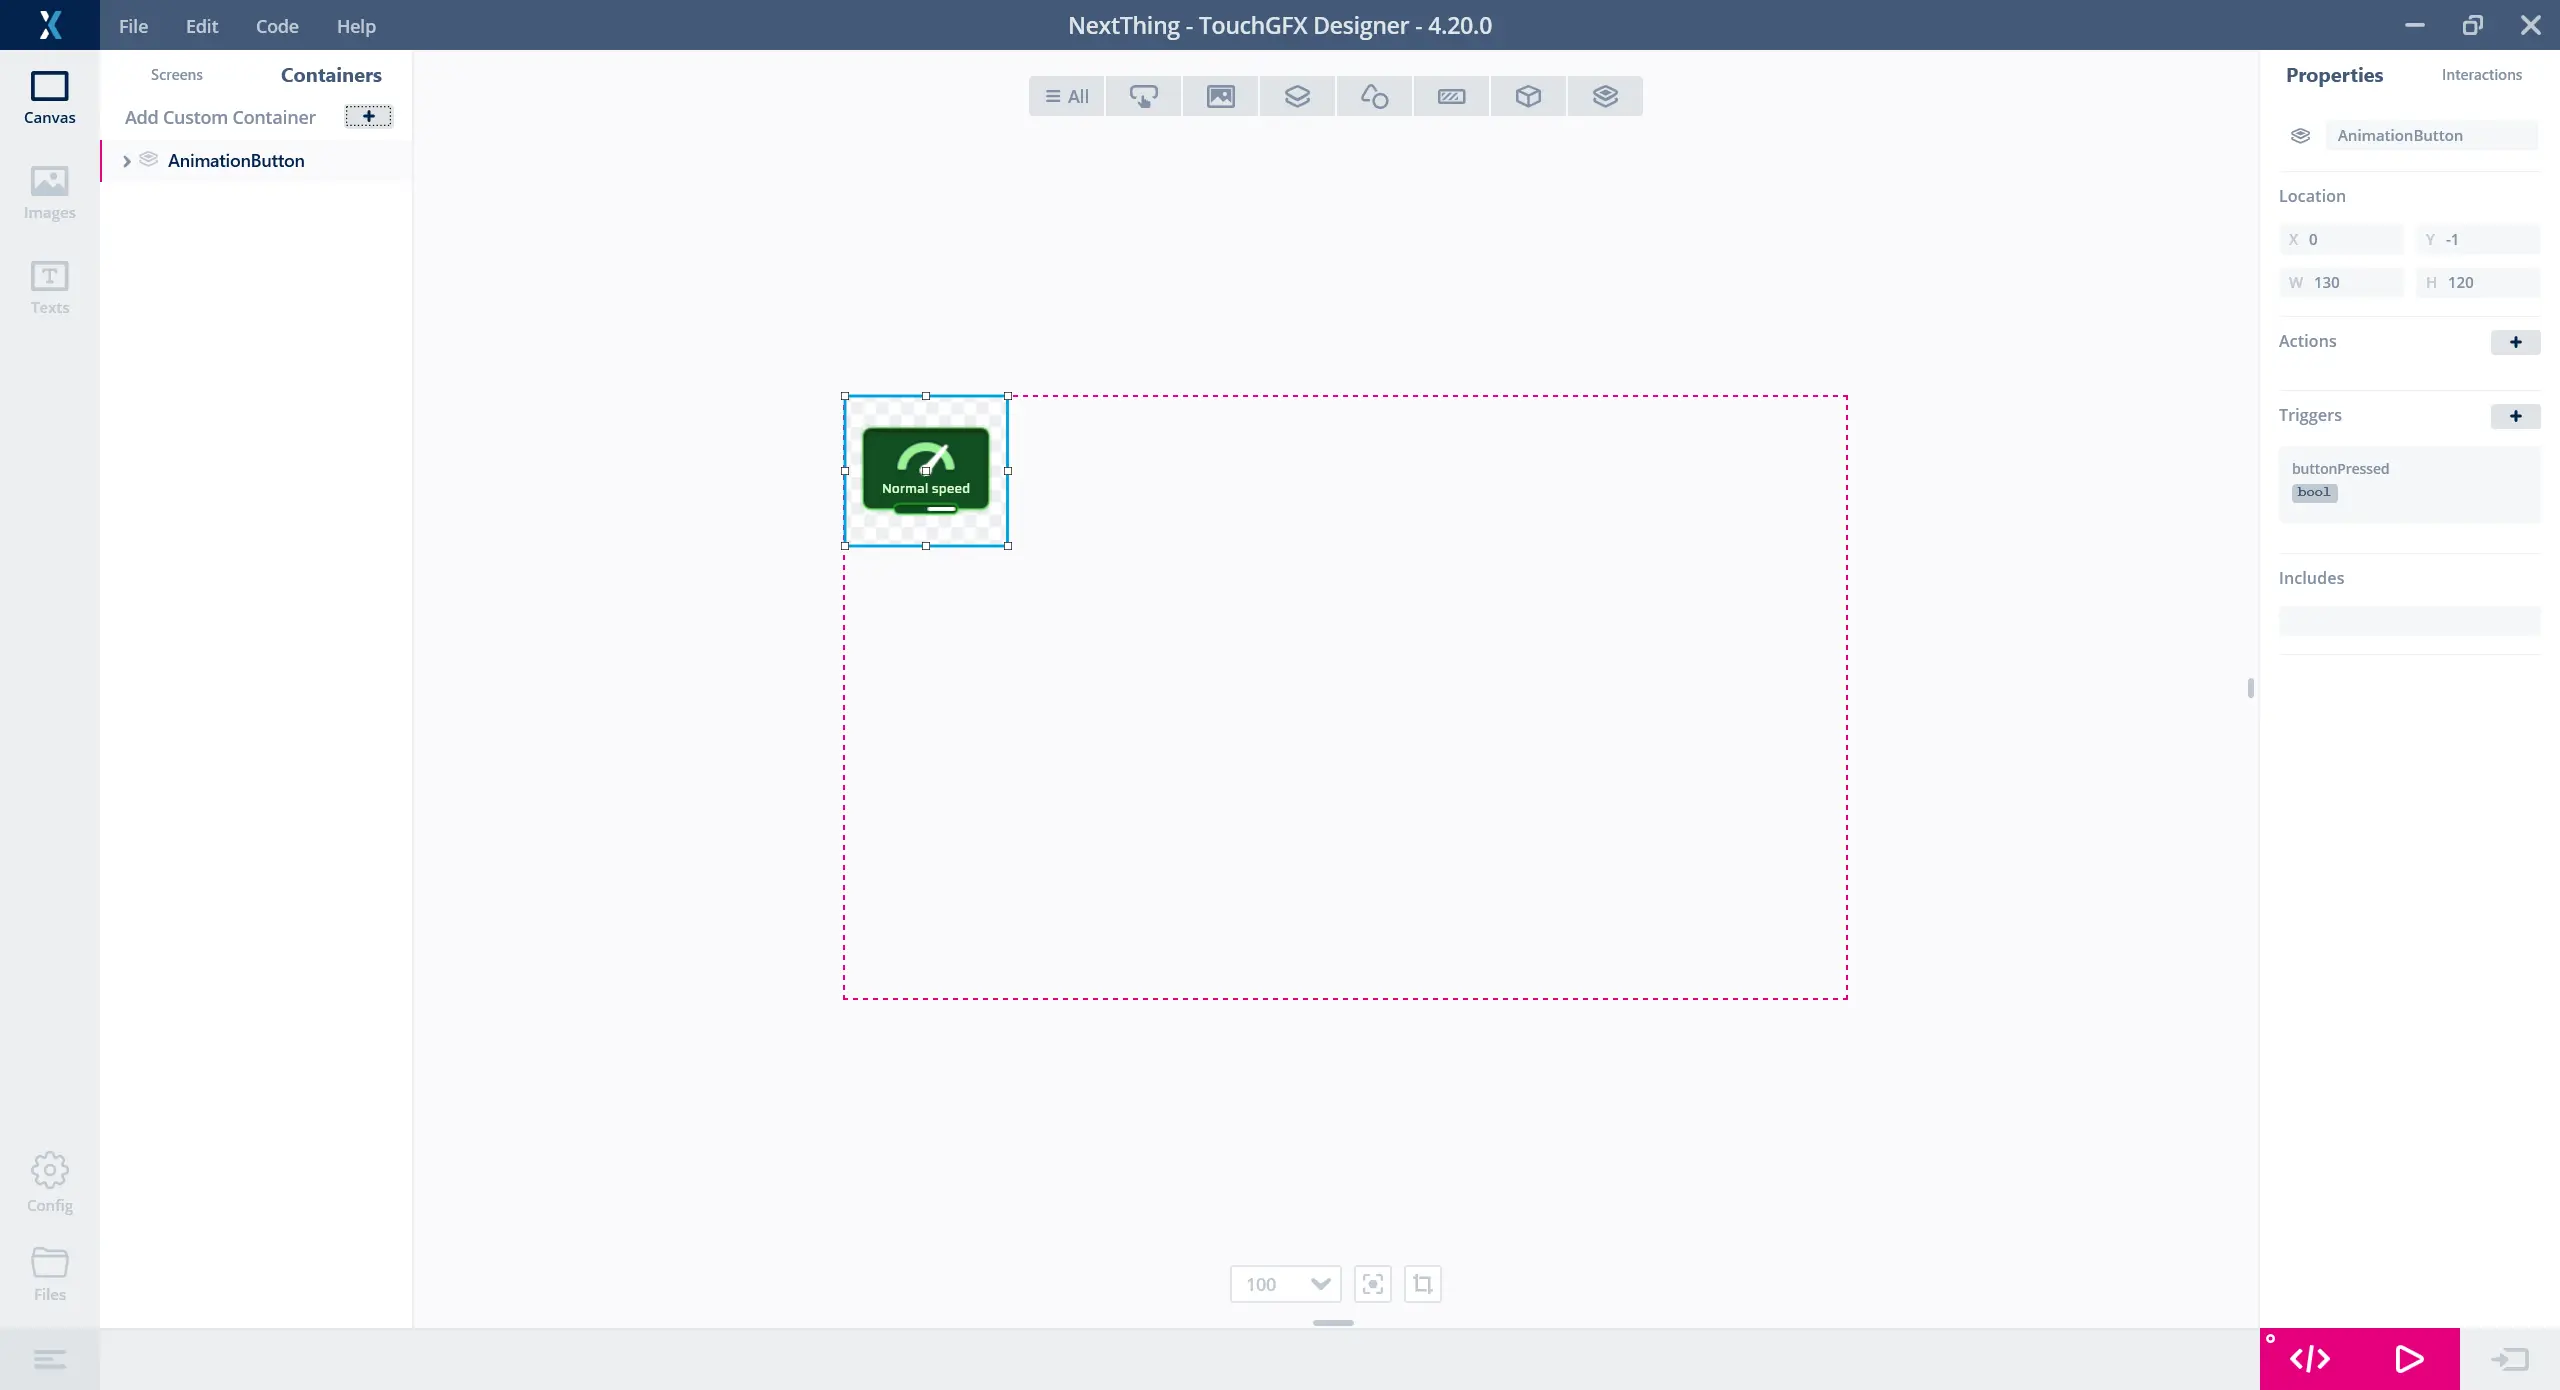
The imported custom container